-
Hi everyone,
As you all know, Coffee (Dean) passed away a couple of years ago. I am Dean's ex-wife's husband and happen to have spent my career in tech. Over the years, I occasionally helped Dean with various tech issues.
When he passed, I worked with his kids to gather the necessary credentials to keep this site running. Since then (and for however long they worked with Coffee), Woodschick and Dirtdame have been maintaining the site and covering the costs. Without their hard work and financial support, CafeHusky would have been lost.
Over the past couple of weeks, I’ve been working to migrate the site to a free cloud compute instance so that Woodschick and Dirtdame no longer have to fund it. At the same time, I’ve updated the site to a current version of XenForo (the discussion software it runs on). The previous version was outdated and no longer supported.
Unfortunately, the new software version doesn’t support importing the old site’s styles, so for now, you’ll see the XenForo default style. This may change over time.
Coffee didn’t document the work he did on the site, so I’ve been digging through the old setup to understand how everything was running. There may still be things I’ve missed. One known issue is that email functionality is not yet working on the new site, but I hope to resolve this over time.
Thanks for your patience and support!
You are using an out of date browser. It may not display this or other websites correctly.
You should upgrade or use an alternative browser.
You should upgrade or use an alternative browser.
125-200cc 06 Wr125 Redo - Done
- Thread starter dartyppyt
- Start date


dartyppyt
Husqvarna
Pro Class
Pic 003/004
My can of carb/parts cleaner is no match for this. I remember Wally Bean giving me a tip about burning spooge out of pipes. So, why not silencers? I used my propane torch and heated all the parts till it burned the spooge dry. After I was done, I used a small wire brush/my wire wheel on the grinder. It came off just like chalk. It really worked great and saved me that gooey mess! Good Tip!
My can of carb/parts cleaner is no match for this. I remember Wally Bean giving me a tip about burning spooge out of pipes. So, why not silencers? I used my propane torch and heated all the parts till it burned the spooge dry. After I was done, I used a small wire brush/my wire wheel on the grinder. It came off just like chalk. It really worked great and saved me that gooey mess! Good Tip!
Attachments


dartyppyt
Husqvarna
Pro Class
Pic 007/008
After I sanded the main aluminum body of the silencer to 600 grit. I used my DA sander with a 3M 1500 grit disc. Then I put on a 3M wet sand TRIZAC pad (3000 grit) that I use for automotive clear coat. I then took it over and polished it on my buffing wheel. I did the other stainless steel parts as well.
After I sanded the main aluminum body of the silencer to 600 grit. I used my DA sander with a 3M 1500 grit disc. Then I put on a 3M wet sand TRIZAC pad (3000 grit) that I use for automotive clear coat. I then took it over and polished it on my buffing wheel. I did the other stainless steel parts as well.
Attachments


MOTORHEAD
Husqvarna
Pro Class
Pic 003/004
My can of carb/parts cleaner is no match for this. I remember Wally Bean giving me a tip about burning spooge out of pipes. So, why not silencers? I used my propane torch and heated all the parts till it burned the spooge dry. After I was done, I used a small wire brush/my wire wheel on the grinder. It came off just like chalk. It really worked great and saved me that gooey mess! Good Tip!
Oh yeah. That's the only way to do a silencer. "Carbonize" everything with a torch and wire brush it off. Your pipe is probable full, too.
Are you actually going to ride this master piece when it's done?
dartyppyt
Husqvarna
Pro Class
Oh yeah. That's the only way to do a silencer. "Carbonize" everything with a torch and wire brush it off. Your pipe is probable full, too.
Are you actually going to ride this master piece when it's done?
I sure am glad about the tip because I don't know how I'd get that mess cleaned up. The pipe has to be full too. MOTORHEAD, Evan has no choice but to ride it because we sold his other bike, or he pits for dad. We could take and bolt Walt's 167 on it and ship it to Italy, so they might get the picture we want a 200/Cr Ignition? It gives me something to do up here in Iceland, Illinois.
PS: MOTORHEAD, I think it was you that told me a couples years back to put radiators in the dishwasher? To get rid of the stains. I presoaked them in the sink and then put them in the dishwasher under the pot scrubber mode. They look almost like new! Another great tip!
dartyppyt
Husqvarna
Pro Class
Yep, Darin you need to burn the pipe too. You will need to use a torch with cutting end on it so you can get the head pipe cherry red and once it is lit then use only the oxygen to get it to continously burn to the stinger.
Thanx Walt, I will do that. Looks like that's next weekend. How much air PSI do I pump in the pipe to heat the dents out? I'll get some freeze plugs and put an air valve in one. Any detailed instructions on tackling this are helpful?
PS: Sure glad I found this CH site and all you guys/gals! I sure have learned some great stuff from everyone!


dartyppyt
Husqvarna
Pro Class
PIC 004/005
Next I slide the crank into the main bearing on the flywheel side. I don't like pressing cranks into the bearings, so I made a crank puller out of PVC pipe to pull the crank into the bearing until it seats. I cut the PVC pipe long enough for a thick washer, so my Flywheel nut (when tightened) pulls the crank into the bearing and seats it without damage. You can buy crank pullers but they cost about $70.
Next I slide the crank into the main bearing on the flywheel side. I don't like pressing cranks into the bearings, so I made a crank puller out of PVC pipe to pull the crank into the bearing until it seats. I cut the PVC pipe long enough for a thick washer, so my Flywheel nut (when tightened) pulls the crank into the bearing and seats it without damage. You can buy crank pullers but they cost about $70.
Attachments


dartyppyt
Husqvarna
Pro Class
PIC 006
Next I soaked my transmission in oil and re installed it. Well, I went to take the center gasket out of the husky plastic and cardboard sheet and tore it. Bummer! Looks like I won't be able to get the engine done and in the bike till next weekend.
Next I soaked my transmission in oil and re installed it. Well, I went to take the center gasket out of the husky plastic and cardboard sheet and tore it. Bummer! Looks like I won't be able to get the engine done and in the bike till next weekend.
Attachments

dartyppyt
Husqvarna
Pro Class
PIC 008/010
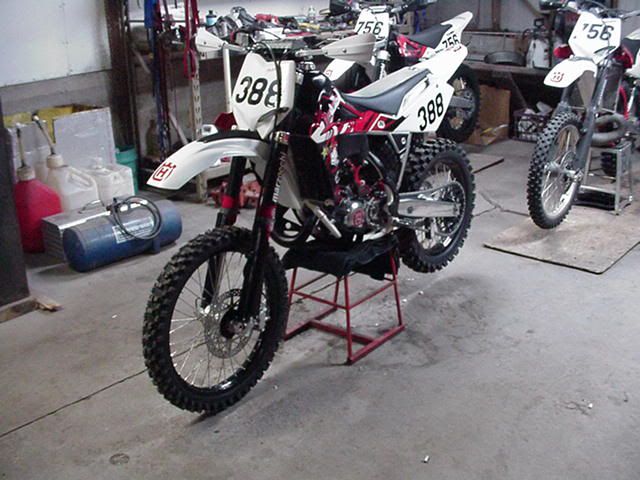
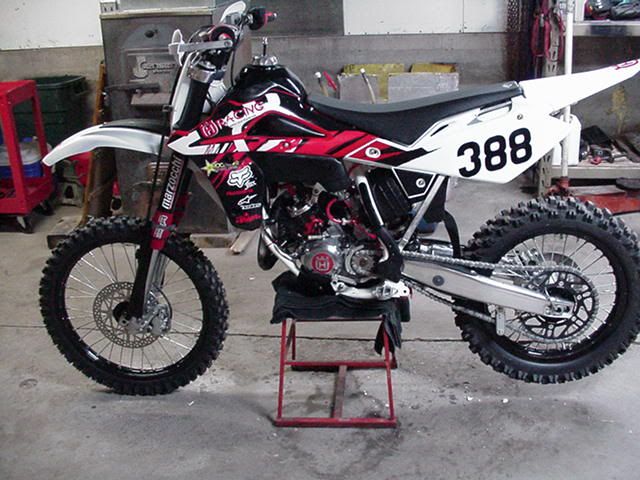
After the torn center case gasket, I went ahead and moved back to the chassis. I mounted the new Motoz Tires, new black air box, mud flap and subframe.
I also got the silencer repacked and installed, the rear fender and some decals. I had to make the swing arm decals since they are on back, back, back, back order.
I also must have gotten some air in the front master cylinder, because I had to bleed the front brake.
We just got done a little while ago with the pipe. Thanx to Wally Bean's tips, we now have a nice dent free Dyno Port pipe. We also got it ready for painting next weekend. My goal next weekend, is to get the engine assembled, bolted in the frame and firing it.
Attachments


rockdancer
Husqvarna
Pro Class
too bad you have to ride it - unbelievable work