• Hi everyone,

    As you all know, Coffee (Dean) passed away a couple of years ago. I am Dean's ex-wife's husband and happen to have spent my career in tech. Over the years, I occasionally helped Dean with various tech issues.

    When he passed, I worked with his kids to gather the necessary credentials to keep this site running. Since then (and for however long they worked with Coffee), Woodschick and Dirtdame have been maintaining the site and covering the costs. Without their hard work and financial support, CafeHusky would have been lost.

    Over the past couple of weeks, I’ve been working to migrate the site to a free cloud compute instance so that Woodschick and Dirtdame no longer have to fund it. At the same time, I’ve updated the site to a current version of XenForo (the discussion software it runs on). The previous version was outdated and no longer supported.

    Unfortunately, the new software version doesn’t support importing the old site’s styles, so for now, you’ll see the XenForo default style. This may change over time.

    Coffee didn’t document the work he did on the site, so I’ve been digging through the old setup to understand how everything was running. There may still be things I’ve missed. One known issue is that email functionality is not yet working on the new site, but I hope to resolve this over time.

    Thanks for your patience and support!

Stripped airbox nut

ABPanda

Husqvarna
We'll not really like the threads are stripped, but while trying to remove the airbox cover on the 610 the other day I was unable to remove one bolt because the nut on the back of the airbox would just spin! Who's bright idea was it to seat these nuts in plastic?

Anyone else dealt with this issue without butchering their airbox?

Thanks
 
Most of us have or will at some point.

I've got one in my airbox and one in my tank shroud.

For now, I can still get it open enough to get the filter in and out, and you can leave the shrouds on the tank and take them off as a unit.
 
I was able to loosen two spinners in my TE630 by removing the air box and putting it in the freezer for a day to chill it and tighten up the plastic on the nut.

After getting them loose which allowed complete removal of the airbox top, I put two small hose clamps on the plastic studs on the inside of the box to provide some grip on the nut. Some minor dremel work may be required depending on which plastic stud requires the hose clamp to allow sufficient room to slide it down on the stud without interference from the plastic molding..
 
Thanks for the info guys. I'll have a closer look at the situation on the backside of the airbox tonight and see where it gets me.
 
Thanks for the info guys. I'll have a closer look at the situation on the backside of the airbox tonight and see where it gets me.

To chill it you will need to loosen the hose clamp from the back side and then remove the entire air box. I did not find any type of solution on the back of the box to tighten up the spinners while still attached to the intake tube..
 
the freezer trick worked for me too. i now am careful not to overtighten and it has not happened again (touch wood).
 
I had the same issue with the TE 630 box, managed to get Husky to replace under warranty because it happened in the first few months. Apparently the actual cause is water/moisture getting into the back of the brass nut and causing it to seize to the alloy bolt. The solution is to seal off the back of the air box to prevent water/moisture getting in + also use some anti seize grease. i sealed mine with silicon and cut sections of black plastic and 1 year on have not had any more issues and i have done some serious wet of road riding.
 
I had the same issue with the TE 630 box, managed to get Husky to replace under warranty because it happened in the first few months. Apparently the actual cause is water/moisture getting into the back of the brass nut and causing it to seize to the alloy bolt. The solution is to seal off the back of the air box to prevent water/moisture getting in + also use some anti seize grease. i sealed mine with silicon and cut sections of black plastic and 1 year on have not had any more issues and i have done some serious wet of road riding.
Interesting!

So far, I haven't done anything to mine except keep the bolts greased and try not to overtighten them. So far, I haven't had any problems. I did lose one shortly after I got the bike, though.
 
Here's my two cents... :)

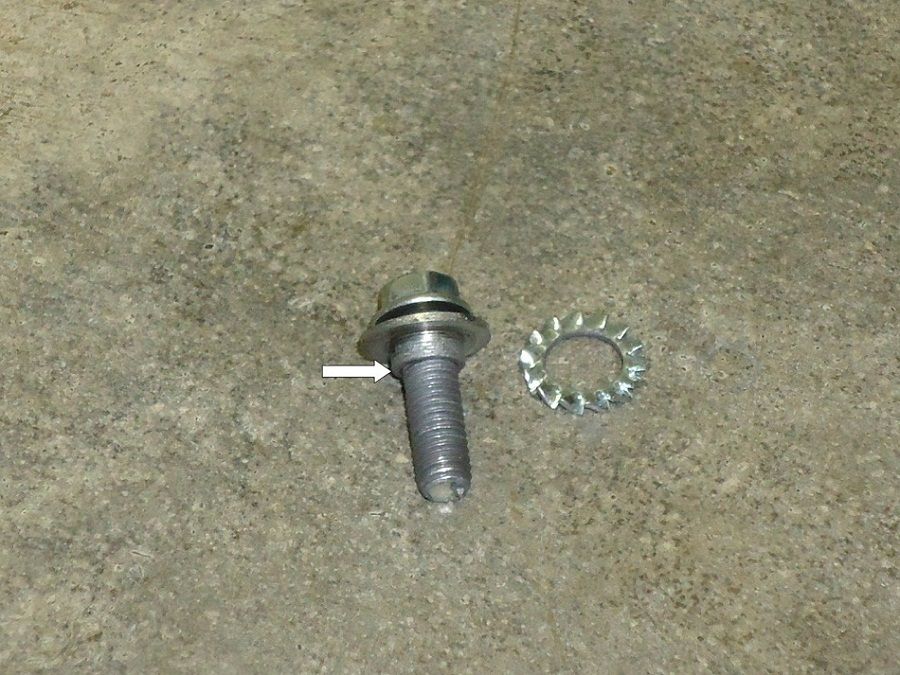
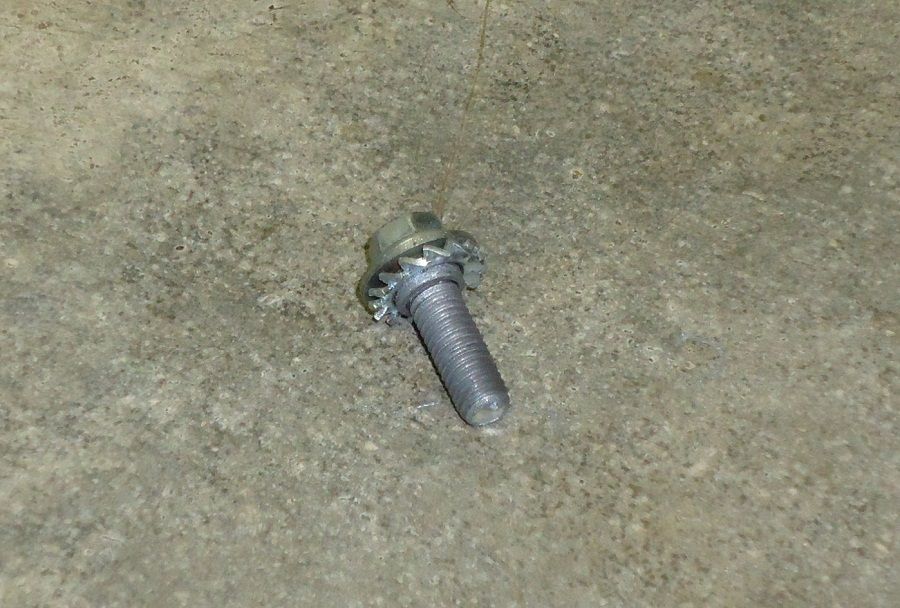
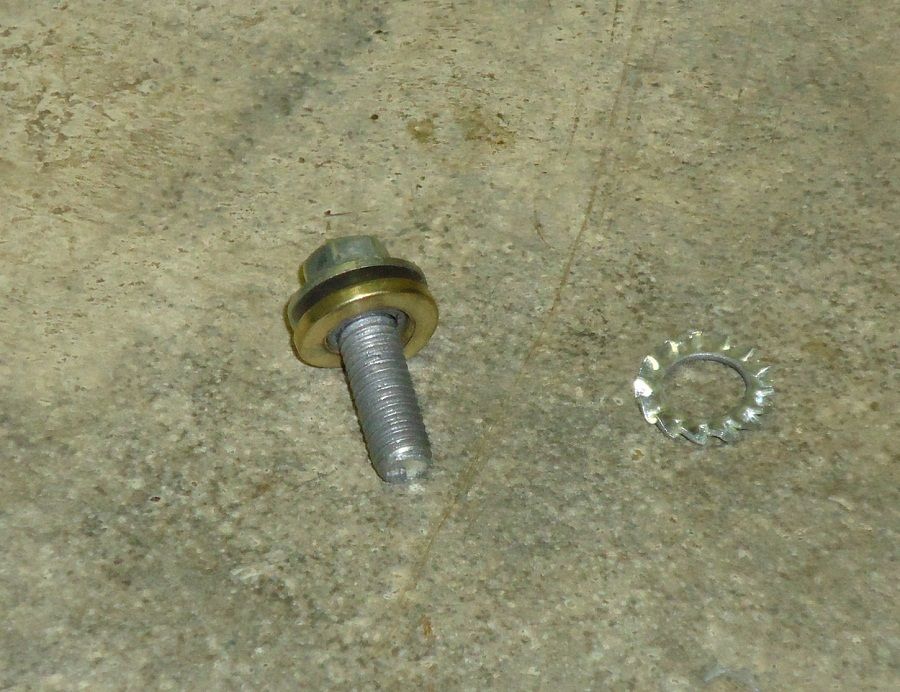
The real problem here is the bottom of the washer/spacer lands on the insert and gets incredible grip on the insert when you remove the bolt.

7-20-12007a.jpg


Grease/anti-seize will help a lot, especially between the bolt shoulder and washer so the bolt spins easier on the washer.

The other option is add a washer under the stock washer so it never bottoms on the insert. If you try this you'll see it takes a LOT less force to unscrew the bolt. The airbox lid is also tighter to the air box. The tradeoff is now the bolt is putting pulling force on the insert but not spinning force. I've got washers under mine...

7-20-12006a.jpg


7-20-12010a.jpg


.
 
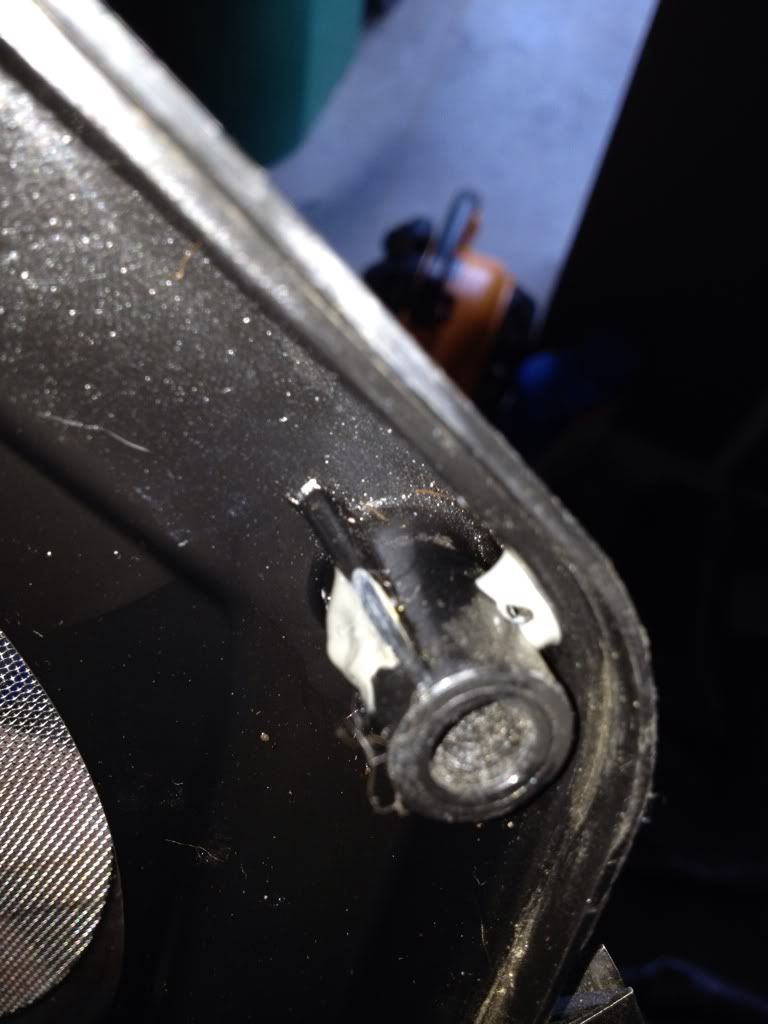
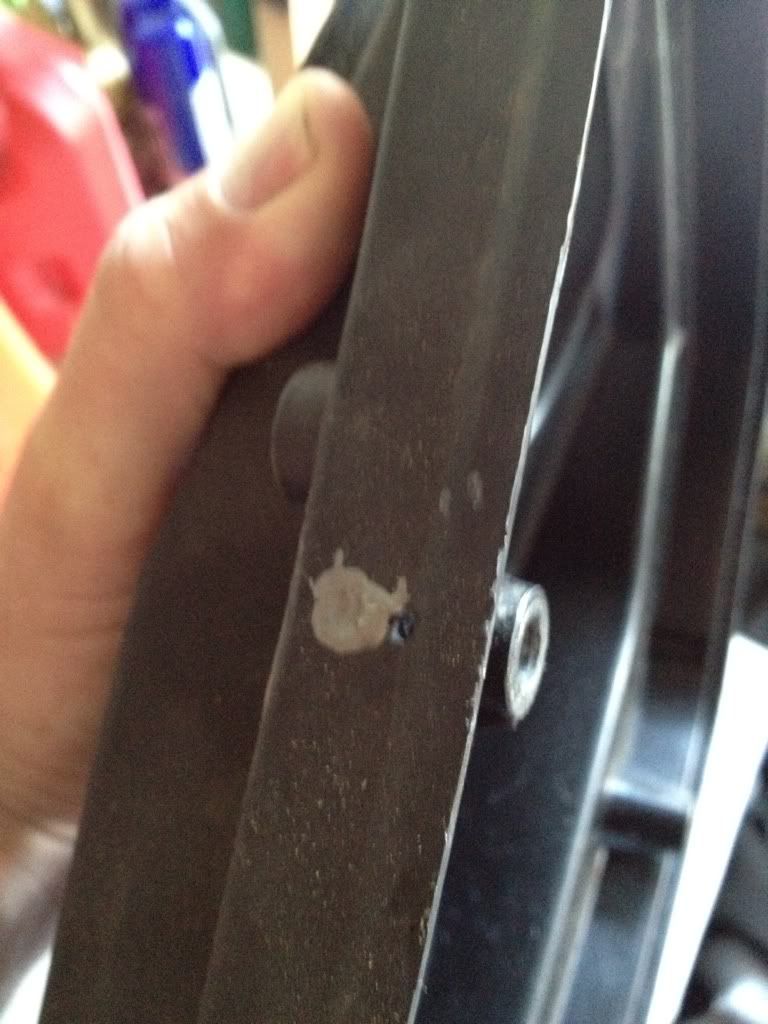
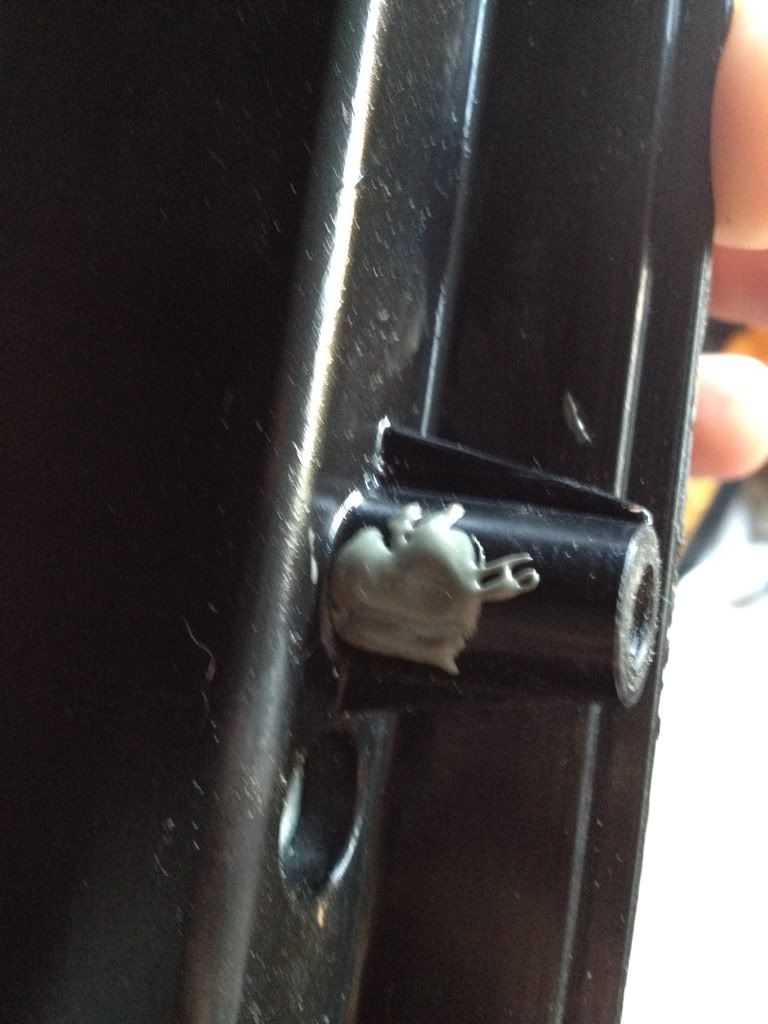
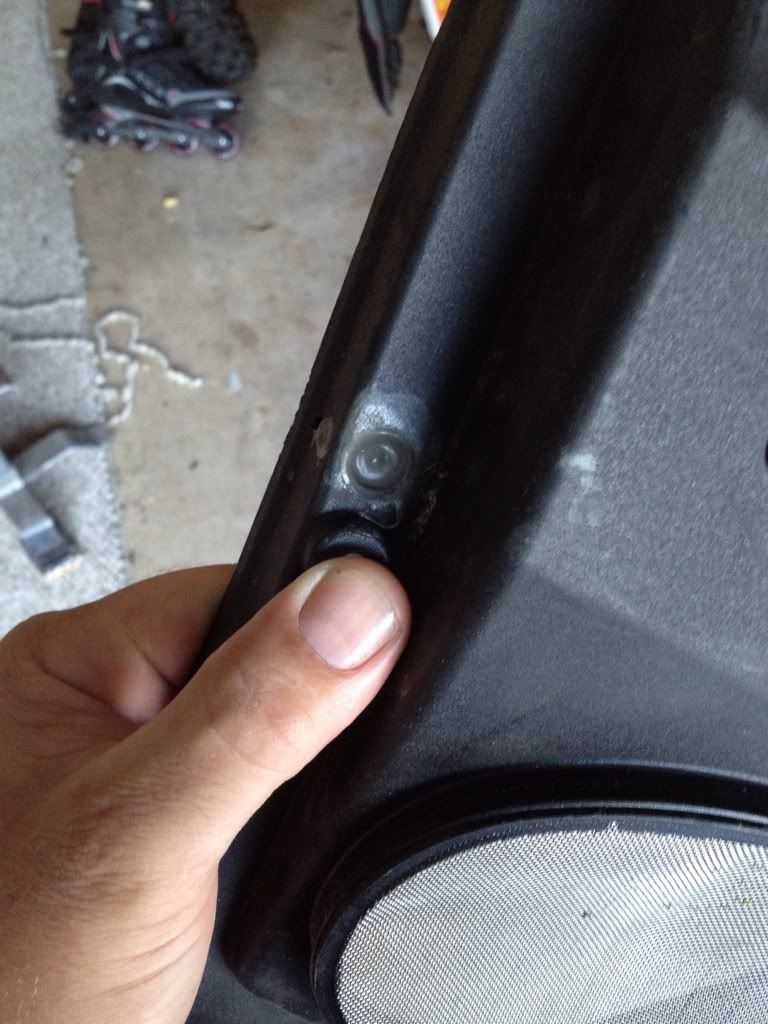
I drilled holes in to the nuts from the outside and filled with JB cold weld, fixed for good!
So I just had 3 of mine start spinning and did the airbox in the freezer trick, worked a treat but I was wondering if you can elaborate on the method you used. You don't happen to have any pictures by chance do you? I'm trying to understand but just can't quite figure out how this worked...
 
Pull the whole air box off. Look at the back. Where the brass inserts are in the back part you drill into them from the side of the plastic surrounding them, then drip the JB in. I'll post a pic as soon as I find it.
 
Pull the whole air box off. Look at the back. Where the brass inserts are in the back part you drill into them from the side of the plastic surrounding them, then drip the JB in. I'll post a pic as soon as I find it.
Thanks, I'd appreciate that.
 
Pull the whole air box off. Look at the back. Where the brass inserts are in the back part you drill into them from the side of the plastic surrounding them, then drip the JB in. I'll post a pic as soon as I find it.
Pretty much did the same. No pics, worked great!!!
 
The trick is to get the brass nuts out add the JB and pull nuts back in with bolt. This will help get the JB around the nuts better.
 
Nice work, thanks for posting the pics. Dealer is going to replace the whole airbox for me since the last time it was touched was by them, first valve check. I will however do this to my existing one and keep it as a spare...

Cheers,
 
Back
Top