• 2 Stroke Husqvarna Motorcycles Made In Italy - About 1989 to 2014
    WR = 2st Enduro & CR = 2st Cross

  • Hi everyone,

    As you all know, Coffee (Dean) passed away a couple of years ago. I am Dean's ex-wife's husband and happen to have spent my career in tech. Over the years, I occasionally helped Dean with various tech issues.

    When he passed, I worked with his kids to gather the necessary credentials to keep this site running. Since then (and for however long they worked with Coffee), Woodschick and Dirtdame have been maintaining the site and covering the costs. Without their hard work and financial support, CafeHusky would have been lost.

    Over the past couple of weeks, I’ve been working to migrate the site to a free cloud compute instance so that Woodschick and Dirtdame no longer have to fund it. At the same time, I’ve updated the site to a current version of XenForo (the discussion software it runs on). The previous version was outdated and no longer supported.

    Unfortunately, the new software version doesn’t support importing the old site’s styles, so for now, you’ll see the XenForo default style. This may change over time.

    Coffee didn’t document the work he did on the site, so I’ve been digging through the old setup to understand how everything was running. There may still be things I’ve missed. One known issue is that email functionality is not yet working on the new site, but I hope to resolve this over time.

    Thanks for your patience and support!

125-200cc Part 2: Installation of the WB165 Kit

MattR

2T Forum Clerk
Staff member
Part 2: Installation of the WB165 Kit

Background:
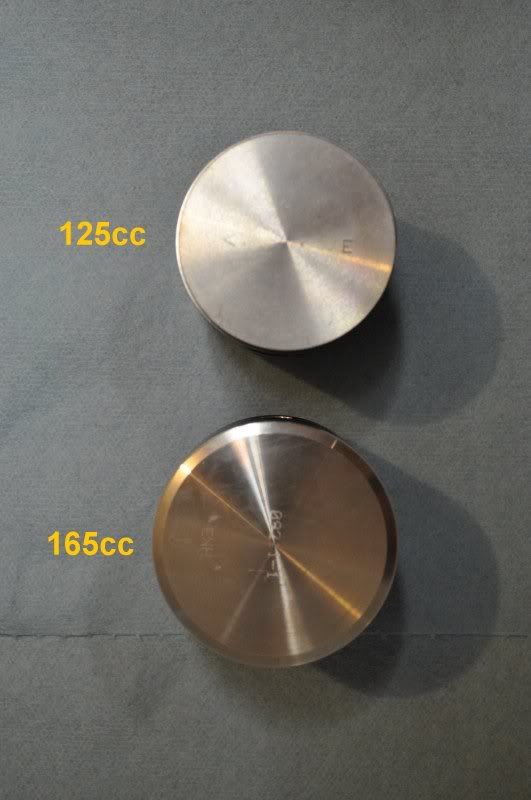
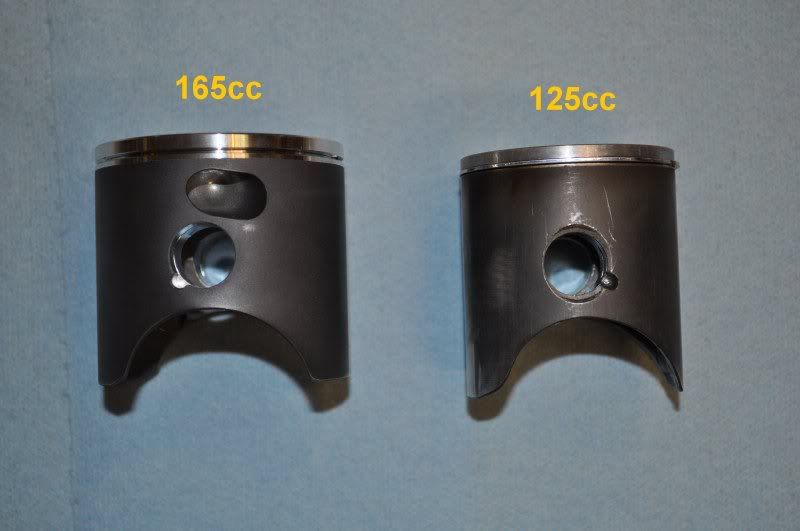
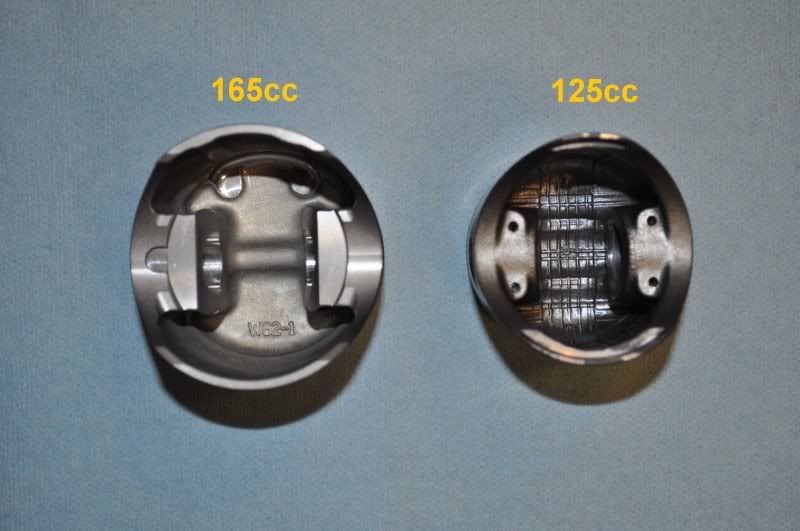
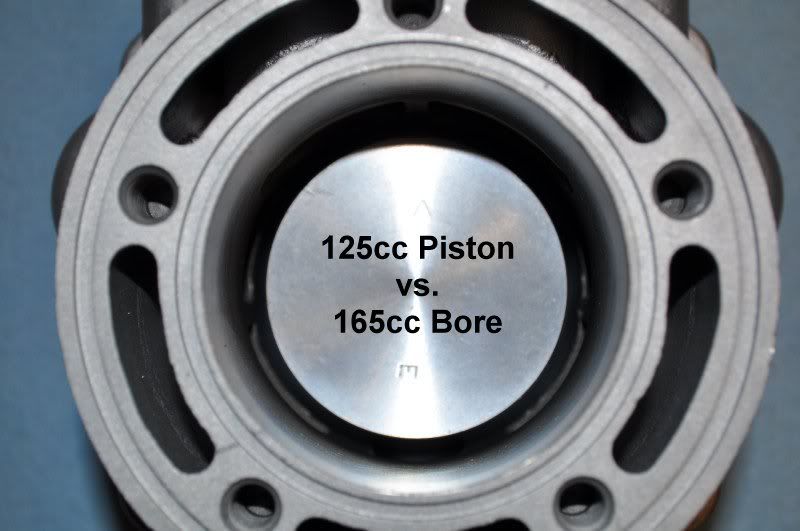
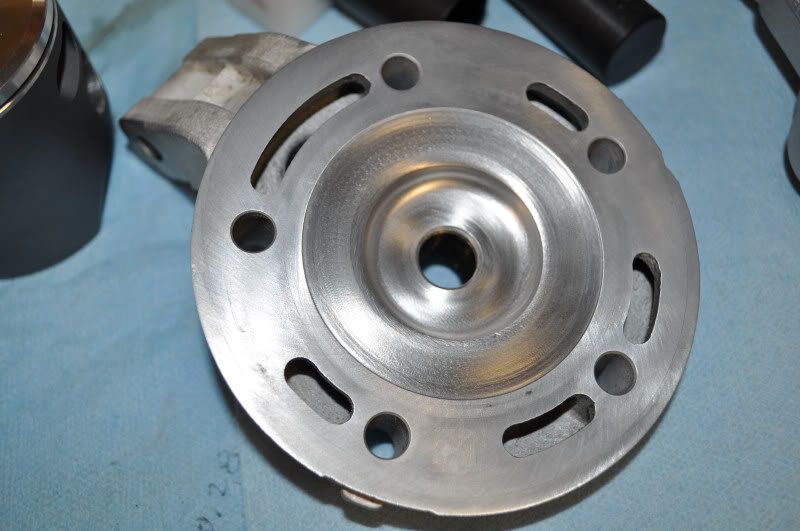
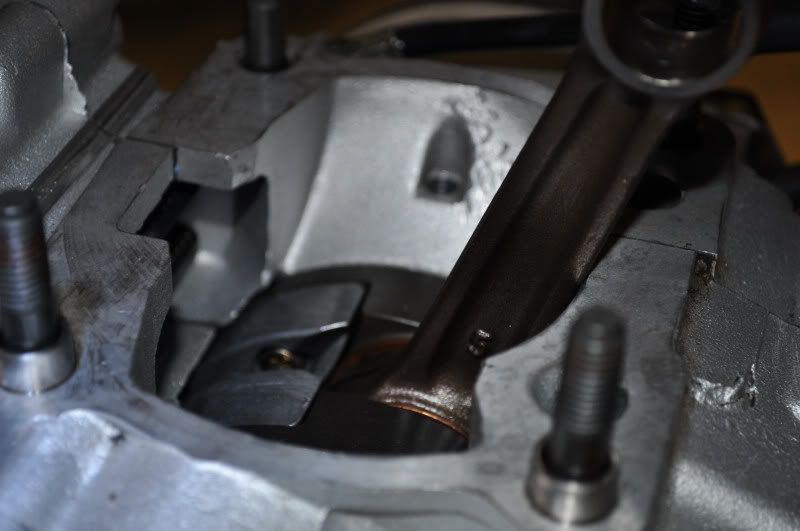
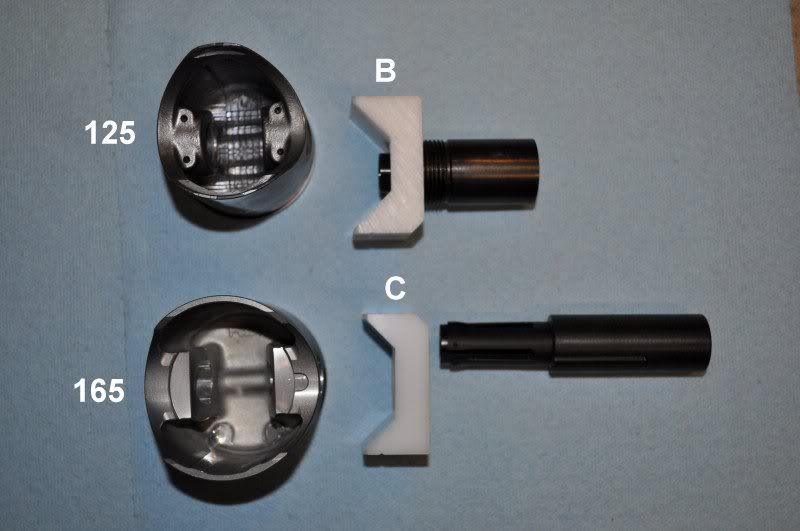
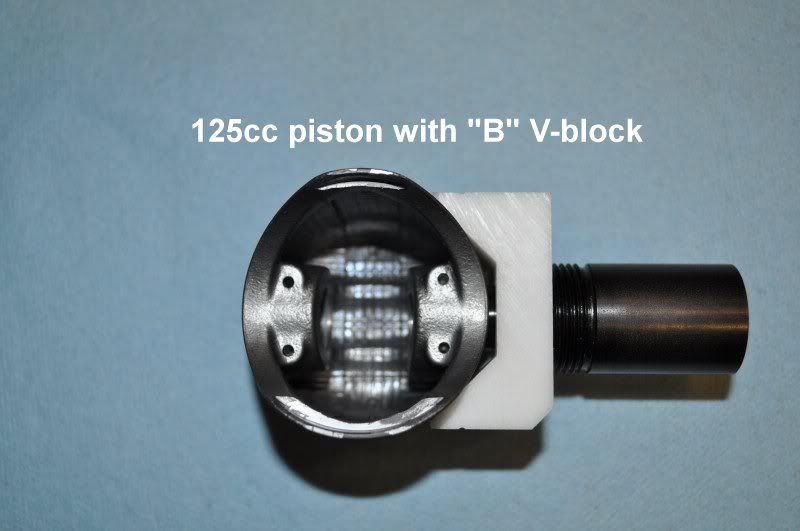
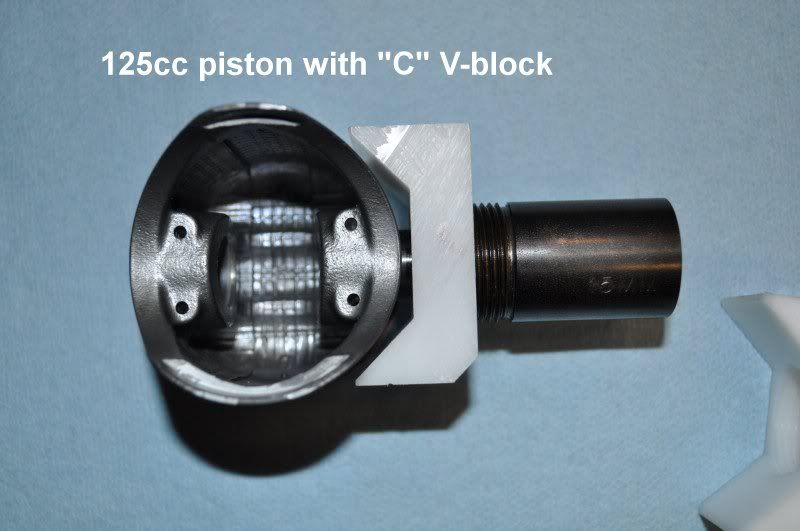
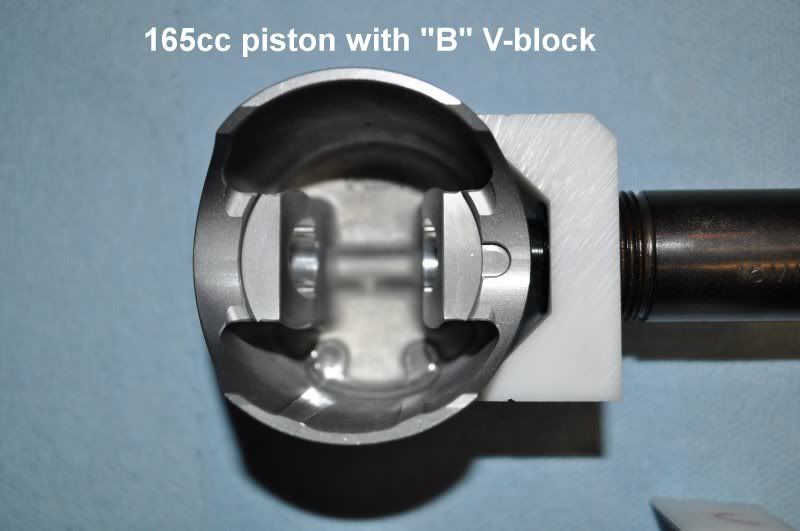
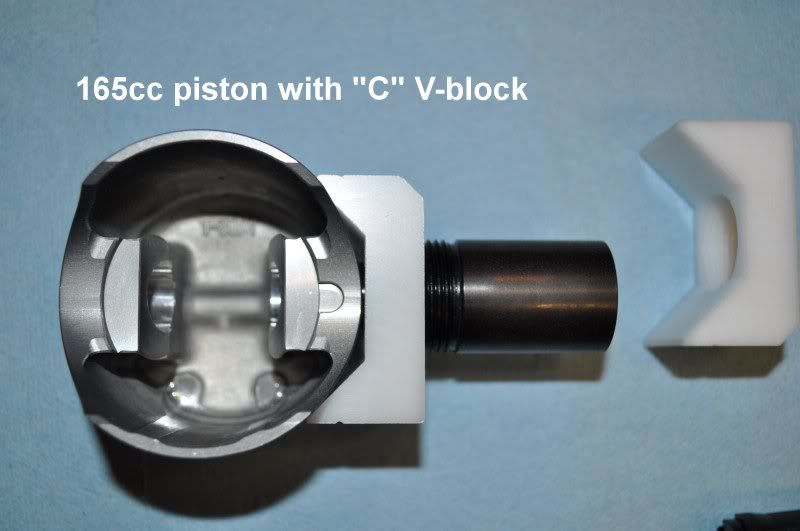
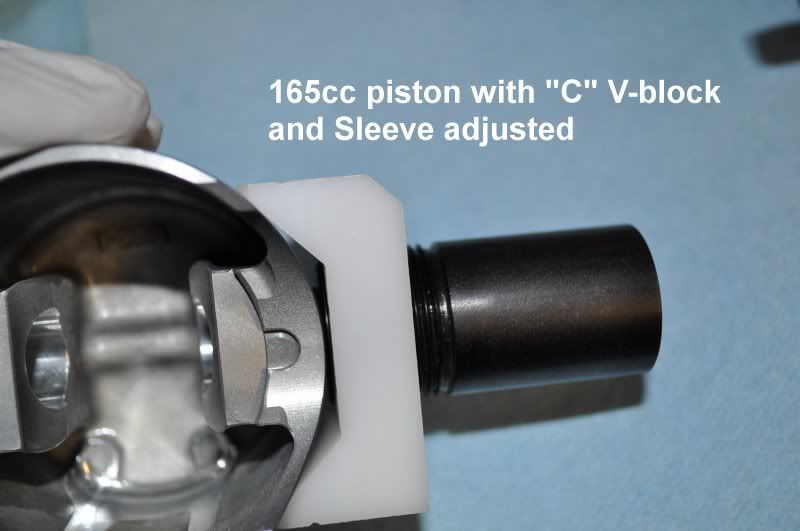
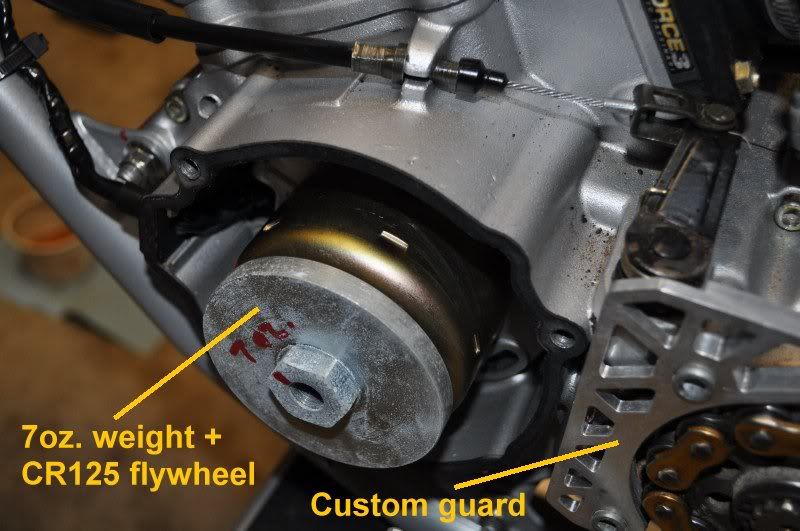
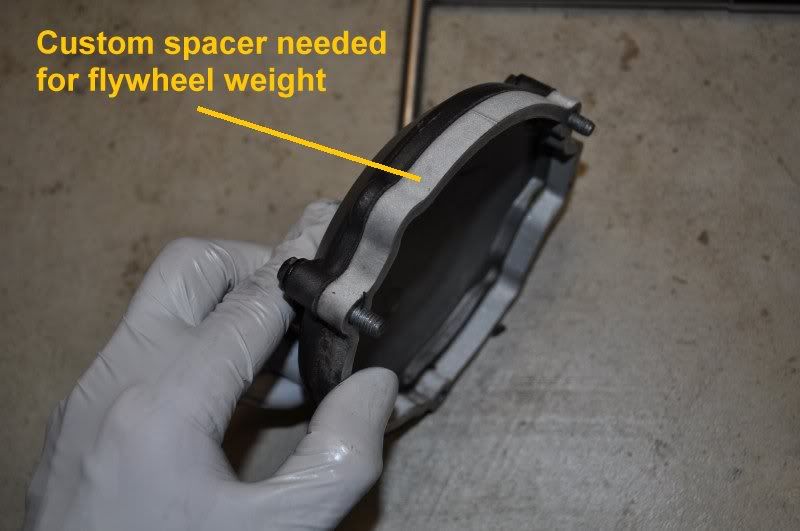
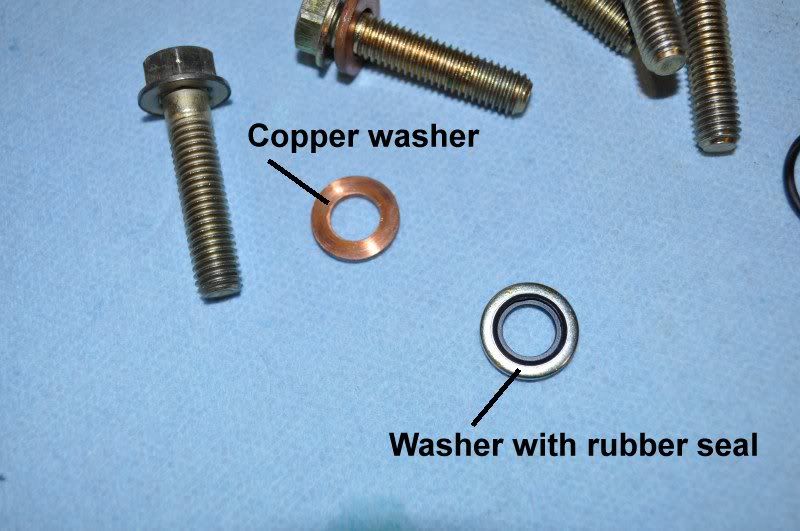
I have a 2008 CR125. In this “how-to”, I will walk through the steps that I took during installation of my WB165 Kit. It should be applicable to other model years as well. As I mentioned in Part 1 (Teardown), this is my first time doing a top end. Walt (Wallybean) gave me some tips to help out along the way. I decided to write up the process to help other first-timers out. For all of the top end gurus, please add comments if I left something out or you have any other tricks you want to share. Thanks!


This thread does contain a lot of pictures. I hope the download speed is not too bad for some users.
 
What's makes this kit special:

Before we begin, I wanted to show a comparison between the OE 125cc piston and WB165cc piston.

image_173.jpg


image_174.jpg


image_175.jpg
 
Here are pictures of the 165cc cylinder work:

image_179.jpg

image_178.jpg

image_176.jpg


The 2008 cylinder needs welded reinforcement at rear of cylinder. This is done as part of the kit.

image_204.jpg
 
Piston-to-Cylinder Clearance:

Clearance should be 0.002" which is what Wossner wants with this kit. Just measure it again for piece of mind.

You measure it ~1/4" below the bottom of the wrist pin hole on the piston skirt facing the exhaust port. Slide the piston up into the cylinder until it is coming out the top to that point. Now use your feeler gauge to measure the gap at that point. It should be snug but not tight.
 
Assembly begins:

If you have not already done so, you will need to remove the old cylinder gasket. The 165cc Kit comes with a new one. My old gasket was stuck on pretty good. I carefully scrapped it off, taking caring not to gouge up the engine cases. I had some minor surface blemishes, but no deep scratches.

image_191.jpg
 
Tips from Walt…
Before assembly, wash the piston in soap and water. Next, wipe down the barrel of the cylinder with a rag damp with your 2T oil. Dribble a couple of drops of oil down each journal to the mains and a bit on the big end bearing of the crank. Also, dunk your needle bearing in the 2T oil.

Now you are ready to begin to install your first c-clip into the piston… but wait… I need to tell you about my new, cool tool that I bought. Yeah, you need one of these too!
 
Special Tool for Installing C-Clips:
To make the job easier, I decided to buy the C-clipper installation tool from Bux Tools. This tool is simply fantastic! The job put in the c-clip was done effortlessly.
Here is a link to their website:
http://www.buxtools.com/

Unfortunately, the 165cc Kit puts you is an unique situation. The #301 kit is for 125cc pistons with 15mm wrist pin diameter (which is our correct pin diameter). The V-block used in this kit is “B” size for 80-125cc pistons (47-56mm). For larger pistons such as 250cc-300cc (64-79mm), there is a “C” size V-block which is available separately. For the 165cc piston (62mm), I found that the “C” size V-block works the best. If you plan to buy this Bux Tool, don’t forget to order the “C” size V-block (part #401-V) separately. It runs about $8 for the extra V-block.
 
125cc piston with “B” size V-block (correct size):

image_185.jpg


125cc piston with “C” size V-block (incorrect size):
This is too big and does not cradle the piston.

image_244.jpg
 
165cc piston with “B” size V-block (marginal fit with large gap):
This could possibly work, but the “C” size V-block had better fit.

image_245.jpg


165cc piston with “C ” size V-block (better fit):

image_183.jpg
 
Using the Bux Tool:
First step is to adjust the sleeve so that the sleeve’s edge is almost touching the c-clip groove in the piston.
You can see this in my second picture below.

image_198.jpg


image_197.jpg
 
The installer tool has 4 flexible fingers that hold the c-clip. When installer is inserted into the sleeve, they collapse and push the c-clip into it’s final position (at the groove).

image_201.jpg


Here is a picture of the installer after pressing the c-clip into groove.

image_200.jpg
 
Here is the c-clip after installation. I followed Walt’s suggestion and oriented the clip “end gap” straight down so the center of the gap is at the very bottom of the piston. Orientation of the c-clip is very easy with the installer. There is a slot on the handle that you can use for reference in relation to the sleeve or piston.

image_203.jpg
 
Back to Assembly:

BEFORE PROCEEDING… please put a rag or towel to cover the engine cases/lower end. You don’t want anything to fall in like a c-clip.

Next, you put the ring onto the piston. The ring has a letter “N” near the gap. You want that facing up (towards top of the piston). Start by fitting one end of the ring into the groove by the centering pin. Keep the other end above the piston top. Slowly work the ring into the groove working around the piston. It will slip in pretty easy.

image_199.jpg
 
Next, you put the needle bearing that has been soaking in 2T oil into the small end bore of the connecting rod. Since the first c-clip is already installed (from above with the Bux Tool), you can now put the piston on the connecting rod. Make sure the arrow points to the exhaust port.

Coat the wrist pin and slide it into the piston/rod with as much oil as possible being retained by the needle bearing. Next, install the second c-clip using the Bux Tool (or other favorite method). YOU DID REMEMBER TO COVER YOUR LOWER END BEFORE DOING THIS.

image_207.jpg


Now wipe the piston skirts down with your oil damp rag. Also, now is a good time to remove the rag/towel covering the lower end.

Next, carefully install the cylinder while compressing the piston ring. The ring will need to stay centered on the locating pin. It took me a couple of attempts, but I finally got the cylinder on. I used Walt’s suggestion and torque the 4 cylinder nuts to 15 ft-lbs (i.e., same as the cylinder head bolts). Tighten the nuts in a cross pattern. Also, double-check that you have the arrow on the piston pointing forward to the exhaust port. Finally, install the oring that goes between the PV shaft and back cover (see far right box below).

image_208.jpg


image_209.jpg
 
Just to make sure the piston was sliding freely and I didn’t mess up... I removed the ignition cover and rotated my flywheel a few times. Everything was good!

FYI… I running a 7oz. weight on my CR125 flywheel. The weight was from a GasGas bike. You also need to have a custom spacer made for the cover. My other custom item was a case guard that I designed. Sorry, I had to post about my Bling.

image_210.jpg


image_211.jpg
 
Next, you will put both cylinder head orings on. I lightly oiled both orings to have them seat better when tightening the head bolts. After you put the cylinder head, you will torque the 5 bolts to 15 ft-lbs. Tighten the bolts in a cross/star pattern.

image_214.jpg


I thought it was worth mentioning… I bought new washers for the cylinder head bolts and I received steel ones with rubber seal/oring. The original ones were copper washers. Both can be used interchangeably. From my discussions with Walt, the copper washers tend to get beat up over time and the steel washer with the o-ring eliminates that problem. Also, the steel washers make torquing the head better because the copper washer isn't deforming. You do need to keep the o-ring in good condition but if you are only pulling your head once a year or so not a problem.

image_212.jpg
 
Back
Top