• Hi everyone,

    As you all know, Coffee (Dean) passed away a couple of years ago. I am Dean's ex-wife's husband and happen to have spent my career in tech. Over the years, I occasionally helped Dean with various tech issues.

    When he passed, I worked with his kids to gather the necessary credentials to keep this site running. Since then (and for however long they worked with Coffee), Woodschick and Dirtdame have been maintaining the site and covering the costs. Without their hard work and financial support, CafeHusky would have been lost.

    Over the past couple of weeks, I’ve been working to migrate the site to a free cloud compute instance so that Woodschick and Dirtdame no longer have to fund it. At the same time, I’ve updated the site to a current version of XenForo (the discussion software it runs on). The previous version was outdated and no longer supported.

    Unfortunately, the new software version doesn’t support importing the old site’s styles, so for now, you’ll see the XenForo default style. This may change over time.

    Coffee didn’t document the work he did on the site, so I’ve been digging through the old setup to understand how everything was running. There may still be things I’ve missed. One known issue is that email functionality is not yet working on the new site, but I hope to resolve this over time.

    Thanks for your patience and support!

My Take On Converting 630 Cans To Flow-throughs

I wouldn't be so happy having to pay $130 for a tire. The 140/80 might even be more.

_
But if it last 2x as long as a $80 tire it's worth it. That's one less tire change and the cost of shipping. You might even get 3x the life, at that point you're saving a lot.
 
Actually 119.95 plus free shipping.

Only if you ride a KLR650, haha. $130 for the Husky.

But if it last 2x as long as a $80 tire it's worth it. That's one less tire change and the cost of shipping. You might even get 3x the life, at that point you're saving a lot.

I don't want to hijack this into a tire thread but I strongly disagree. Read the reviews for this tire, you will not get 2X more life than even a $60 tire, 3X is impossible. Real life will probably put it equal to or give you maybe a hundred miles or so more. I'd love to hear reviews otherwise though for someone using it on our bike.

_
 
Only if you ride a KLR650, haha. $130 for the Husky.


I don't want to hijack this into a tire thread but I strongly disagree. Read the reviews for this tire, you will not get 2X more life than even a $60 tire, 3X is impossible. Real life will probably put it equal to or give you maybe a hundred miles or so more. I'd love to hear reviews otherwise though for someone using it on our bike.

_
E-09 non-Dakar 119.95, Dakar-130.00
 
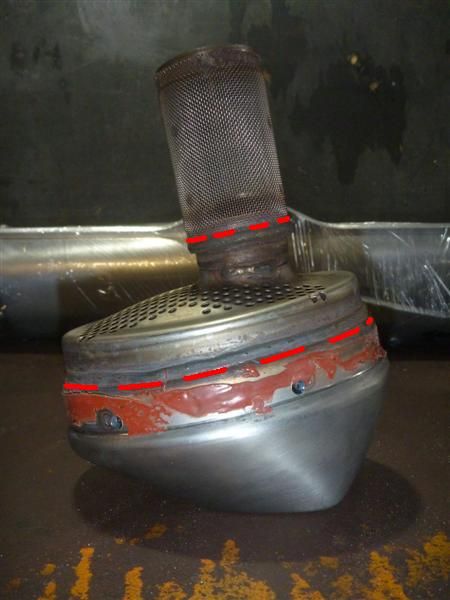
Half way thru the can conversion.My stock pipes in Australia don't have a arrestor ,got these USA ones to cut up.Want to remove the spark arrestor.Has anyone removed the lot,fibrepacking in the end cap+ arrestor.It's the lower line in the pic or am i better off just cutting the arrestor,higher line?

exhaustmod002Medium.jpg
 
If you're not doing a lot of dry brush riding, I'd cut at the lower line and take the whole thing out.
 
I'm not sure what's inside that end cap, but if you cut the sparky off you'll have to figure a way to hold the perf pipe you're going to run into that end cap. You may have to have something fabricated like RDTCU did in post one.

I have about 4K on the bike now and have been very happy with the gutted dual cans. It's been a great bike and is ready for another 4K. Absolutely no issues.
 
A major success...:thumbsup:

Gutting the cat and stainless muffler dropped about 5lbs off and there is a noticeable surge of power at 3500-5000. Sound is a little more throaty but maybe only a DB or two over stock. Plus the cans stay cool enough to put your hand on them, the shields stay cool to the touch, except the screws that fasten them but that's to be expected.

The rivets are easy to drill out with a 7/64 bit and then punch them in. The remaining rivet body drops into the inlet part of the muffler and they are easily removed once you cut off the front of the stainless muffler part.

On the TE the whole outlet end cap is a one-piece unit. Once the star-screws are removed the end cap is easily tapped out with a screw-driver blade and hammer. Go easy here so you don't dent or scratch your end cap. Now the main body of the muffler can be tapped out the other way with a block of wood and a 3lb ballpene.

With a hacksaw it's easy to cut the muffler part off and if you saw about 5/8" from the rivet flange on the inlet side you will get the complete cat as well. Look for the spot welds and saw just inside them, you'll retain the internal framing for the cat but your saw will take out the cat completely intact. You're left with an end cap with tapered inlet that the 2" perforated pipe fits right into. No punching, chiseling, or holesawing. It just cuts right off of the inlet cap assembly.

I got 3' of pipe and used all but about 4" of it.

DSC04406.jpg


This crap weighs 5lbs.

DSC04407.jpg


With a ballpene hammer I tapped the end of the perf pipe so that the sparky just slides in. This holds the internal perf pipe nicely in place. No welding required, no special tools. The other end i did a much lighter taper so that it fit into the inlet end cap snuggly. The stainless piping from Baron's is really nice heavy duty stuff. Very nice to work with. The 3' length of pipe weighs less than 2lbs.

DSC04408.jpg


I then wrapped the perf pipe with fiberglass muffler packing and spiral wound it with 20ga wire. The can housing is also lined with fiberglass. The whole thing fit back together easily and nicely. I used hi-temp RTV silicone on both fastening flanges of the end caps, aluminum rivets for the inlet, and re-used the star-end machine screws on the outlet.

I now have a completely flow-thru cans with spark arrestors, plus the old girl dropped 5lbs in the process - Win-Win!! This thing just gets up and scoots now!

I followed this post along and everything worked out great. Thanks for the post and the links for the screen. I cant wait for the snow to melt and try it out on the trails.

Randy
 
Glad it worked out for you. I've been very satisfied with with this mod. I am still running the stock ecu map so I probably don't have quite the power some are getting out of theirs, and I suspect mine leans out after about 5500rpm. But I get 50mpg and it runs satisfactorily. At some point I would like to put JD tuner on to bump up the top end.
 
Glad it worked out for you. I've been very satisfied with with this mod. I am still running the stock ecu map so I probably don't have quite the power some are getting out of theirs, and I suspect mine leans out after about 5500rpm. But I get 50mpg and it runs satisfactorily. At some point I would like to put JD tuner on to bump up the top end.
I need to go along with you. When using these bikes as travelers/explorers, range becomes more important than high power output.
 
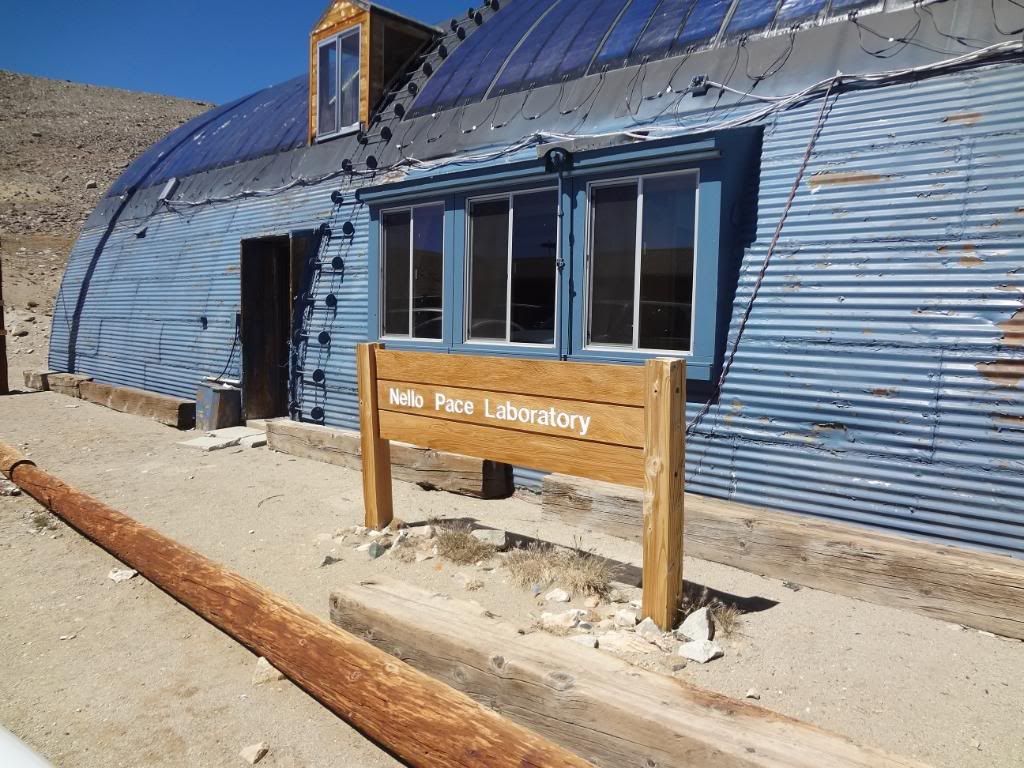
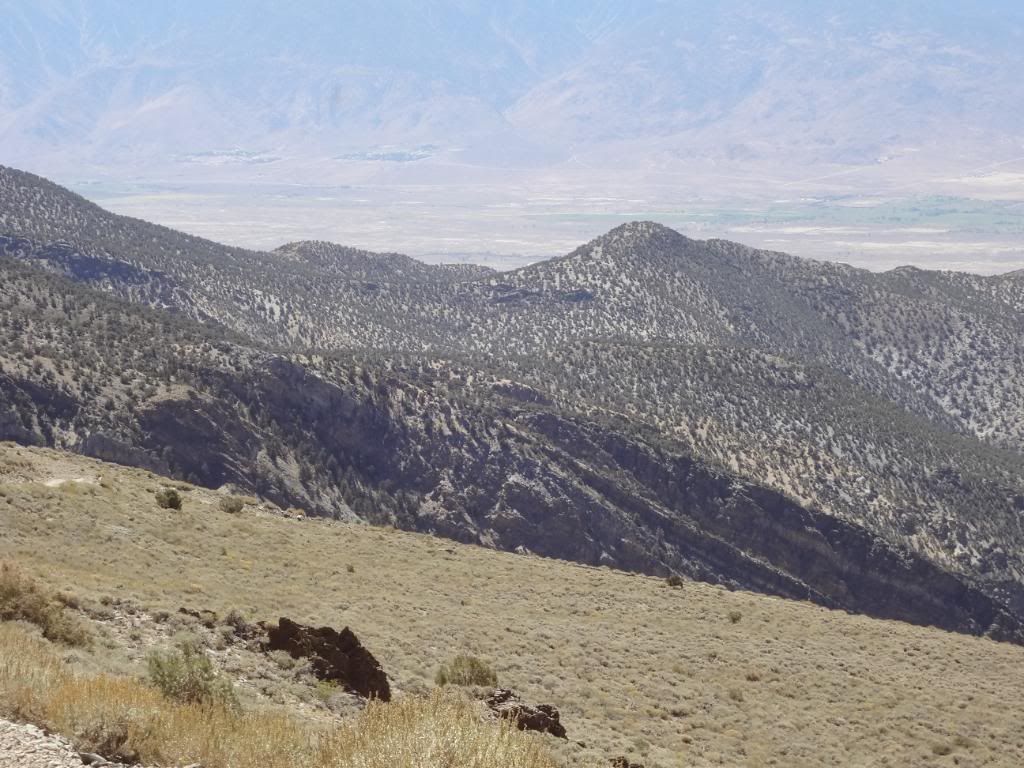
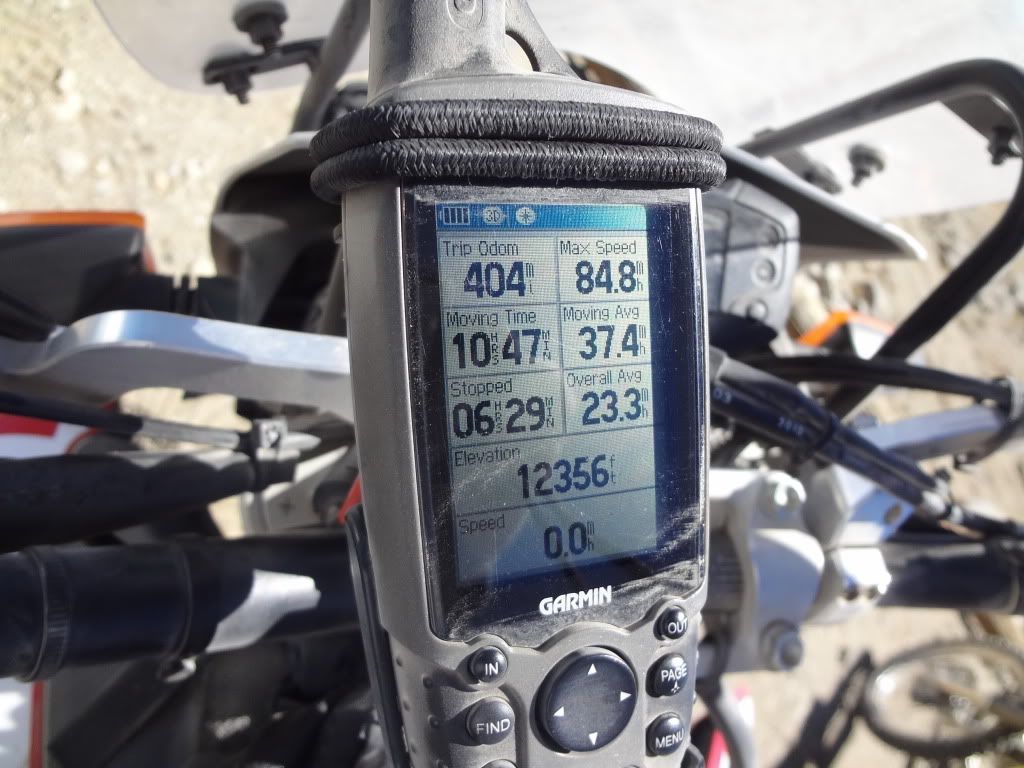
Last fall we did the White Mountain Research Station ride out of Bishop. Left camp for Bishop, up the mountain to 12,356'. The station is publicly funded so is required to be open at least one day a year - so yep, Sept 2nd was the only day last year and we were there.

I got back down the mountain to Bishop and filled 'er up, 105 miles took 2.2 gallons of gas!!

DSC01051-1.jpg


DSC01066.jpg


DSC01076.jpg


DSC01060.jpg
 
Good job there bud, thanks for sharing.
I was just thinking, would it be possible to clear the inside of the center core instead of replacing it with perforated tubing? This would eliminate some welding and enlarging the end. I'm thinking of doing the job, now that you've opened the road...
 
You can get the cats out, but to get the baffles out, it would be easier to just remove the whole center section. If you then leave the cans empty and the end cap as-is, you're still going to have some pretty significant backpressure. You can always try it and see what happens, then add the perf tube later if you want, but i don't know that you'll be happy with just empty cans on there.
 
I didn't do any welding, left the sparky in the endcap so it's all legal, 2" perforated ss pipe internal wrapped with fiberglass. Cans are cool, quiet, nice and mellow. Almost 6K miles now, very happy with the mod.

I did pop a couple of the aluminum rivets on the front cap after dropping the bike. It came with SS rivets which is an entirely different process and cost prospect. Just put some new aluminum ones in there and it's been fine.

Finally did get the iBeat setup done with Dynobobs tune settings and there's plenty of power there - way more than you can use offroad. GPS above showing 84, I may have hit 92 going back and that's as fast I dare go on this giant dirtbike. :eek:
 
I clipped 110 with factory gearing on the SMS, now it would rev out at about 104 with the larger rear sprocket...

Don't know if I'd enjoy that on knobbies...
 
Have had mine up to 99mph on hway and around 80mph on dirt.This was after can gutting and fitting the bazzaz zfi and building maps.I much prefer to enjoy the ride and spend most of the time sweeping so don't see them speeds often.Do see a few blokes go down trying to keep the pace up in the dirt.That ain't fun.
 
Here is my take on gutting the cans for a 2011 SMS630. There is no spark arrestor in these cans and I removed the CATs last year. Bike is fully uncorked with a JD tuner so this is the last cheap HP mod available without opening up the engine. I spent about $60 total. After some agonizing, I kept the stock outlet pipe size. I wanted to do what RDTCU did but left that as a plan B for later. This mod is surprisingly easy and the second can took less than an hour once I had figured out the first. I bought 2ea 18" lengths of 2" perforated 304SS tubing off ebay. Mine came from from england (cheaper shipping). I have only ridden it a couple of times with the pipes but there has been a tremendous increase in throttle response. Off idle wheelies are the norm. It is definitely noisier but is not objectinable and is not as noisy as many aftermarket pipes.

1. Start by marking the end cap and the ss bands under the rivets so you know their position for reasembly, then drill out all of the rivets with a 3/16" drill. Punch the remnants into the muffler interior.
Husky Pipe Mod 010.JPG

2. clamp the muffler in a vise (use some wood) and with a stick inserted in the inlet, knock the inner part of the muffler forward. Once the outlet end cap has been knocked outwards cut around the periphery (but not though the whole thing) at 1/2" upstream of the weld line. Once the end cap is off chisel the two welds and remove the baffle plate and the inner packing. You could almost skip this if you don't mind having the old rivets bouncing around in there forever.
Husky Pipe Mod 012.JPG Husky Pipe Mod 014.JPG Husky Pipe Mod 015.JPG
 
3. Cut the endcap pipe leaving 3/4" after the welds that used to hold the baffle plate. You need to build a transition of some type from the 2" perforated pipe to the 1-1/4" outlet. The ideal is to replace the outlet. I found that a 1-1/2" ss pipe nipple and threaded coupling was perfect. The nipple when cut in half at 15 degrees is a perfect size and the OD of the coupling will insert into the 2" tubing. My plan was to use only a 1/4" section of the coupling to save weight. I ended up not doing this as I didnt trust my welding skills to do a perfect job. Maybe later.
Husky Pipe Mod 016.JPG Husky Pipe Mod 024.JPG
Instead I build an offset cone adapter using a free program called "setup-cones205". Here is a scale template .pdf for download. I printed the layout onto sticky paper then pasted it onto some SS stock, cut out then rolled. It was not too difficult. I made a few paper ones before hand to optimize the cone size.
 

Attachments

4. Here is the cone spot welded to the perforated tubing and it inserts over the stock outlet pipe. I used the offset to center the perf tubing in the muffler. I had originally planned to find some SS shot glasses or similar kitchen type item to use as cones but didn't.
Husky Pipe Mod 004.JPG
Now knock out the remainder of the muffler to get at the inlet cap. The place to cut is 1-1/4" from the rivet hole centerline. After the end is cut off then cut off the internal pipe (that holds the cat) flush. The 2" perf pipe fits inside this but is a loose fit. I couldnt find an exhaust shop that would expand the perf tubing to fit tightly (as some have done) so I used a ss pipe fitting with a perfect OD and got a machinist to make some centering rings from it.
IHusky Pipe Mod 019.JPG Husky Pipe Mod 020.JPG
 
Back
Top