RuggedExposure
Now with more rugged!
Let me begin by saying I did this my way.
Why is that?
Because the f'ing TR650 shop manual did not include instructions on how to remove the fuel tank and air box. That's why.
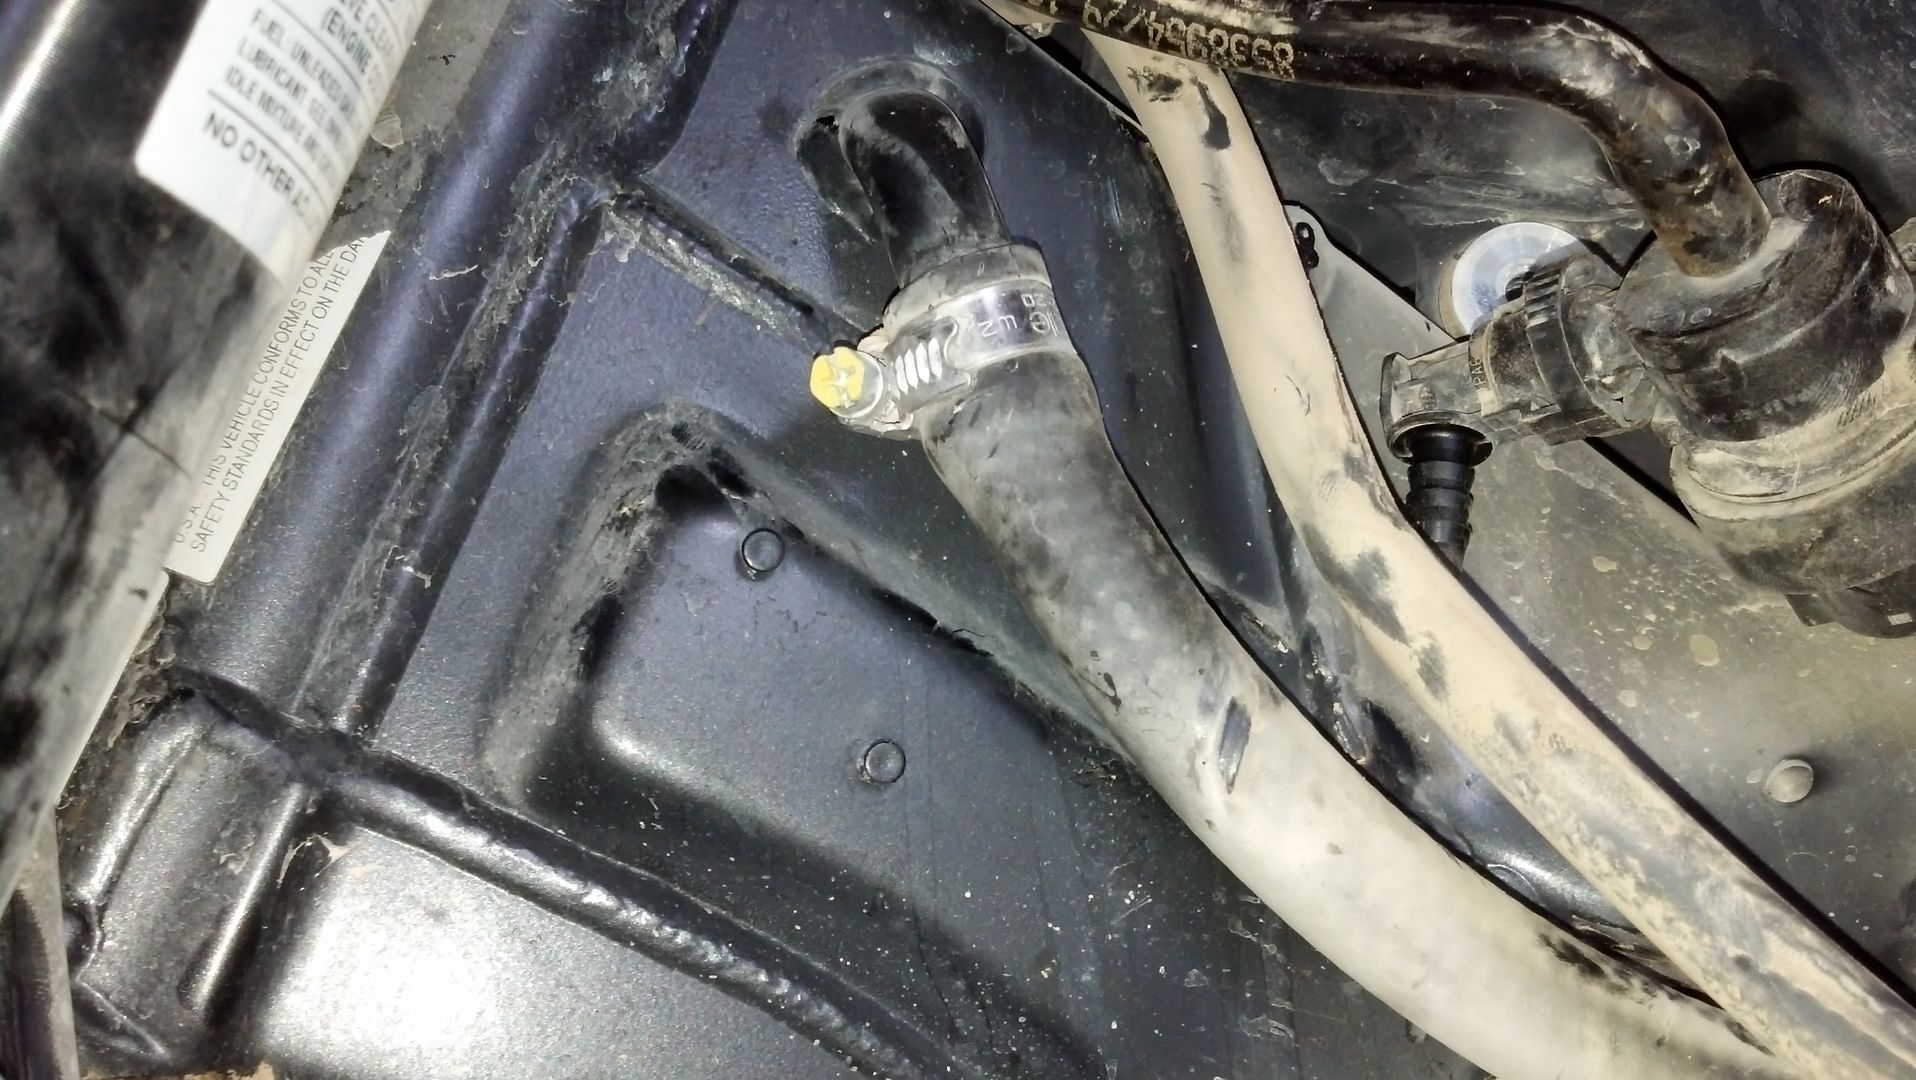
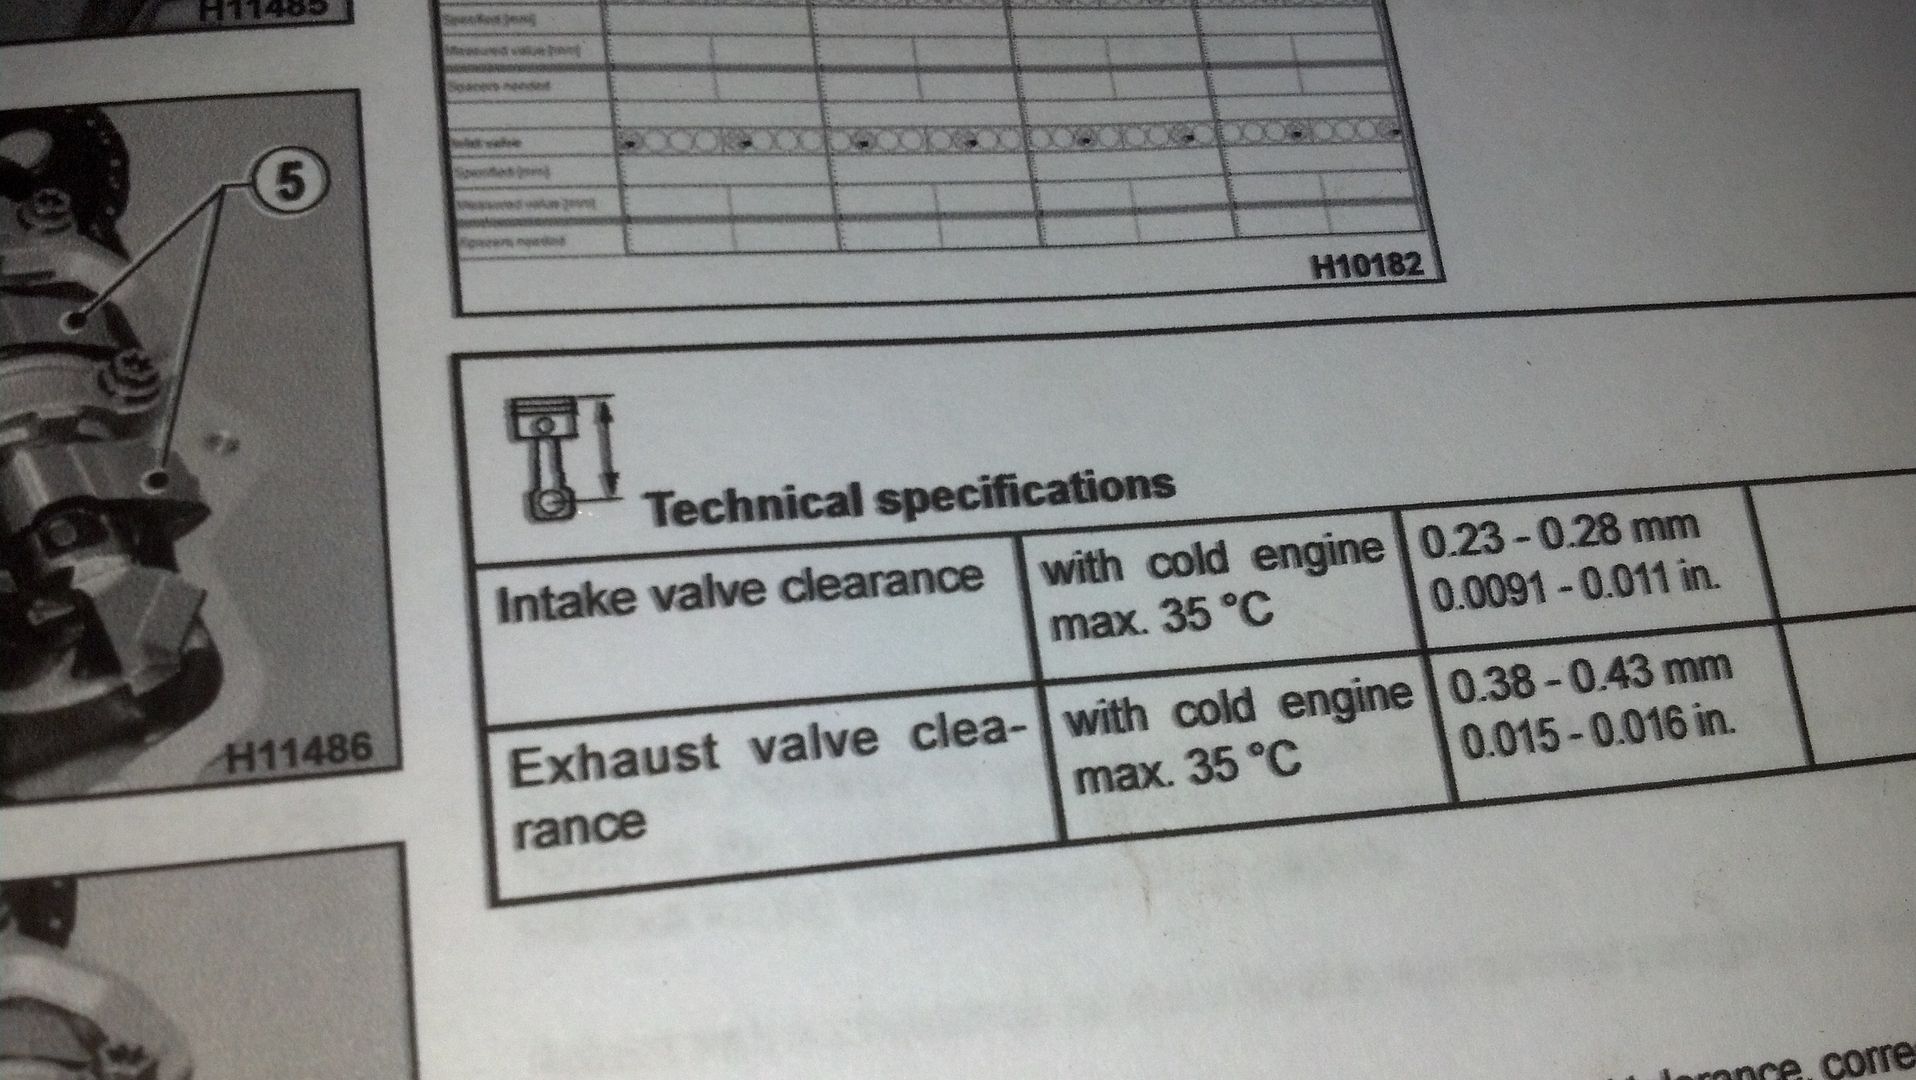
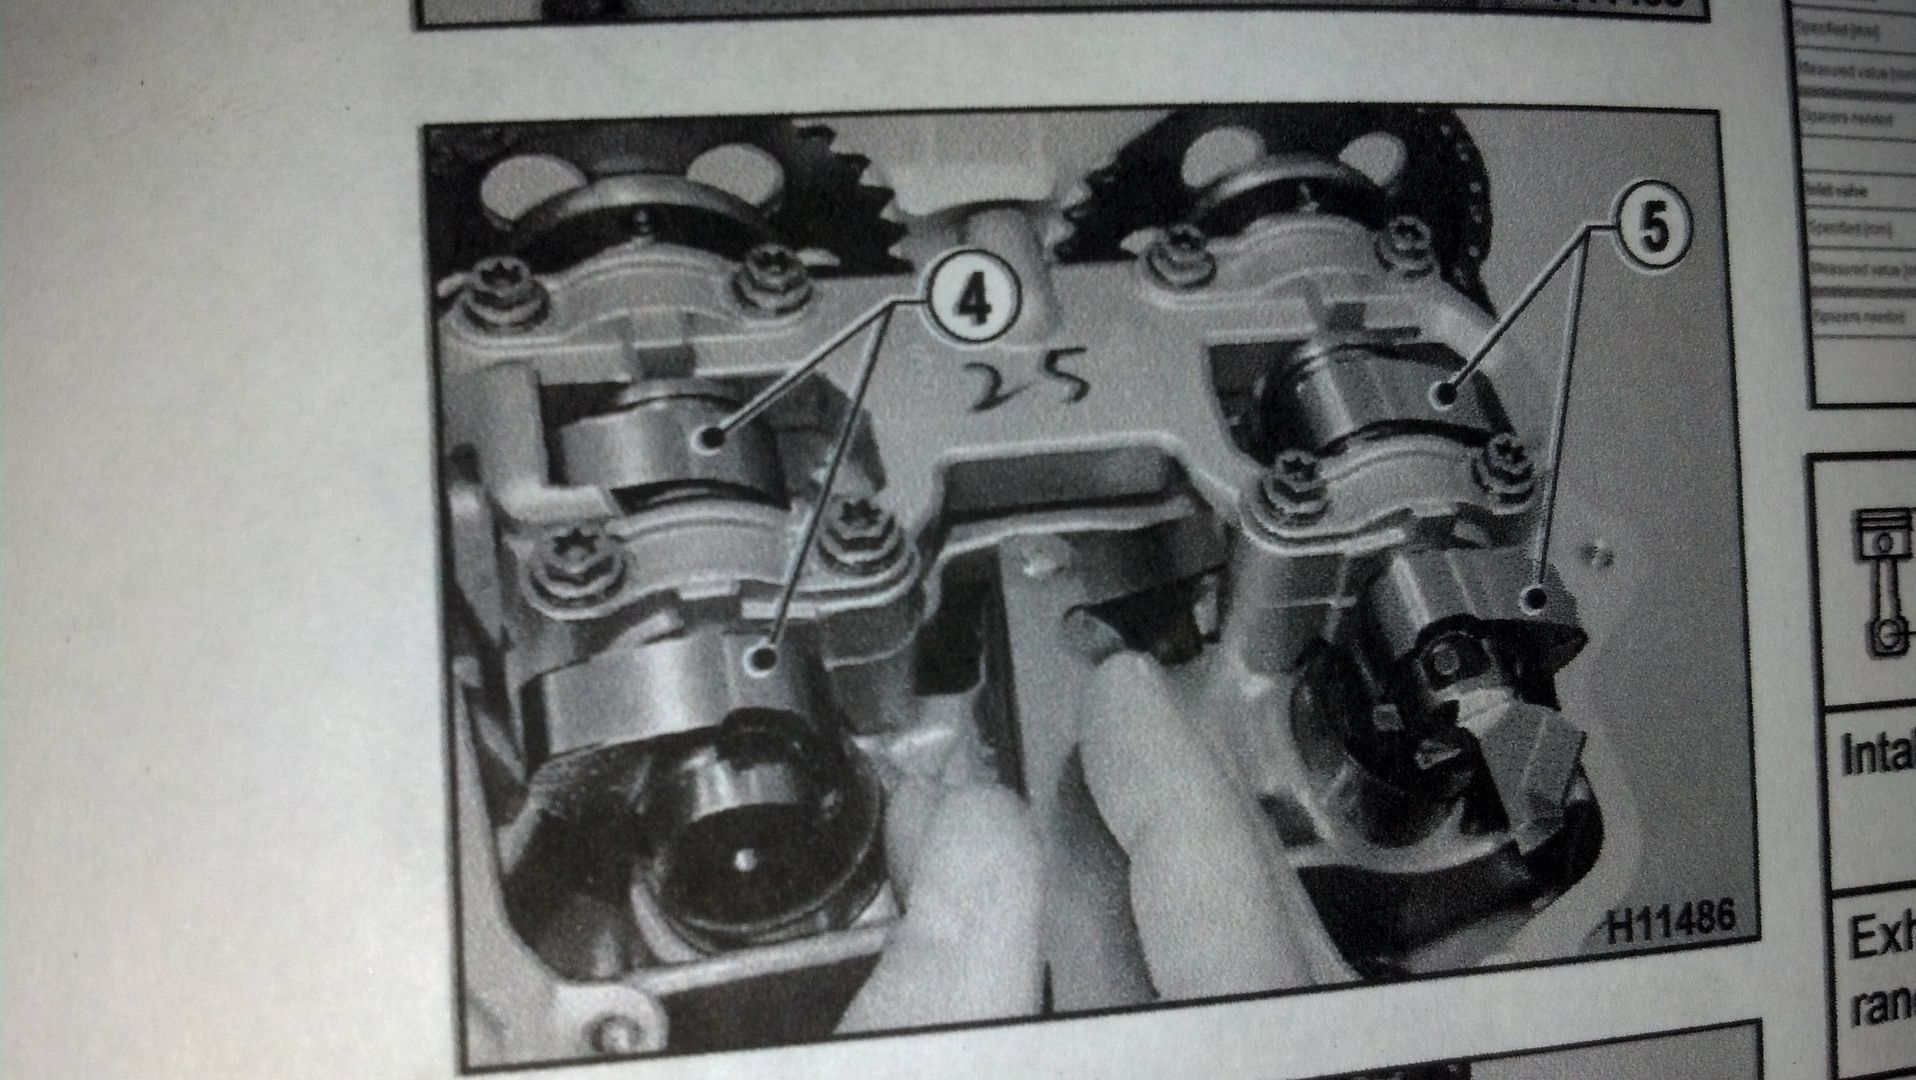
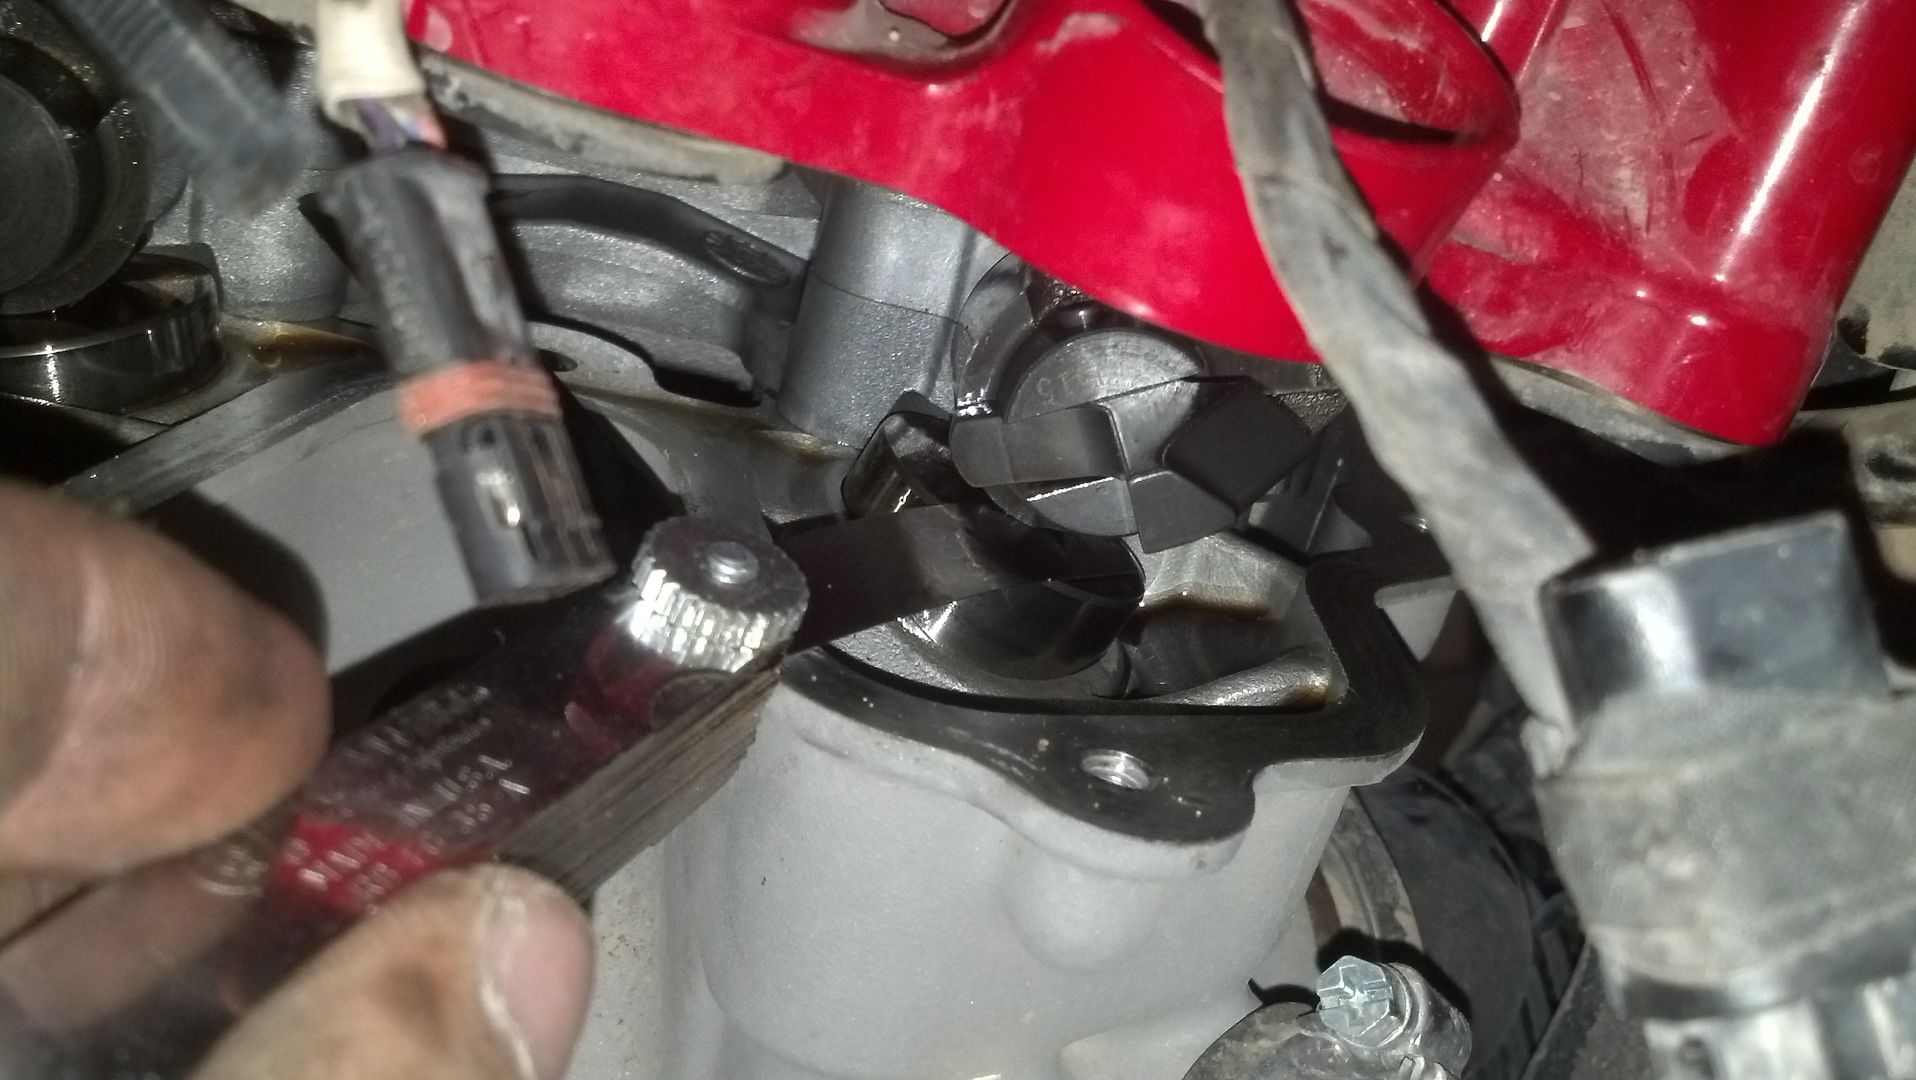
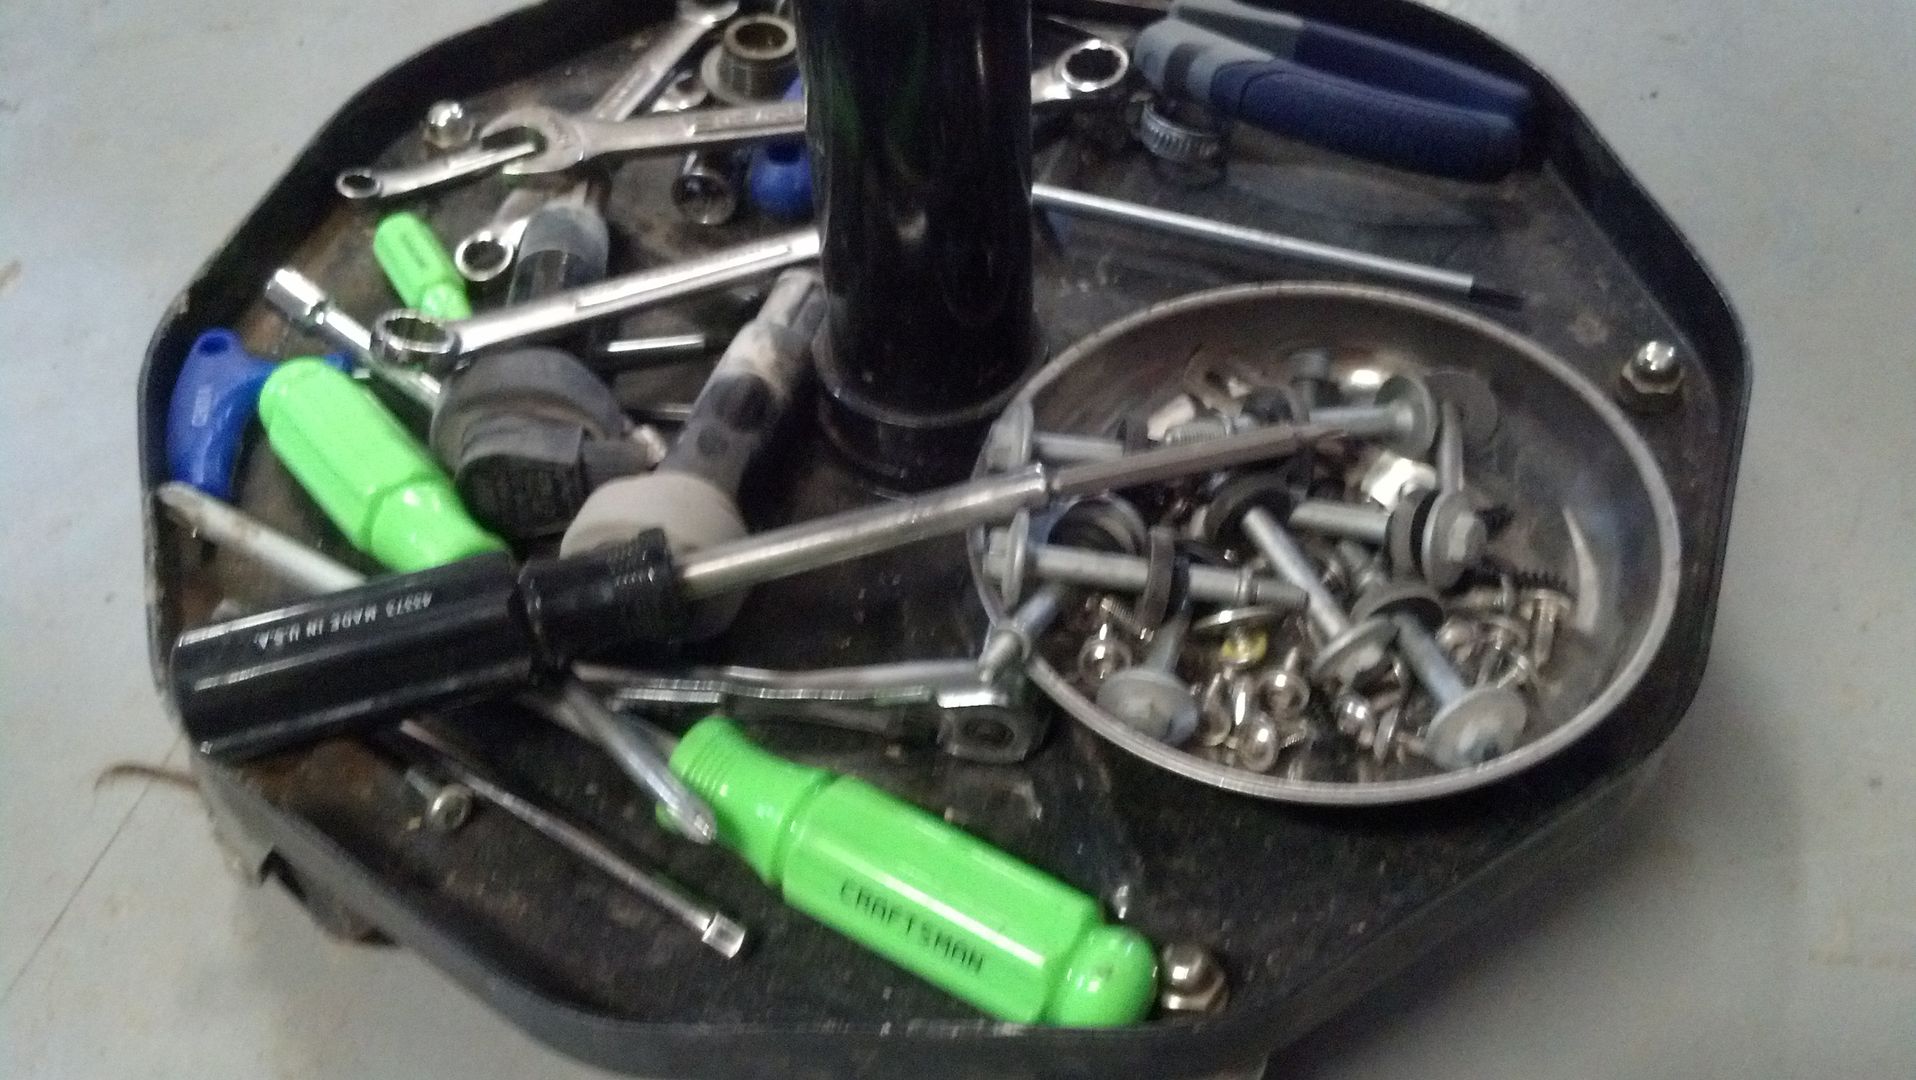
This is just a pictorial on how I chose to check the valve clearances @6k miles. This task is not for the faint of heart and is a bit involved.
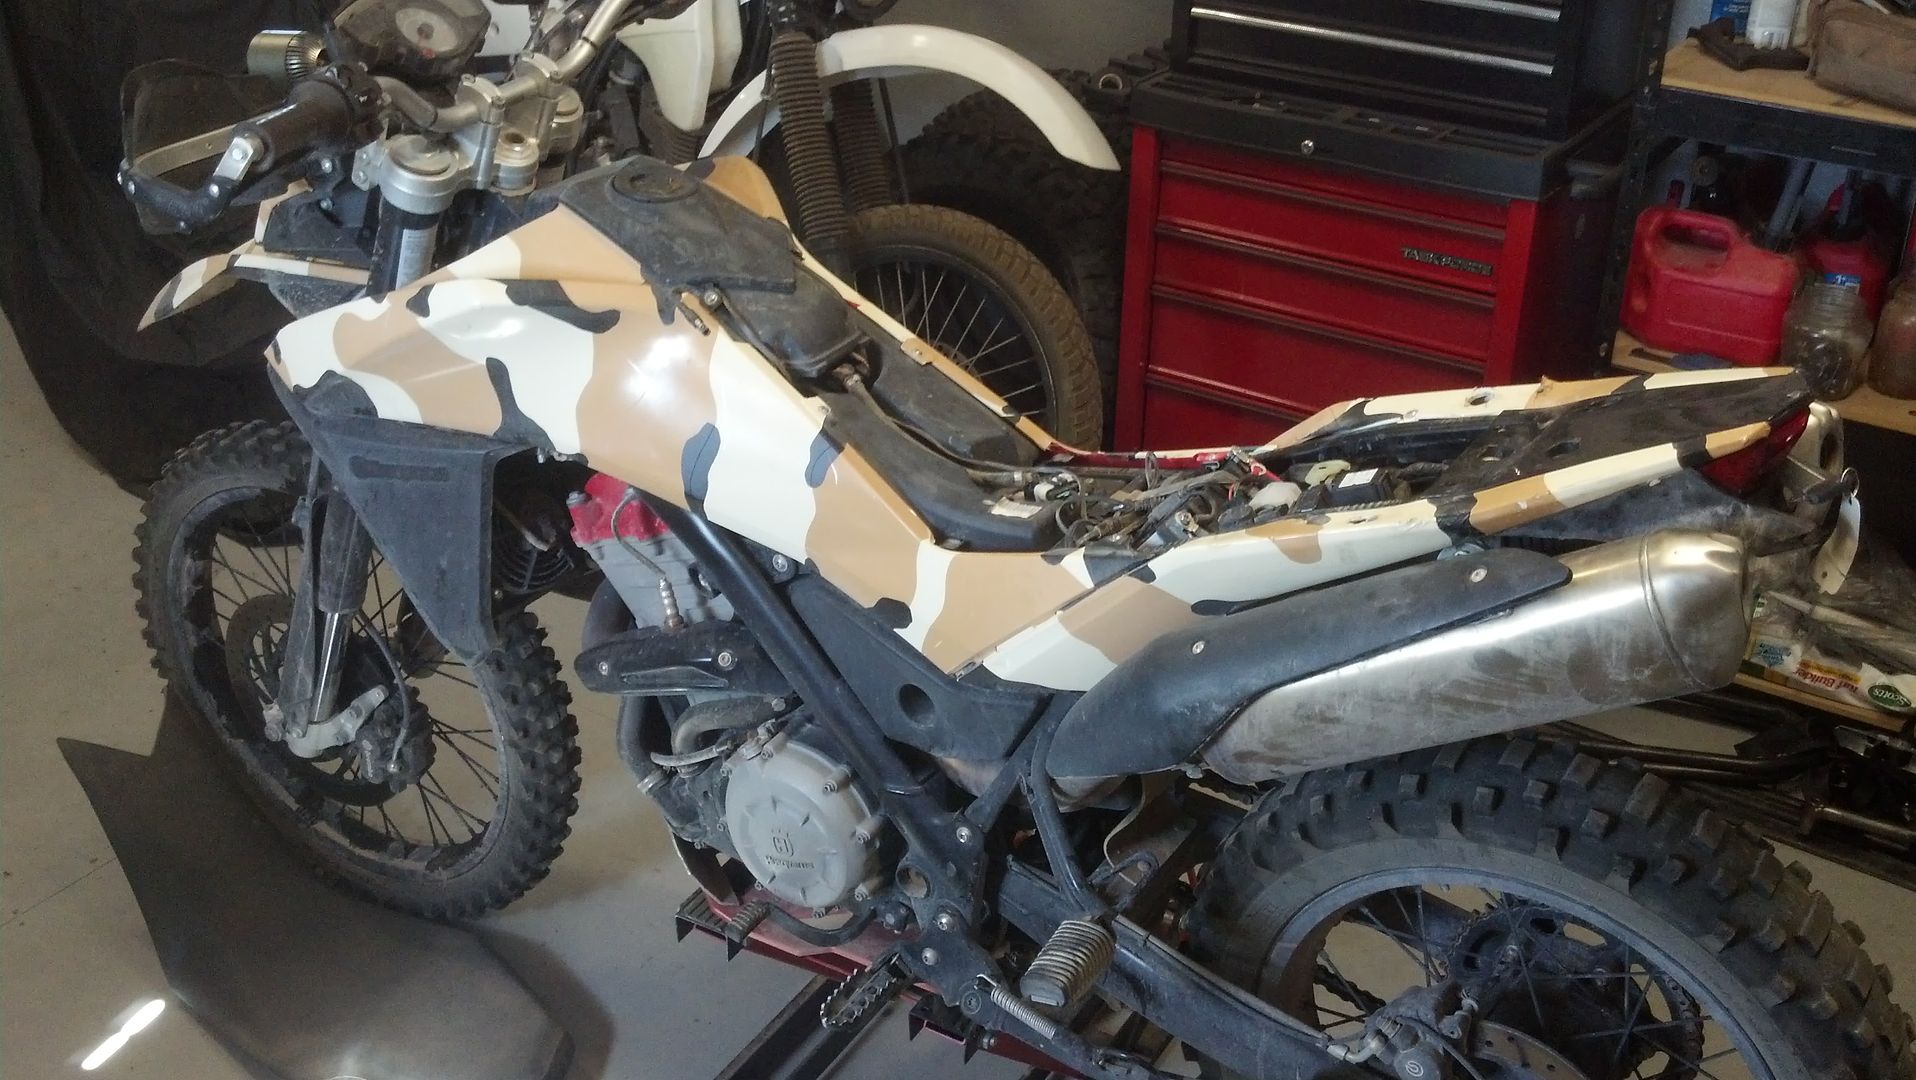
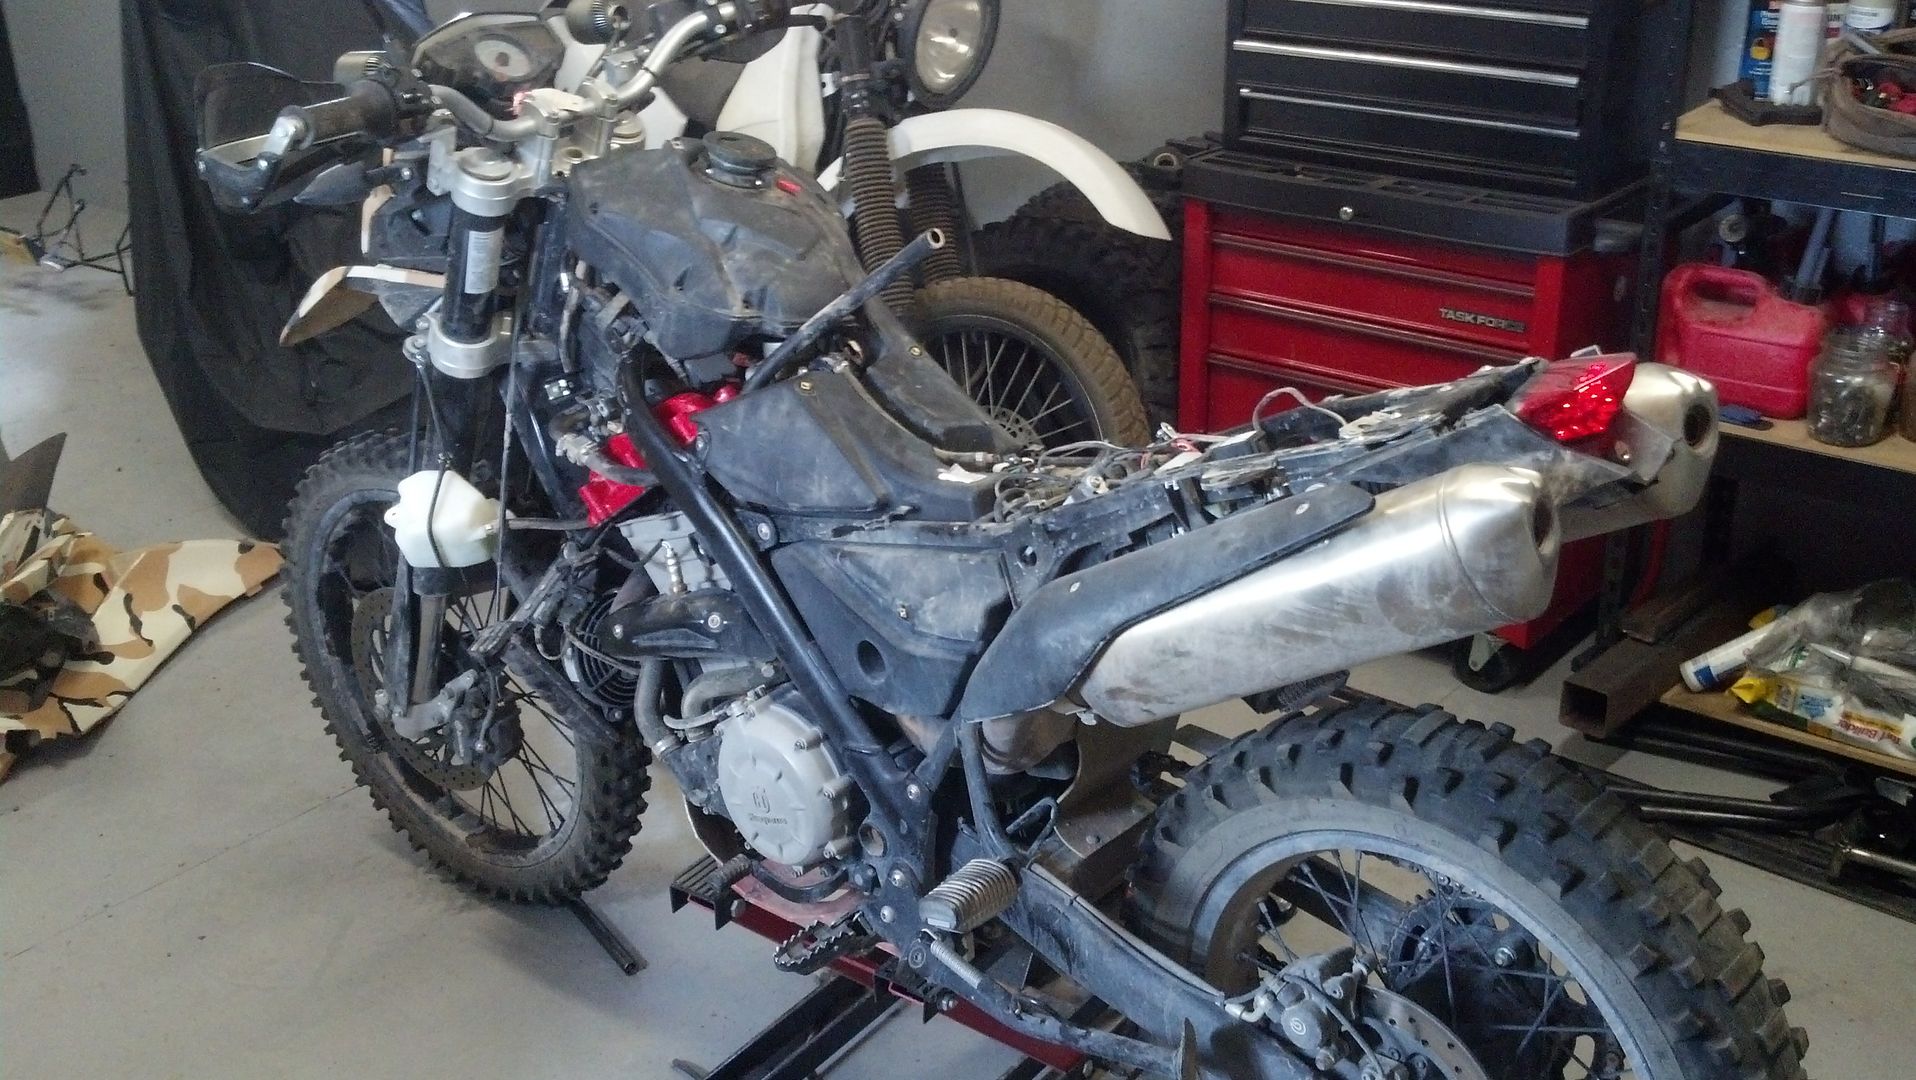
Begin by putting your bike up on the lift and taking the seat off:
If you don't have a lift, the job is still possible, but harder.
Now that you have your bike in a vulnerable position, you need to assert your dominance. Do not show any fear to this beast or it will realize it can overcome you and take the alpha position in the relationship.
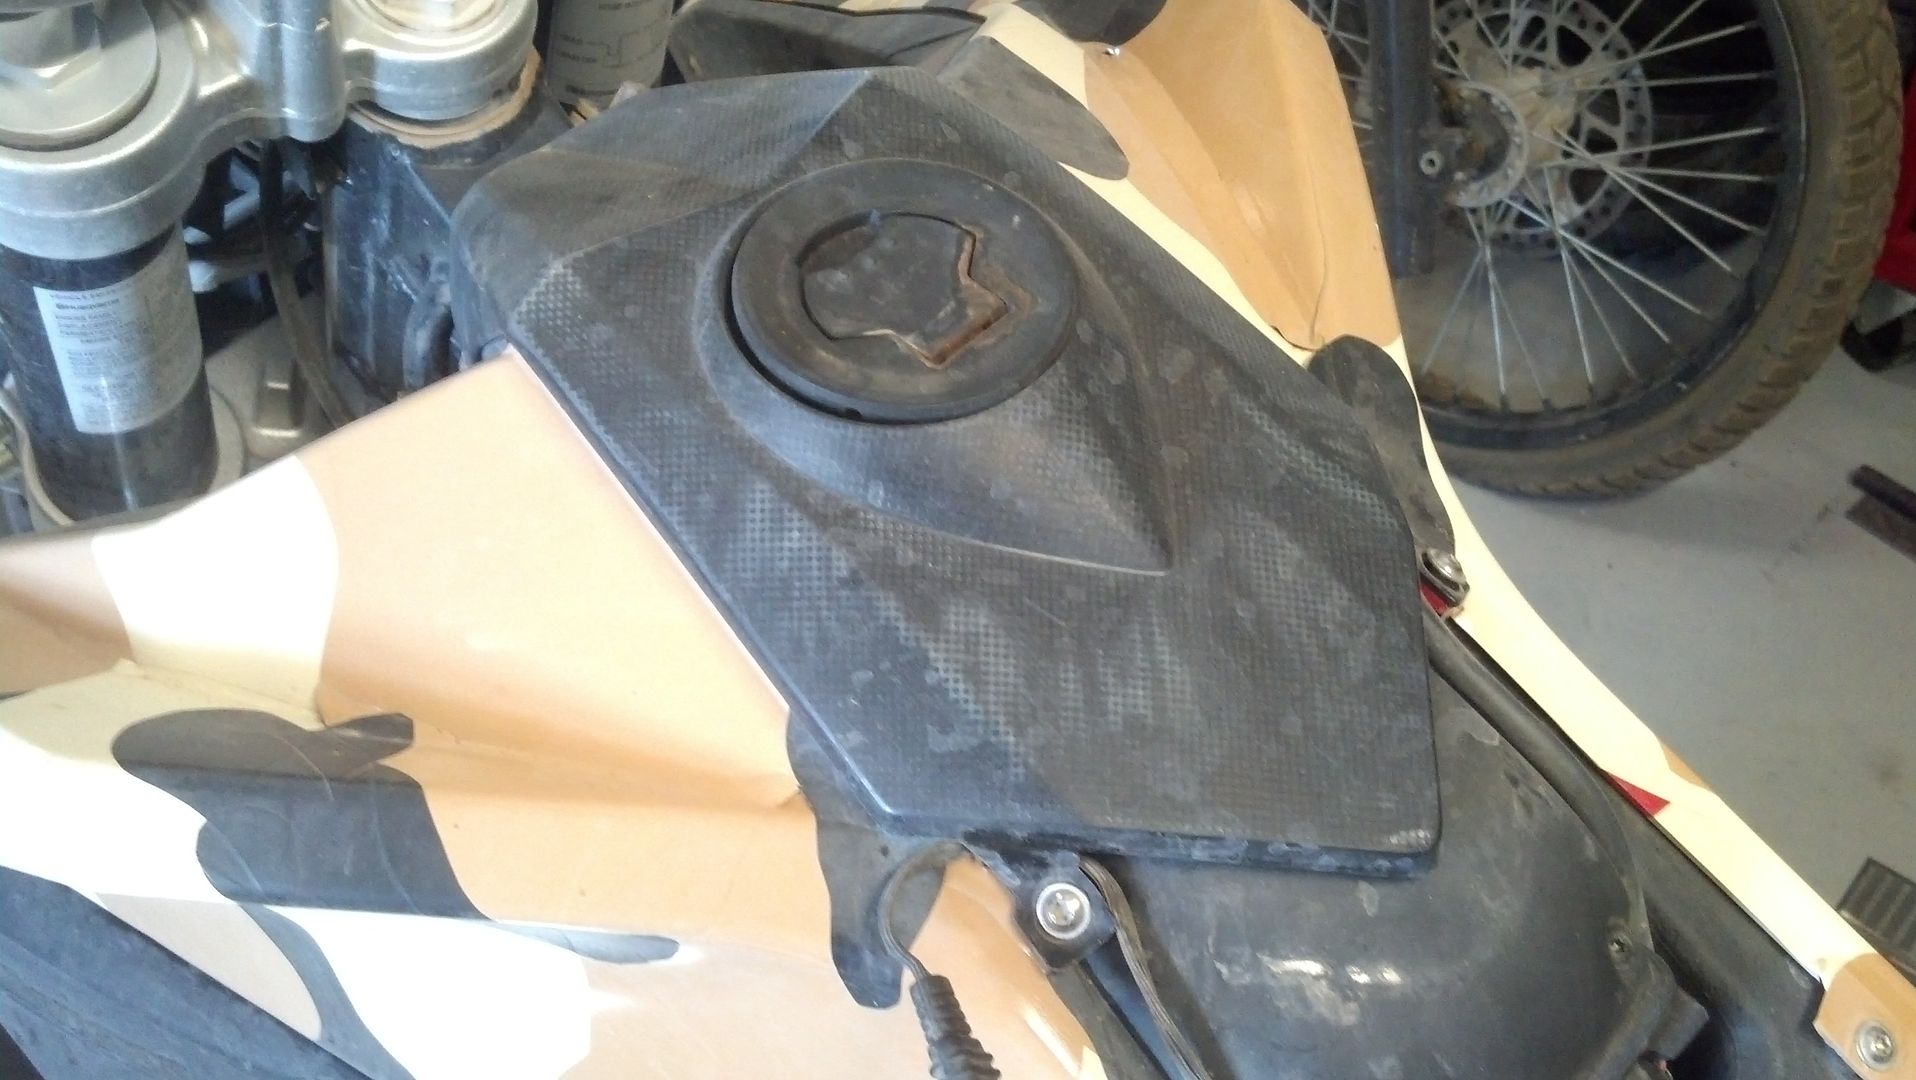
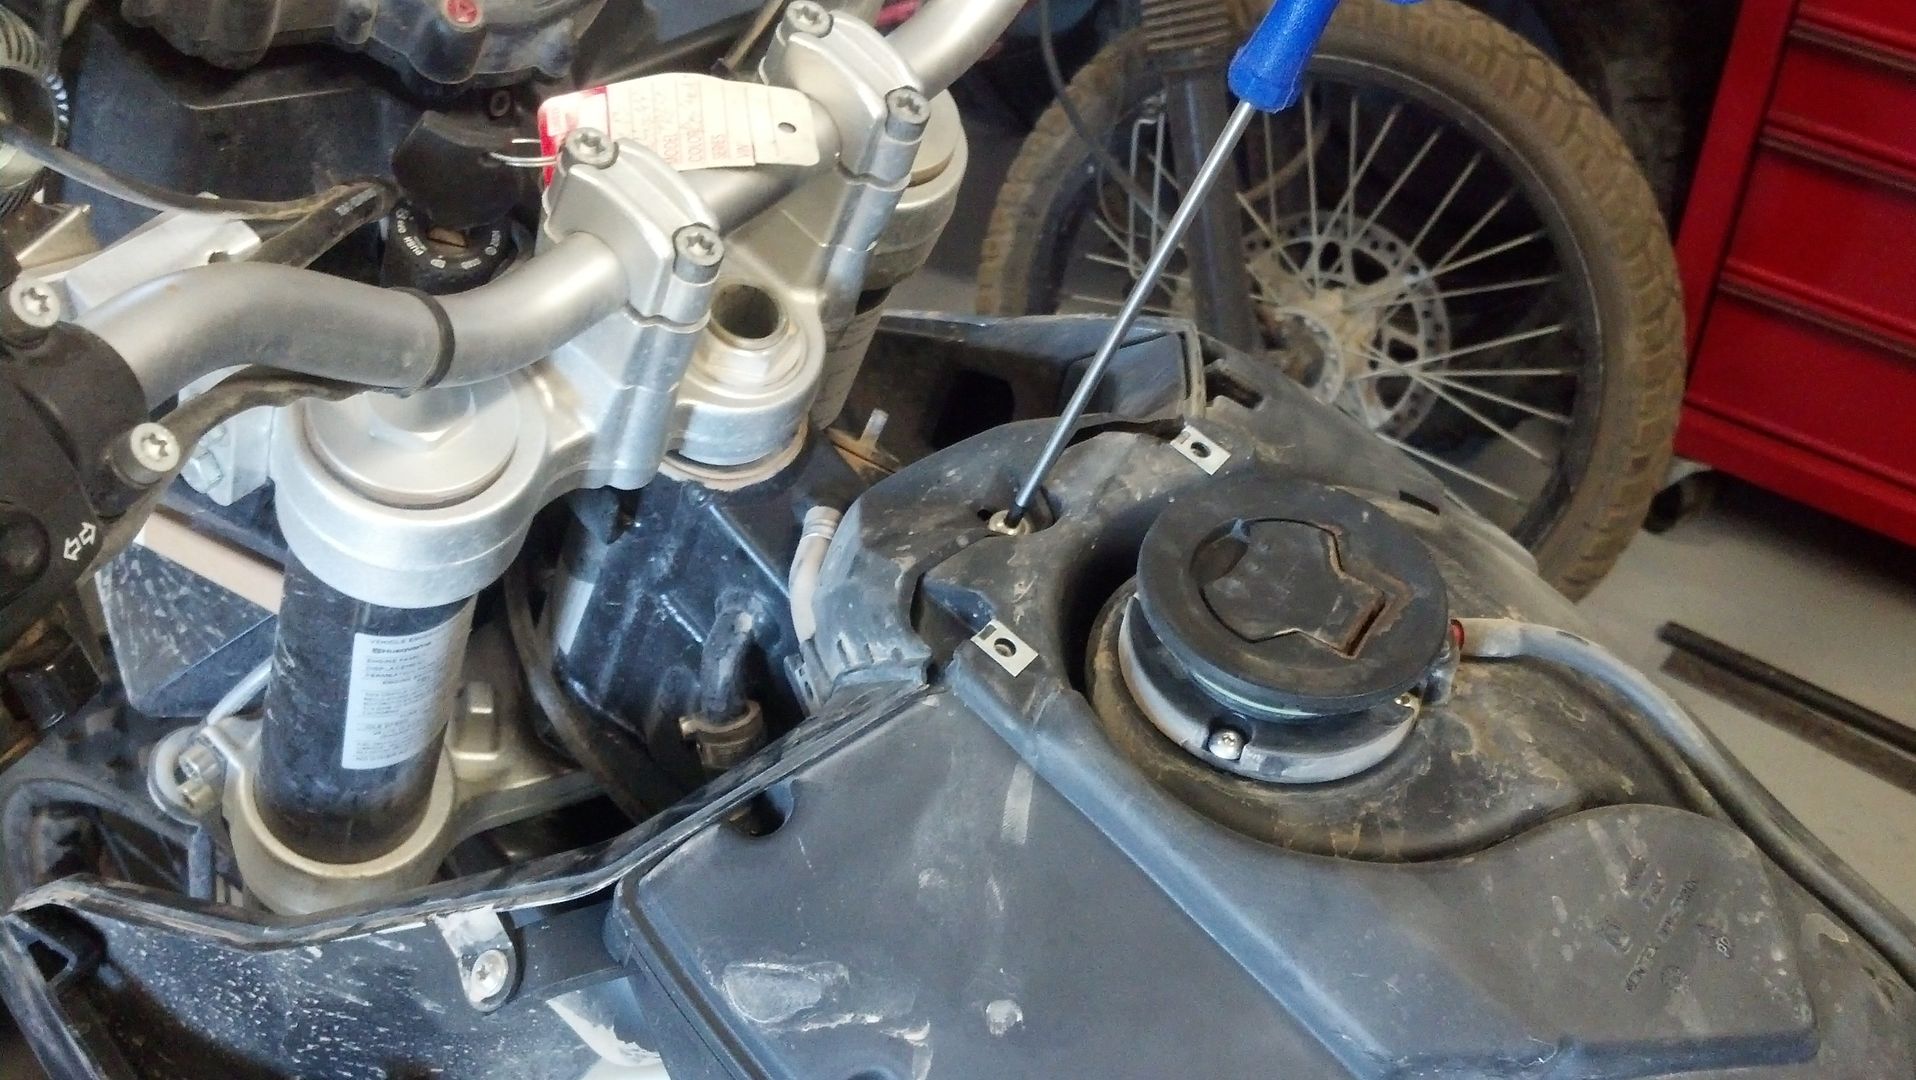
Next remove the panel around the fill cap:
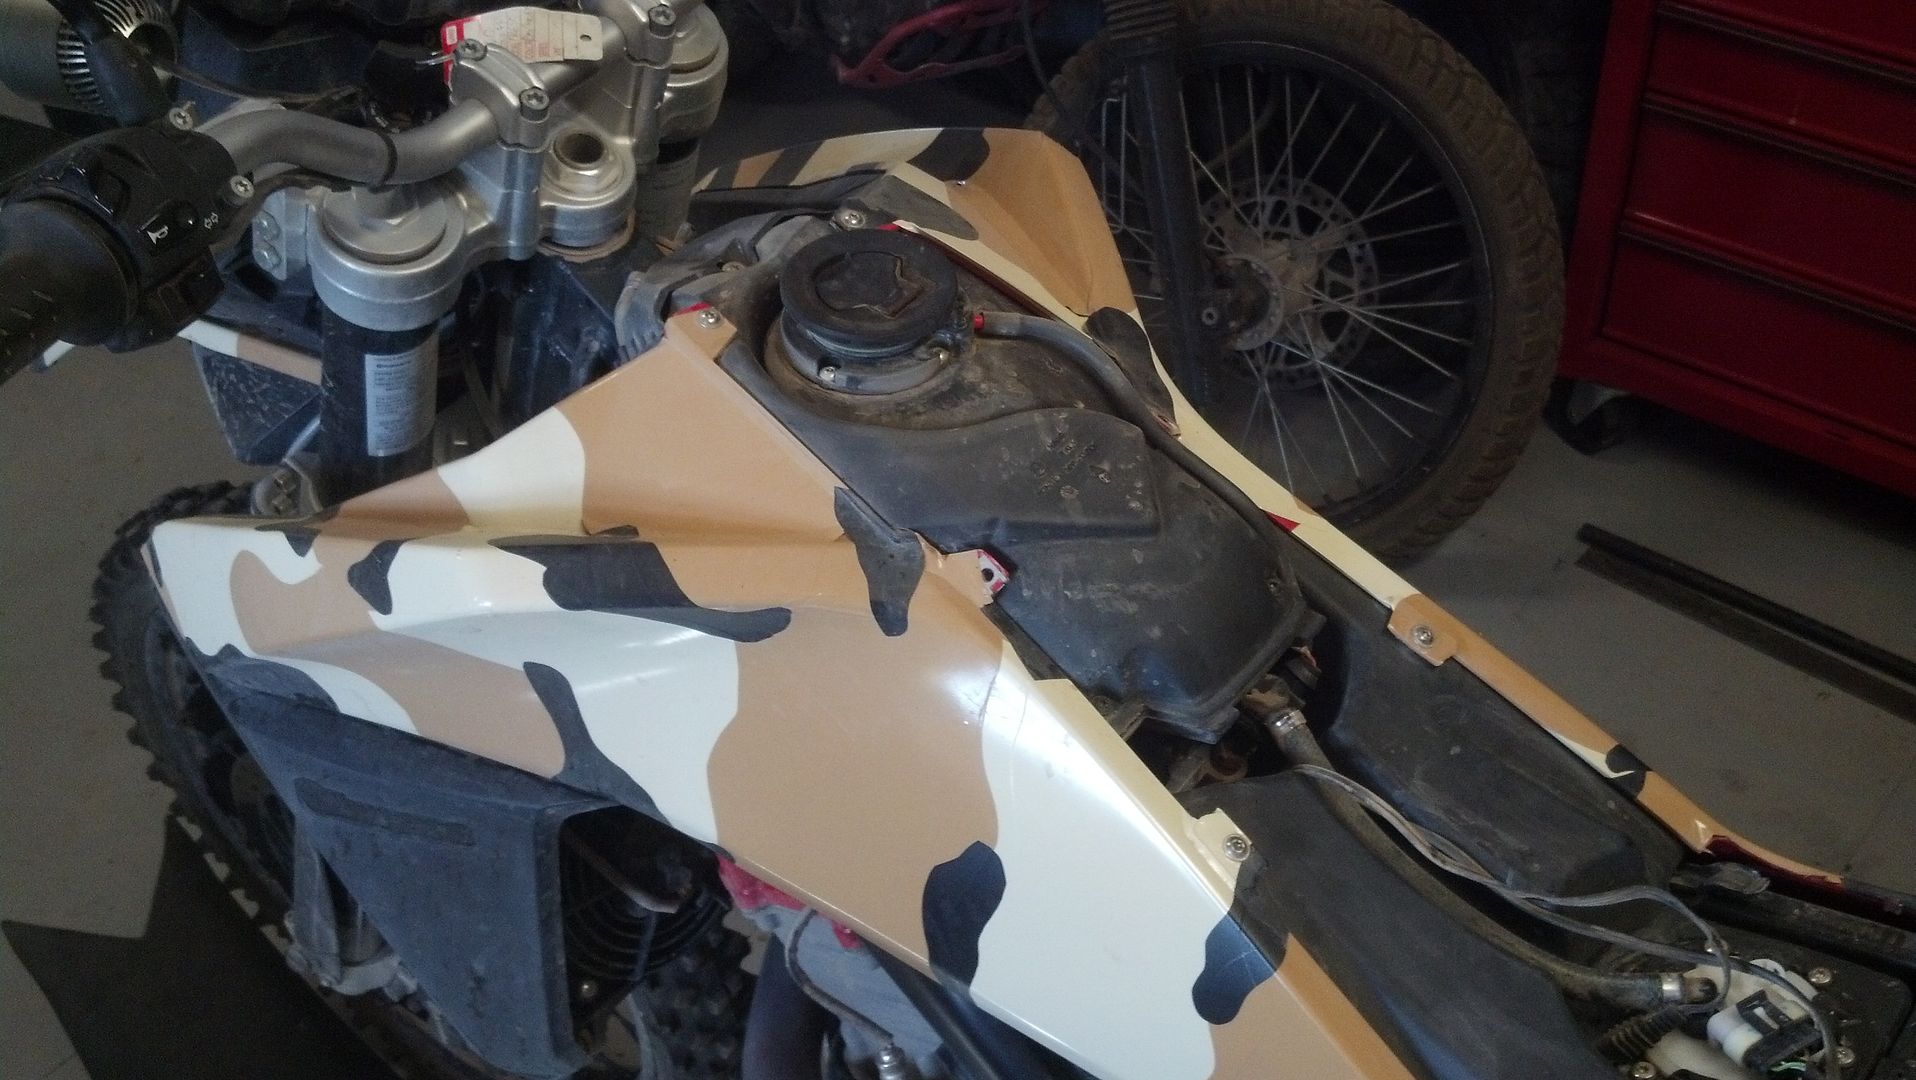
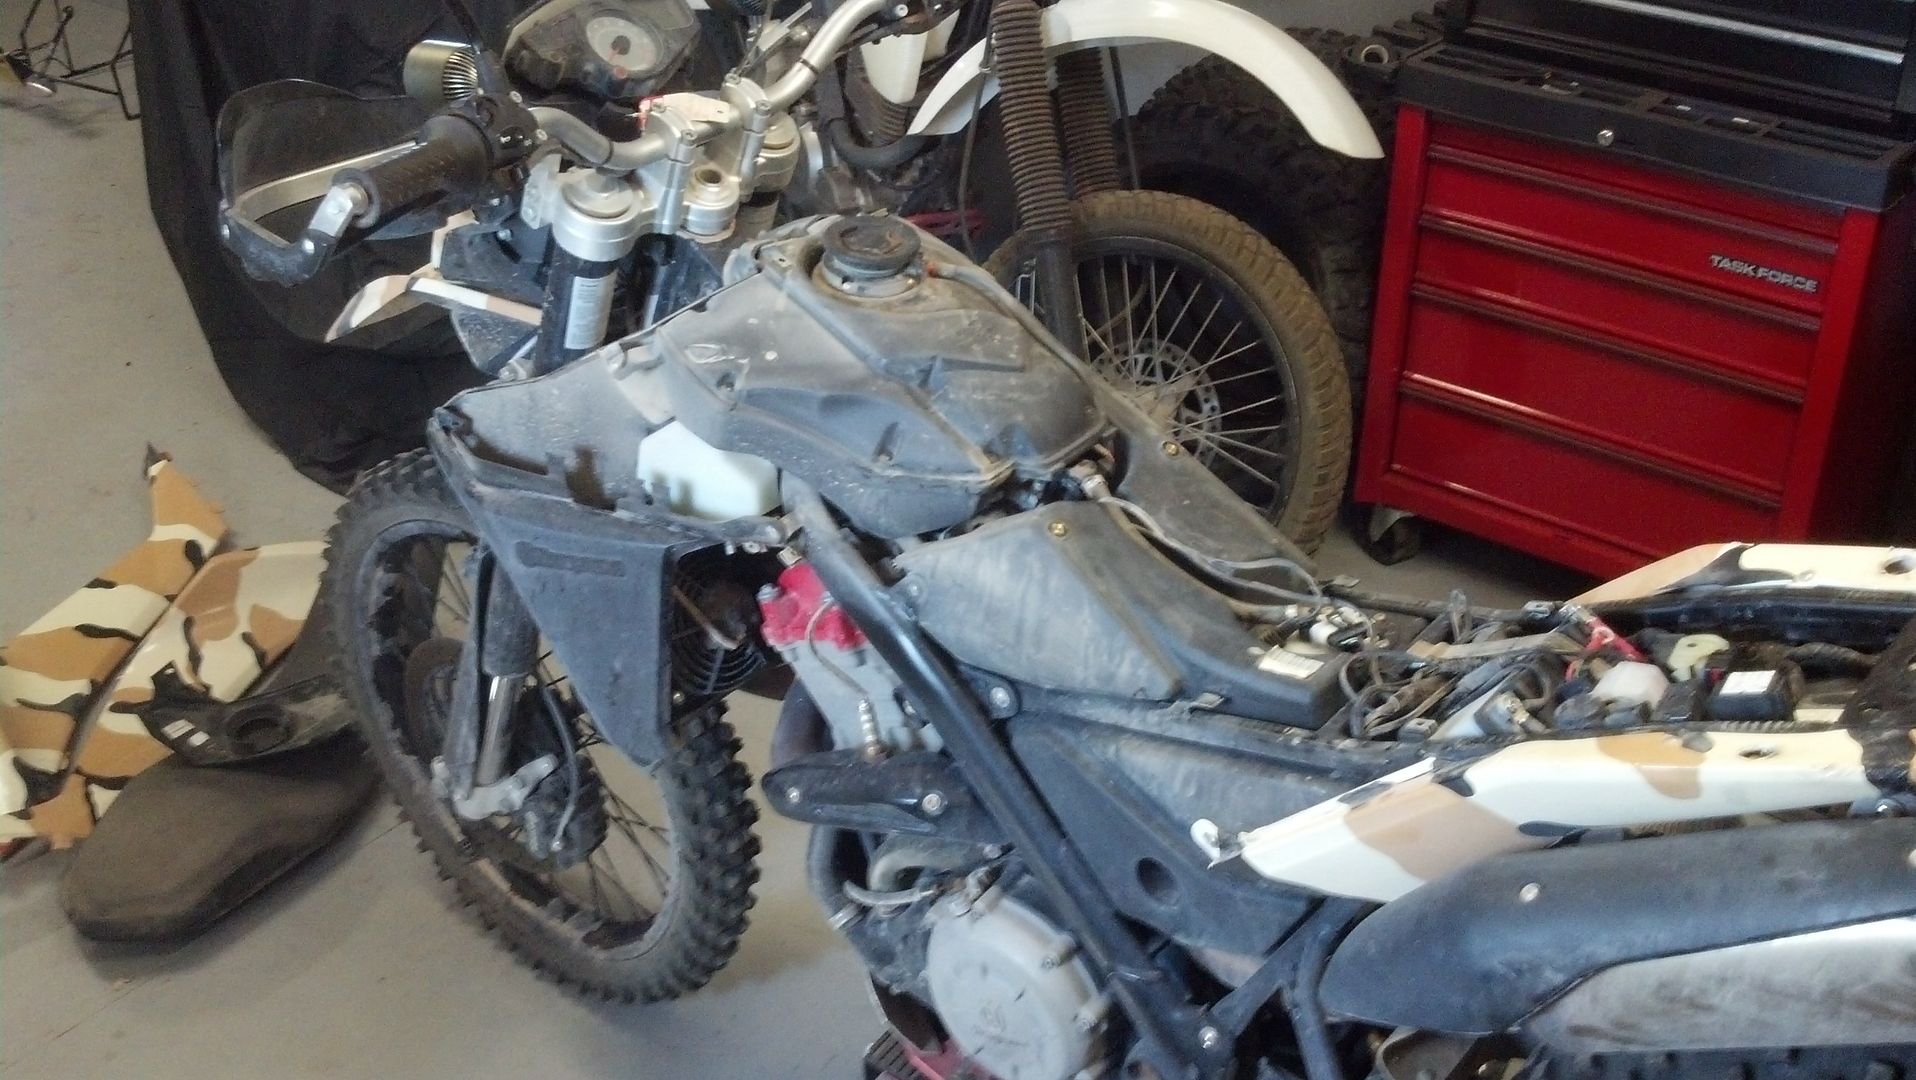
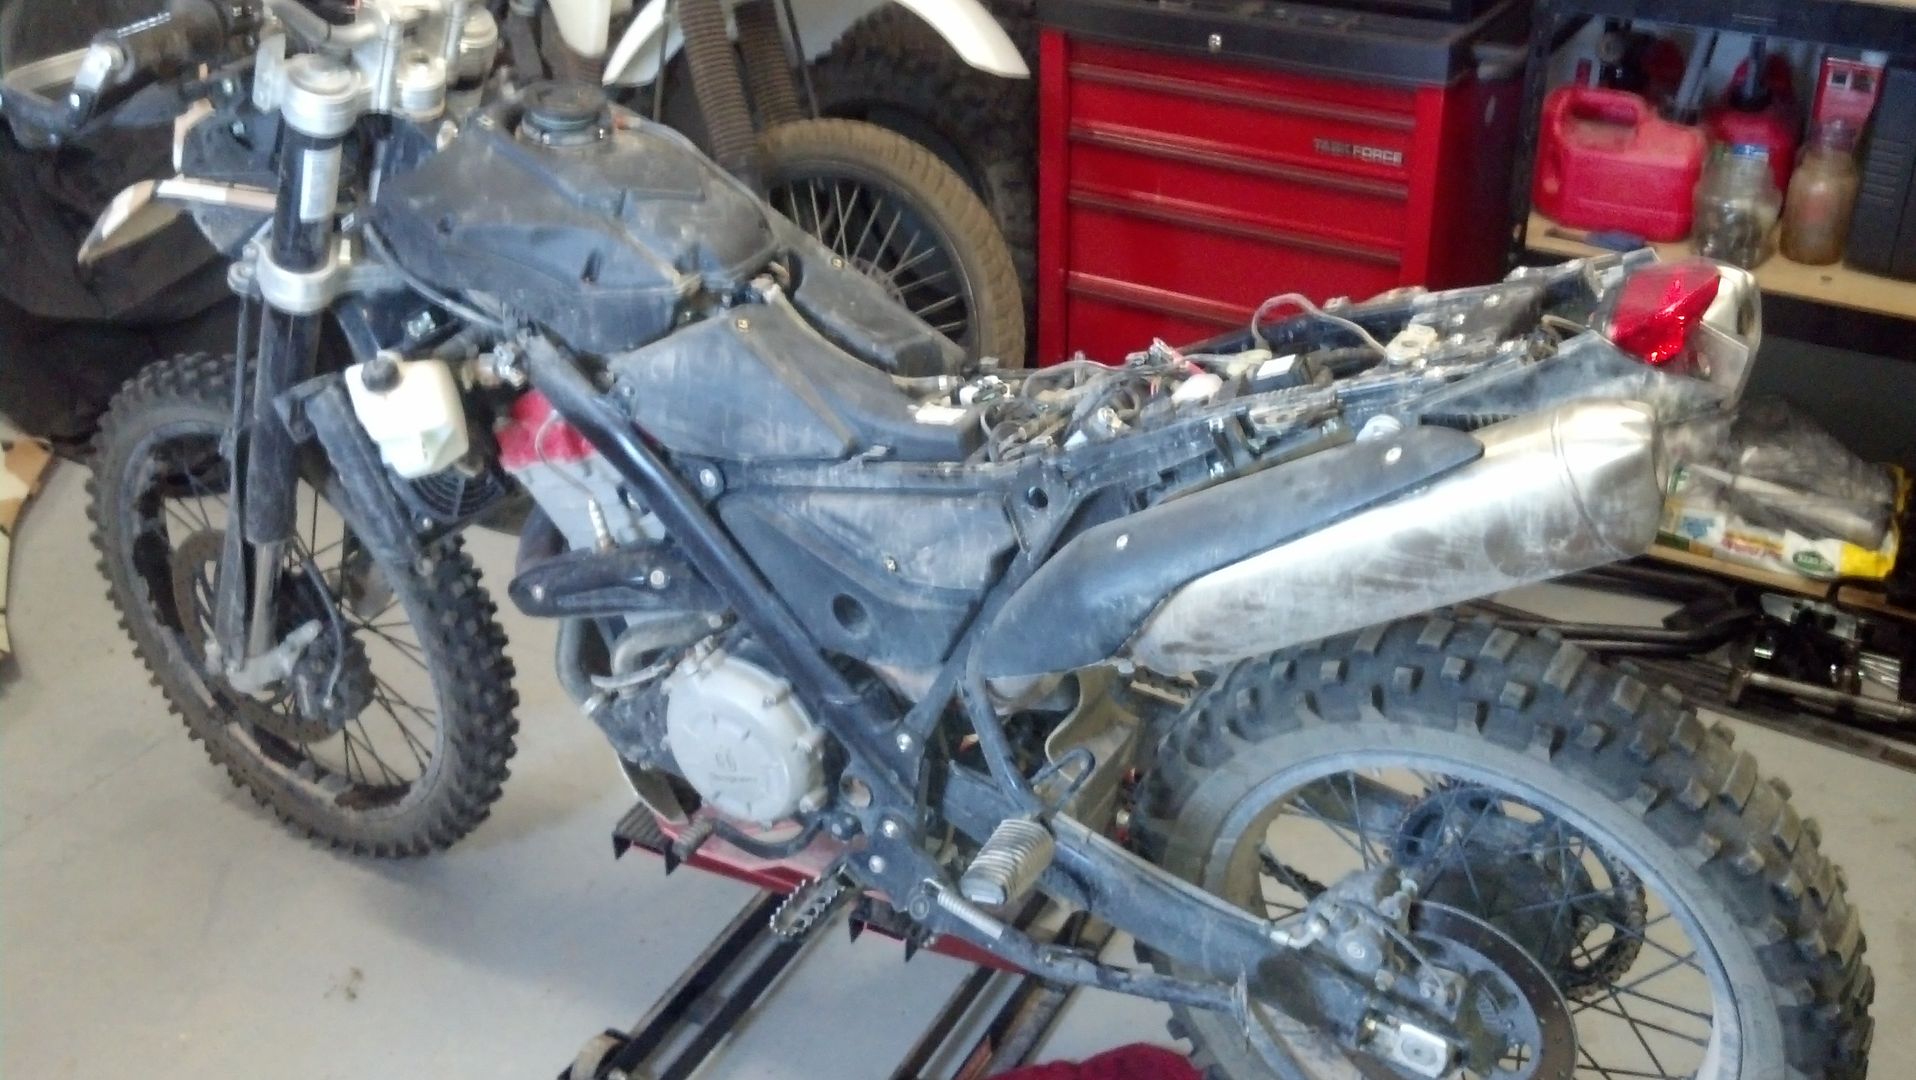
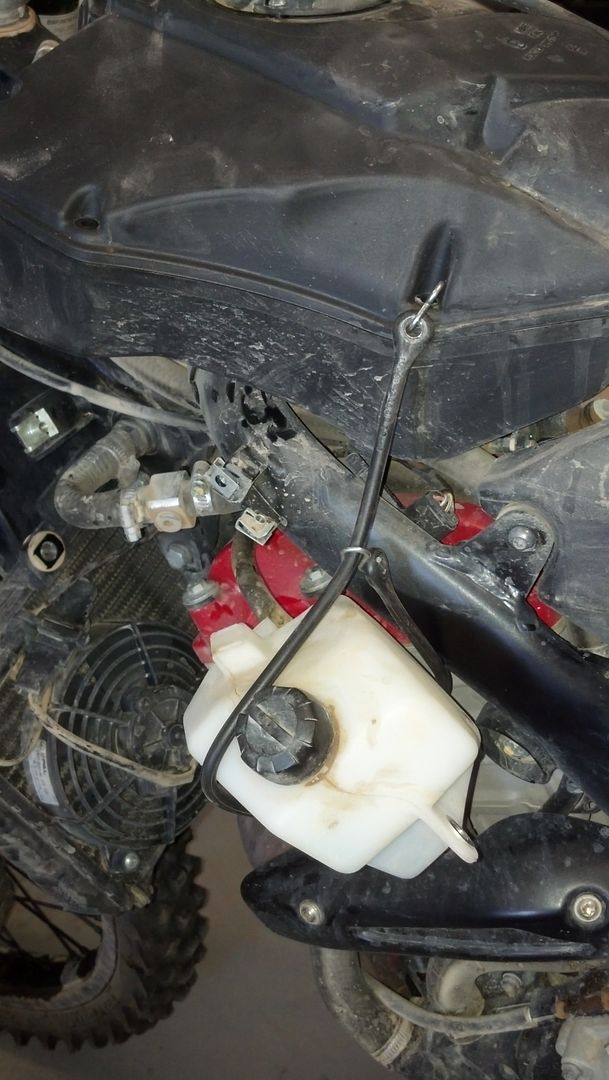
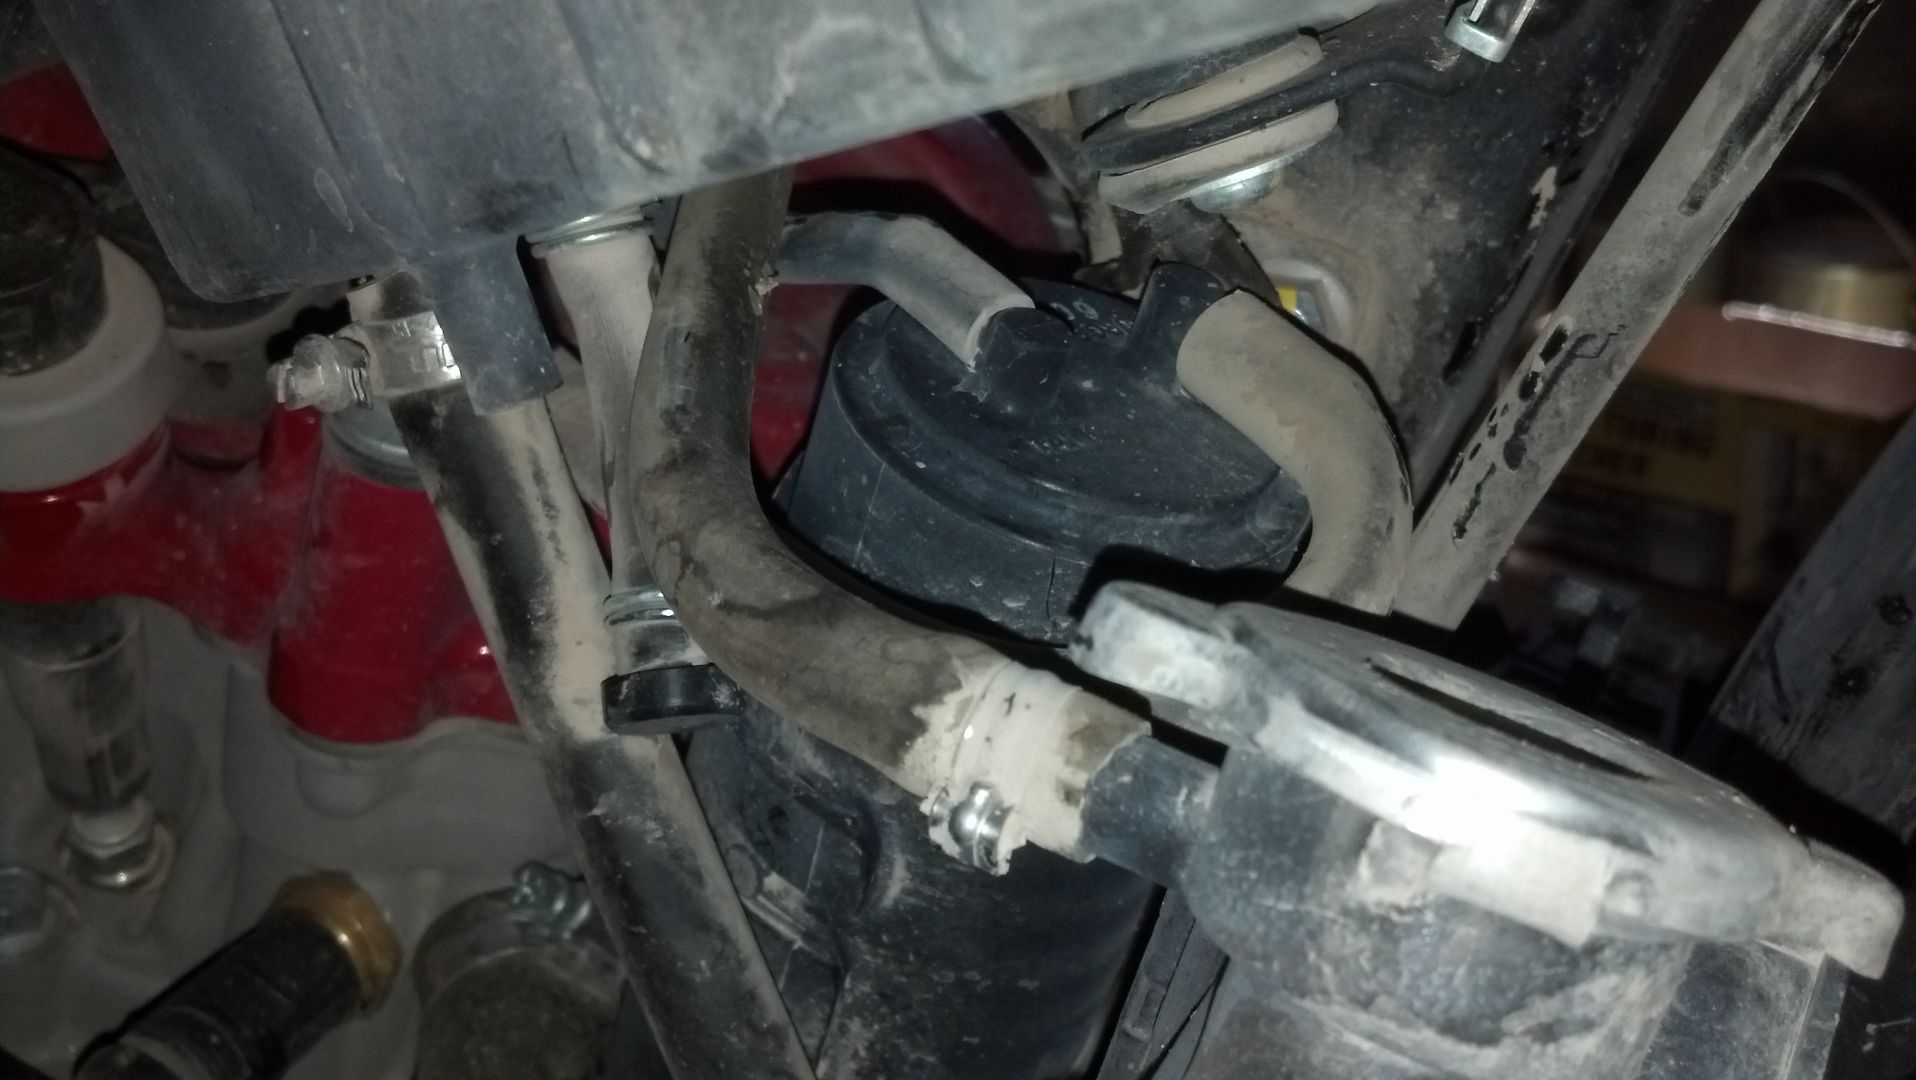
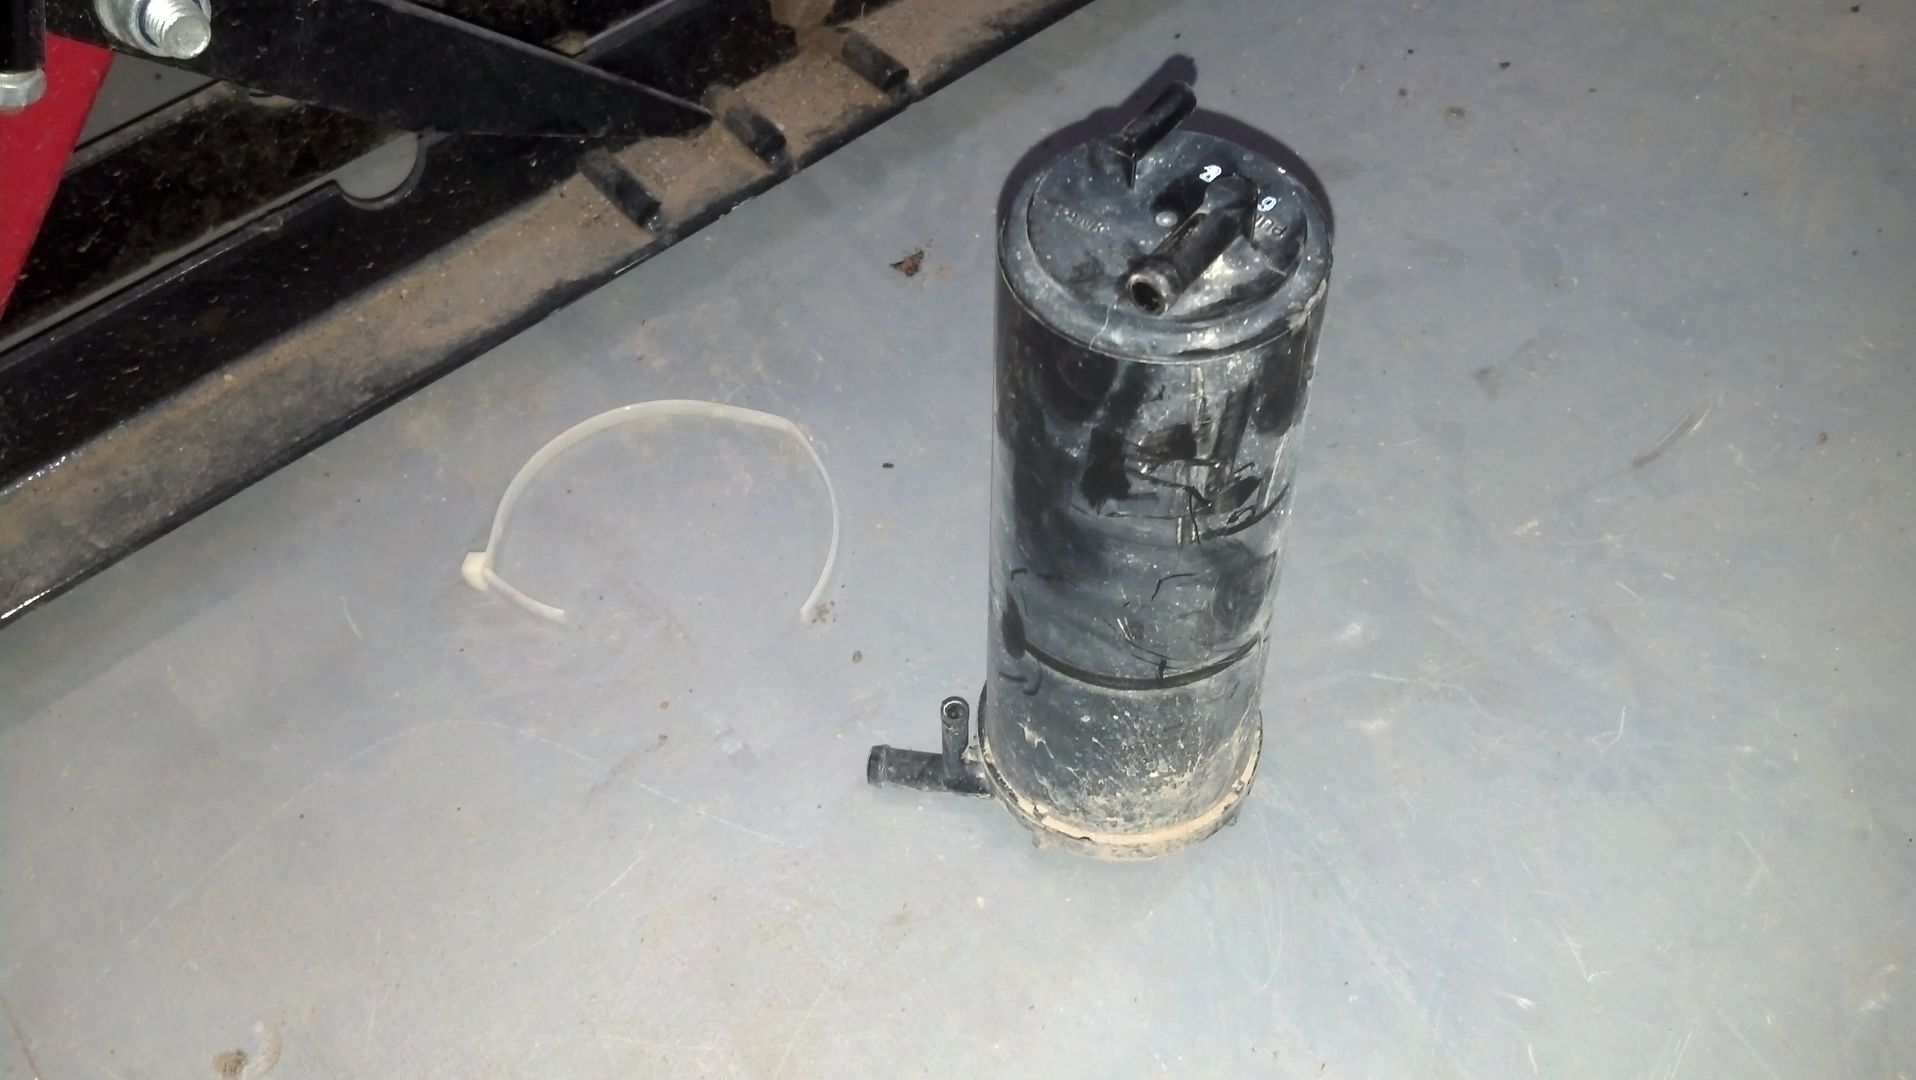
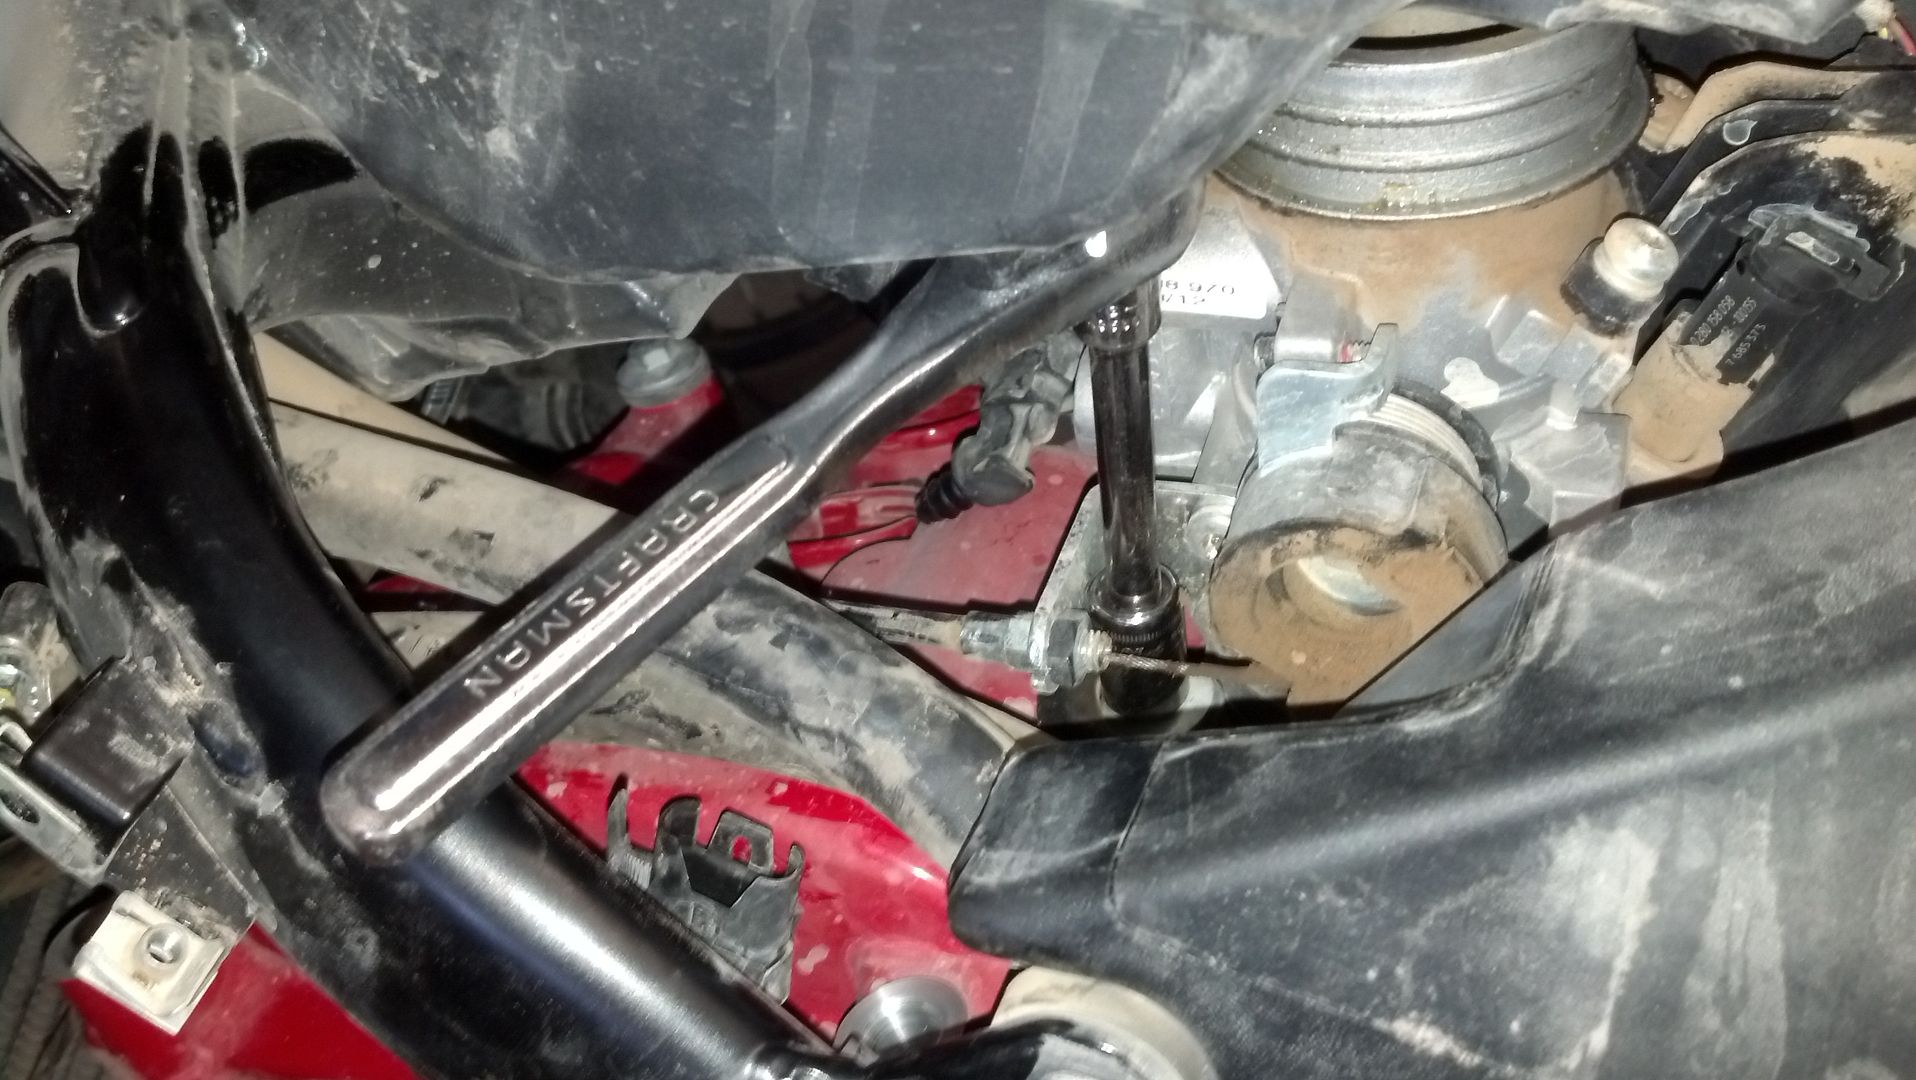
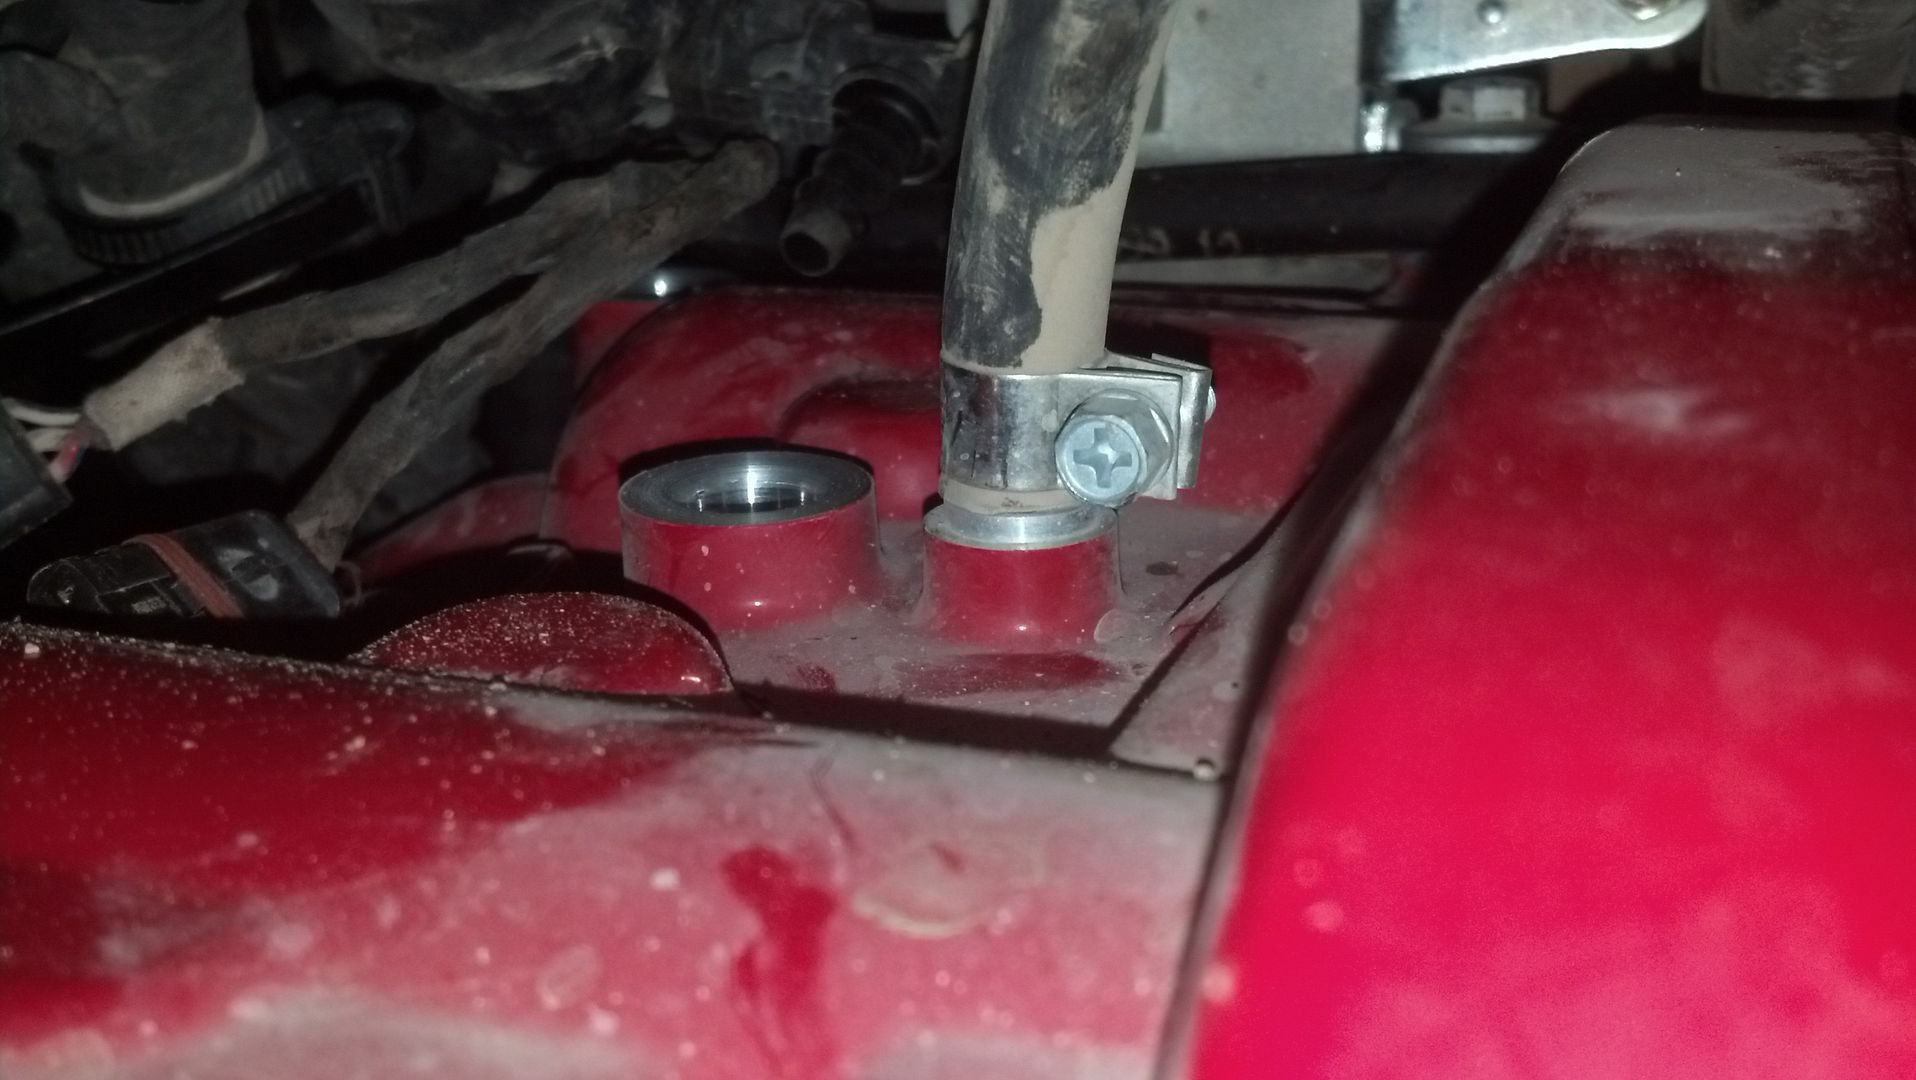
Then proceed to remove the body panels (If you can't figure out how to take these off by yourself, stop here. The rest of this will be way over your head):
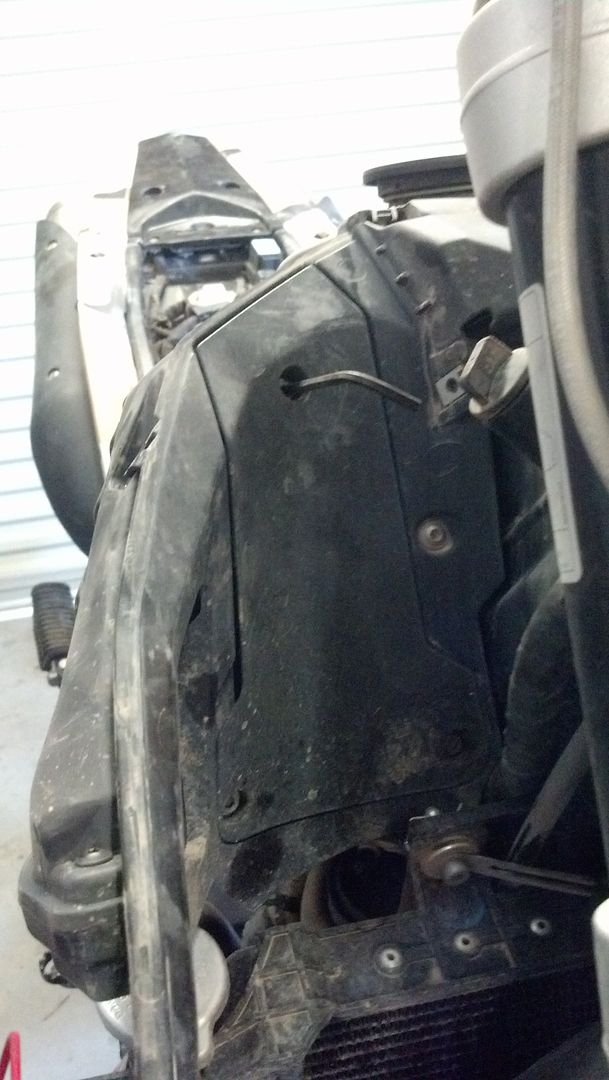
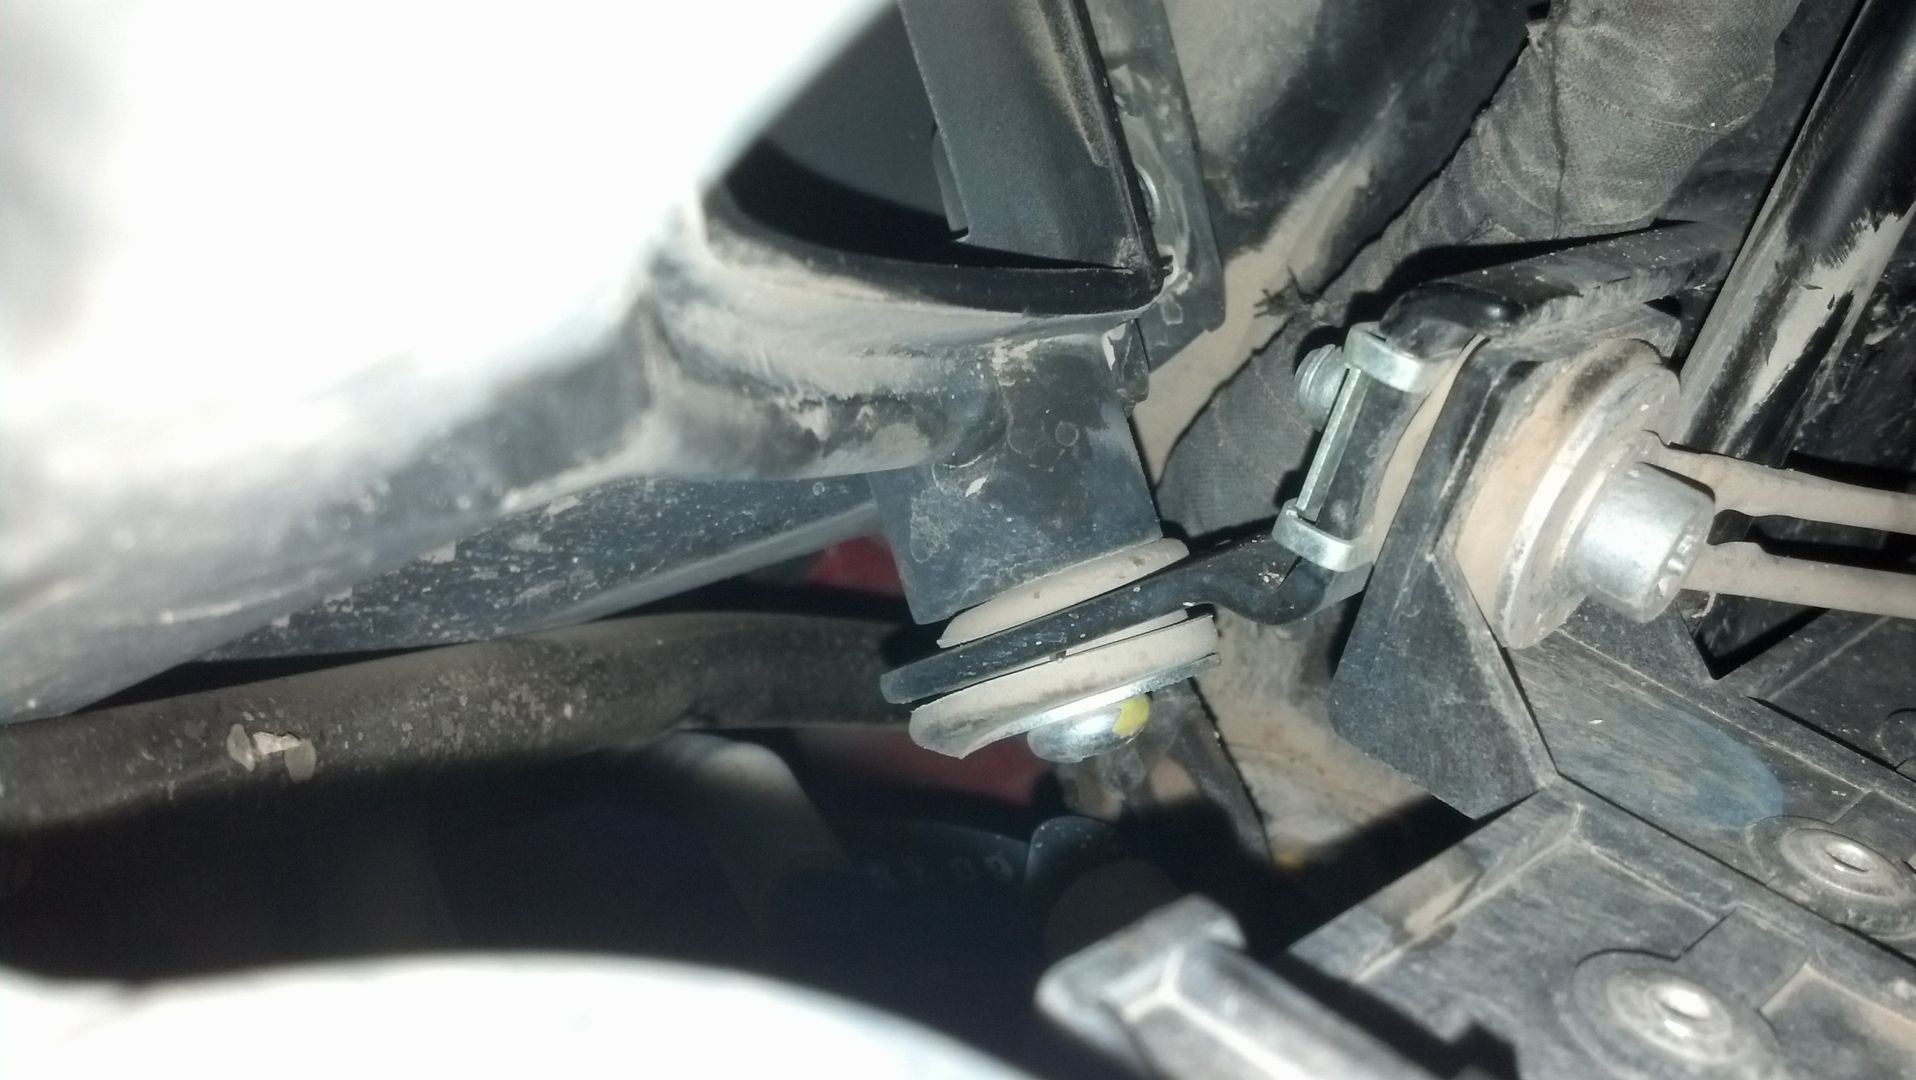
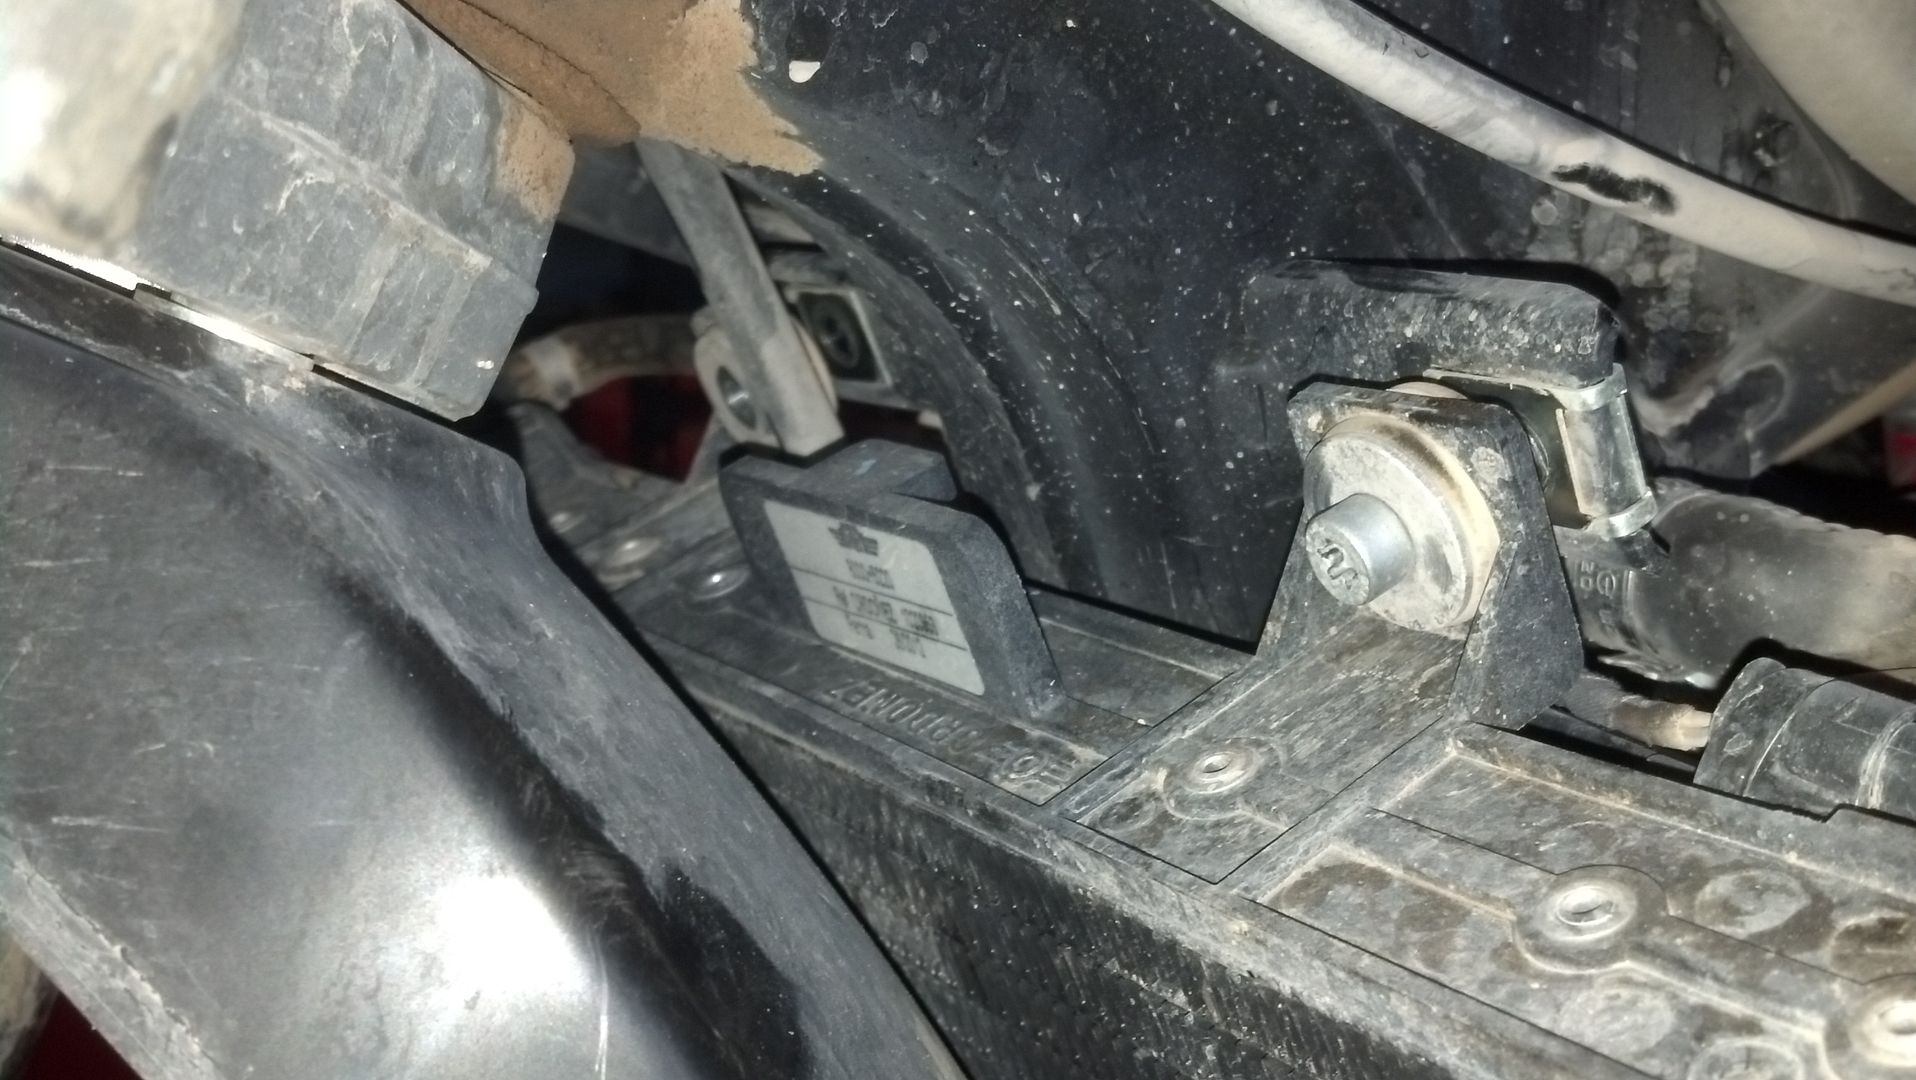
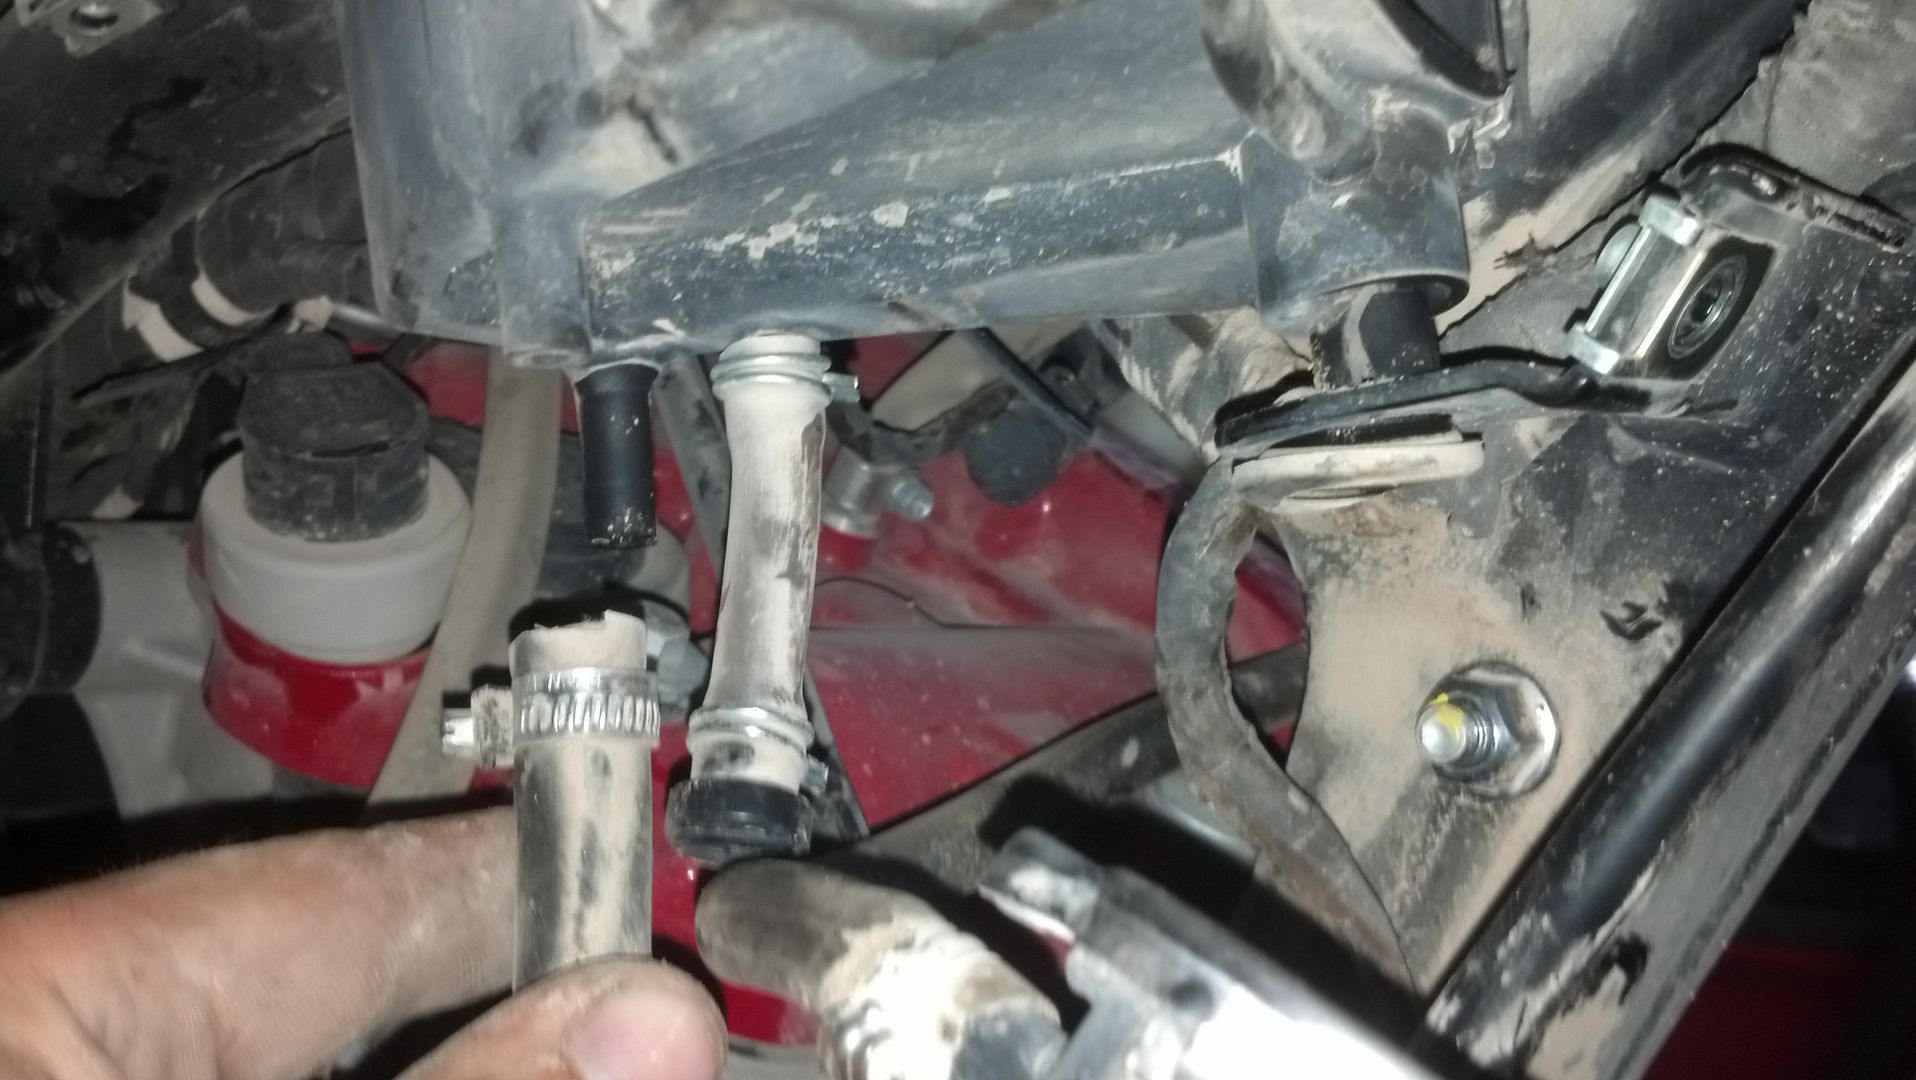
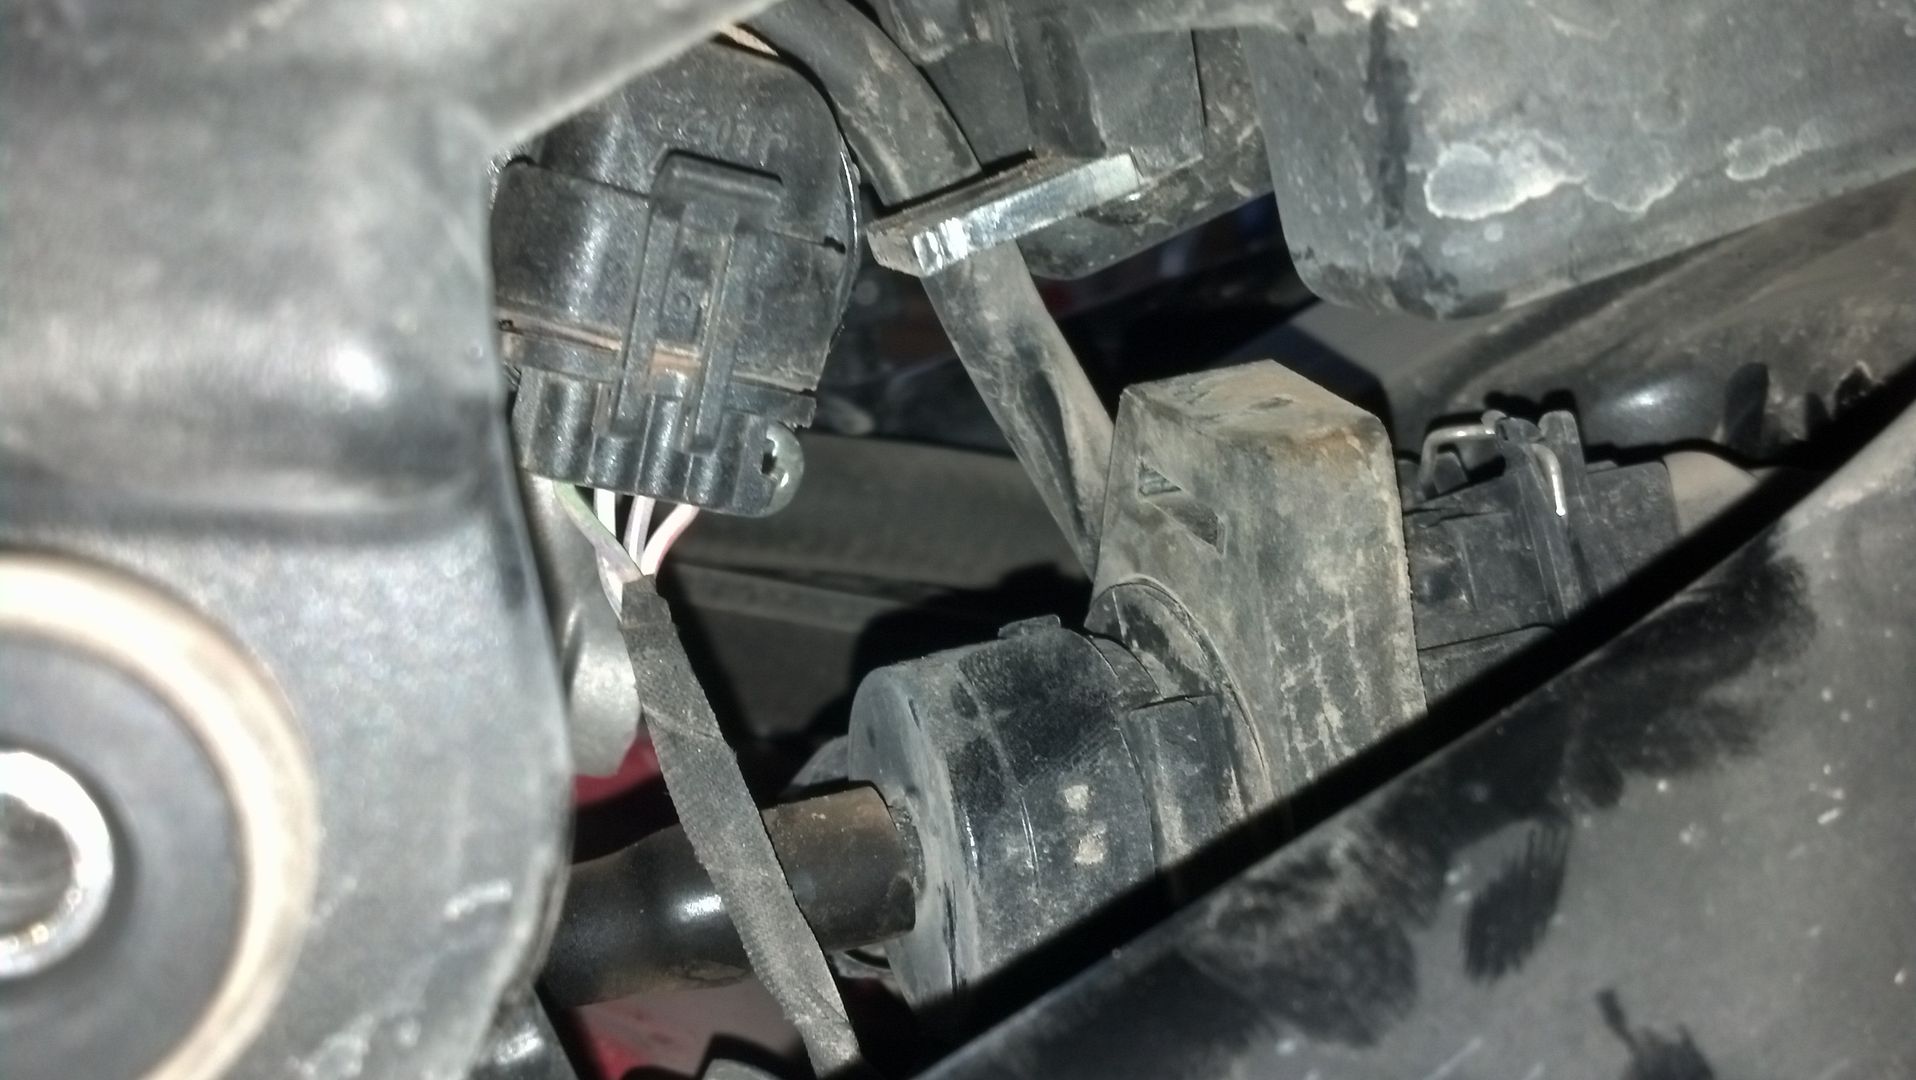
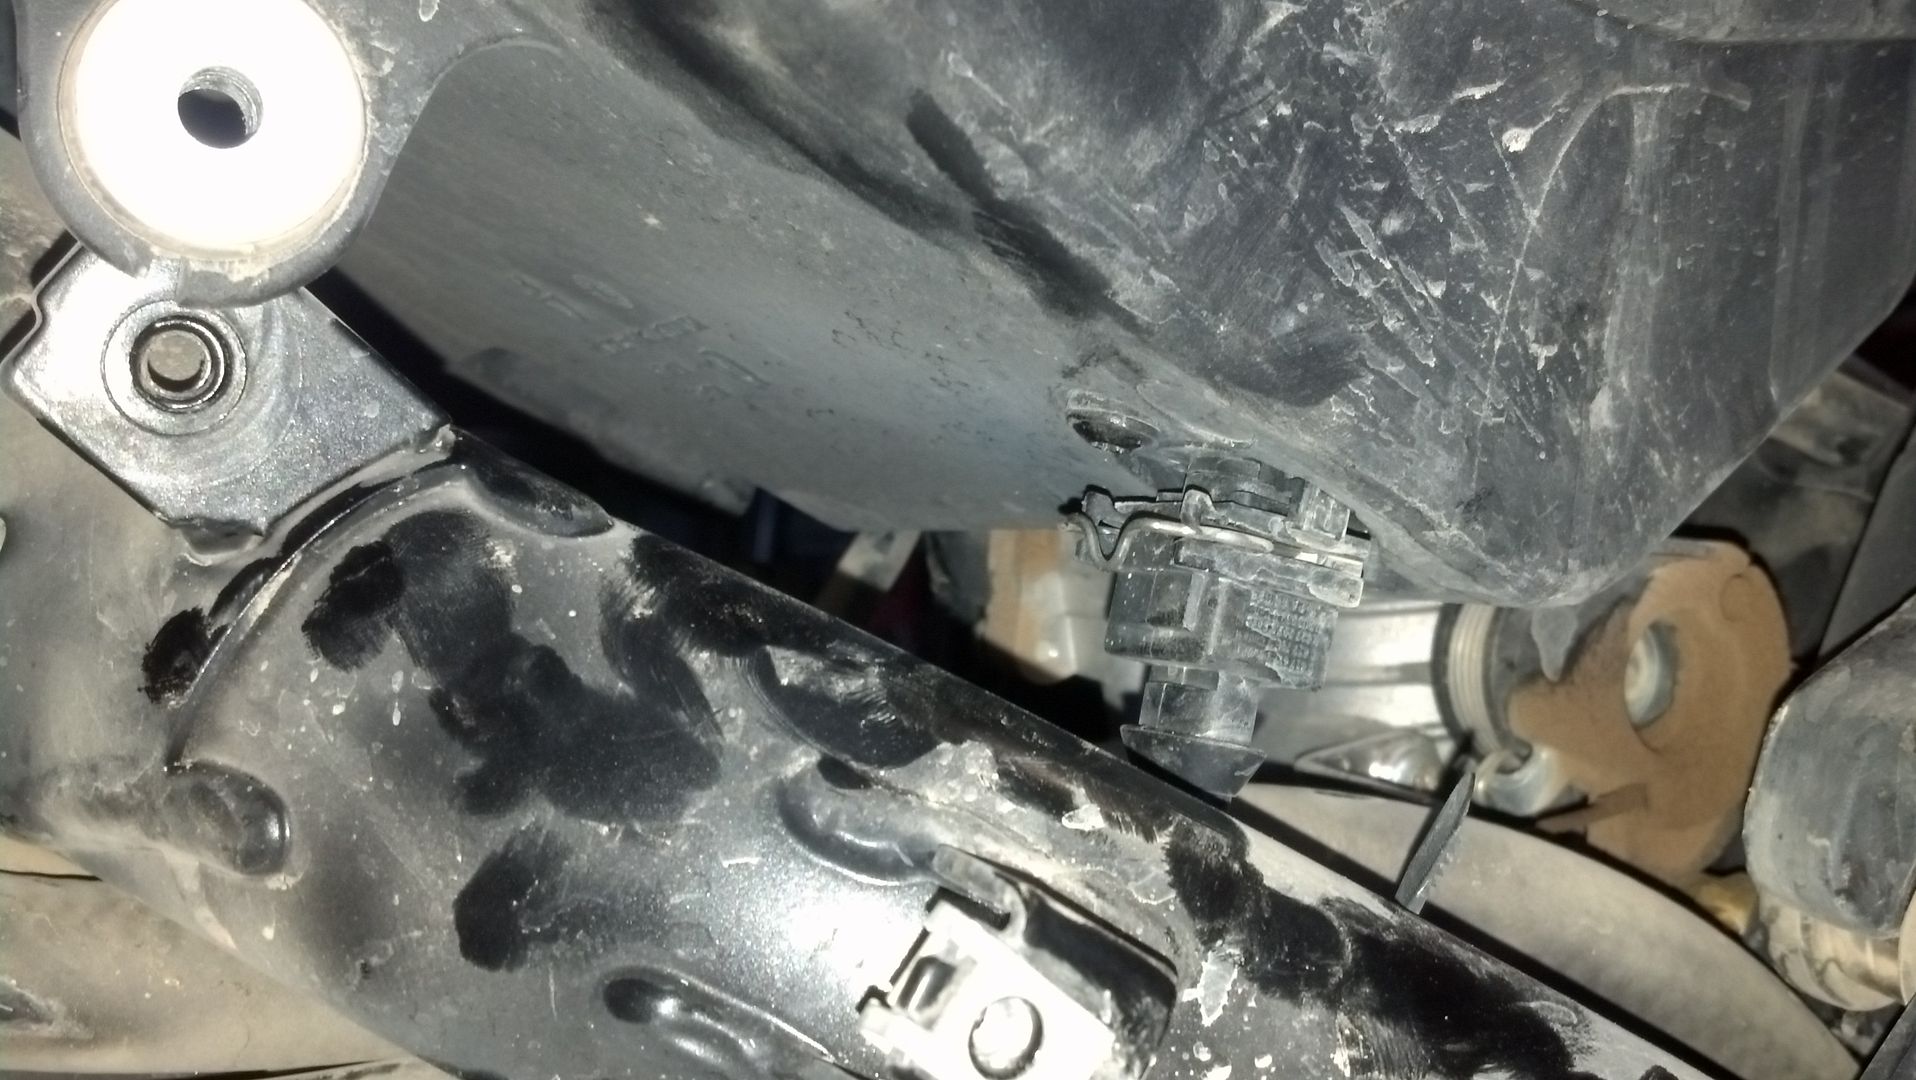
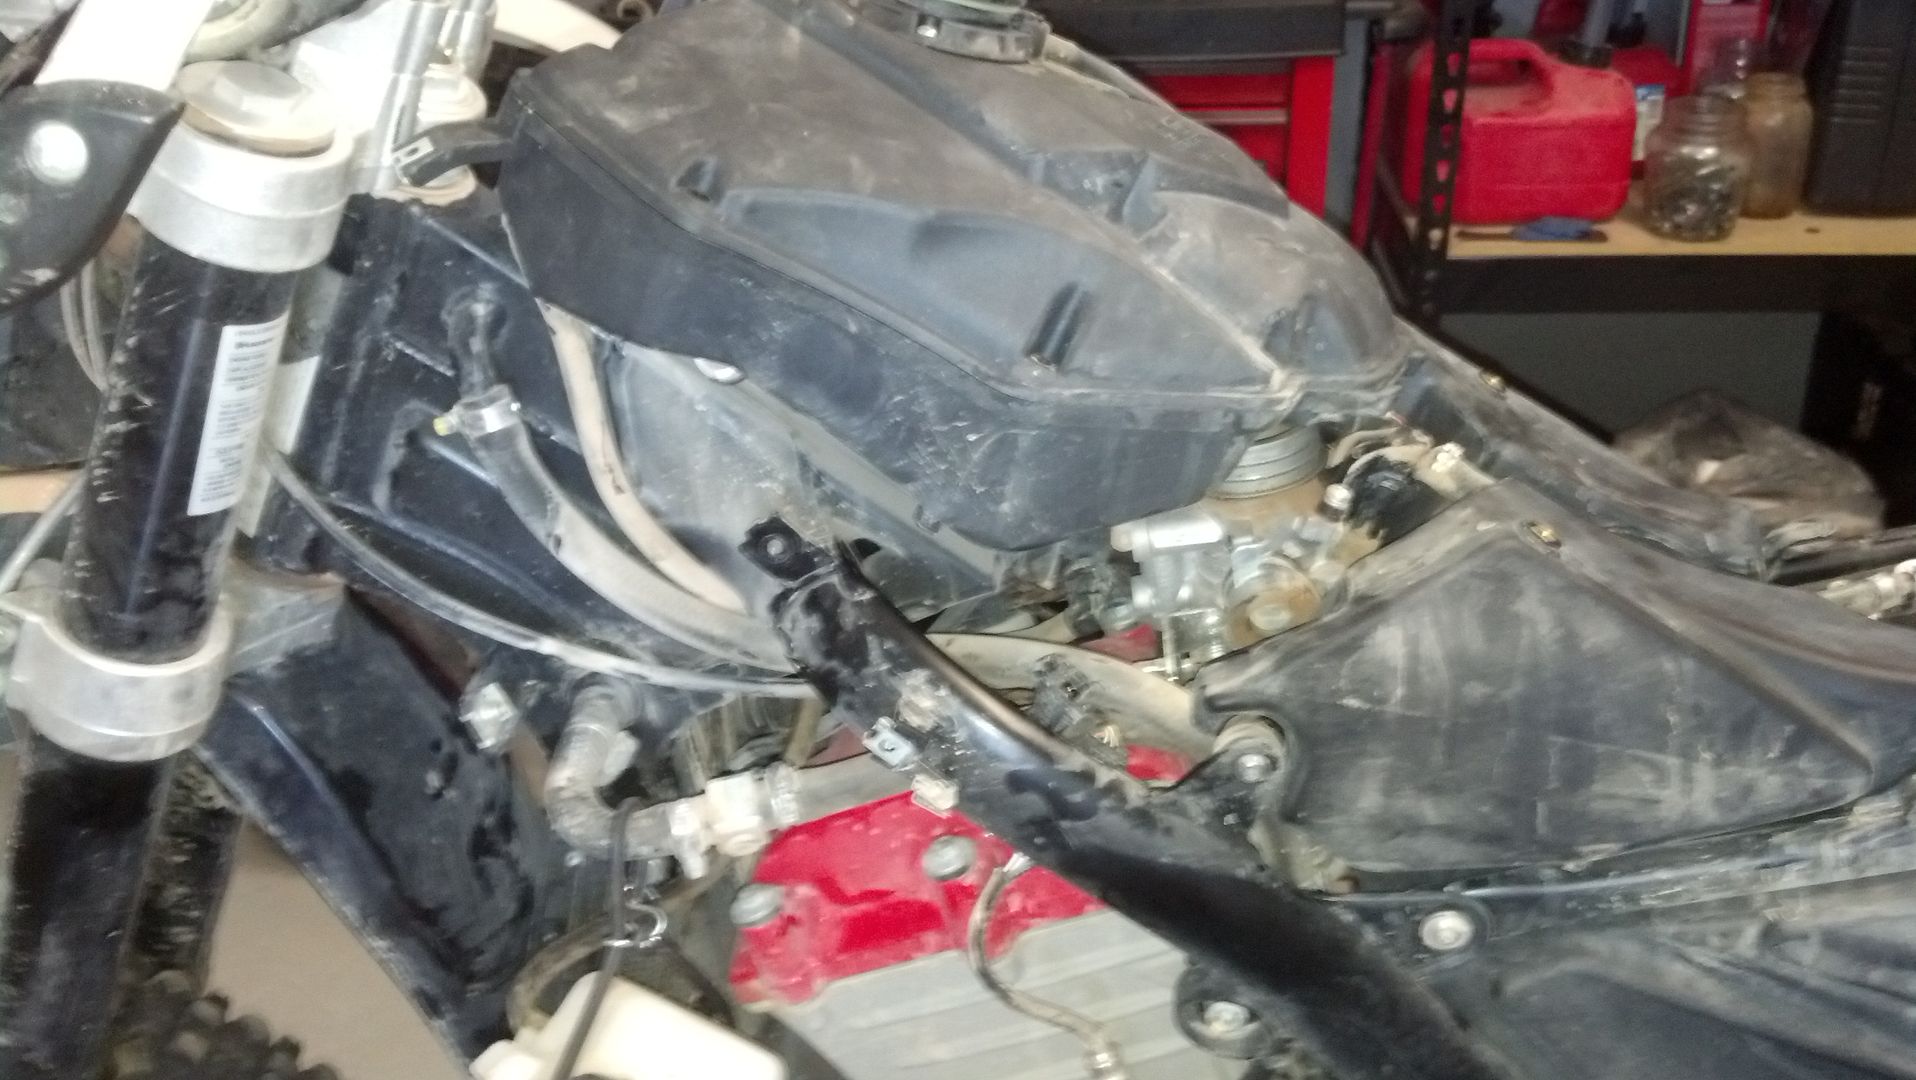
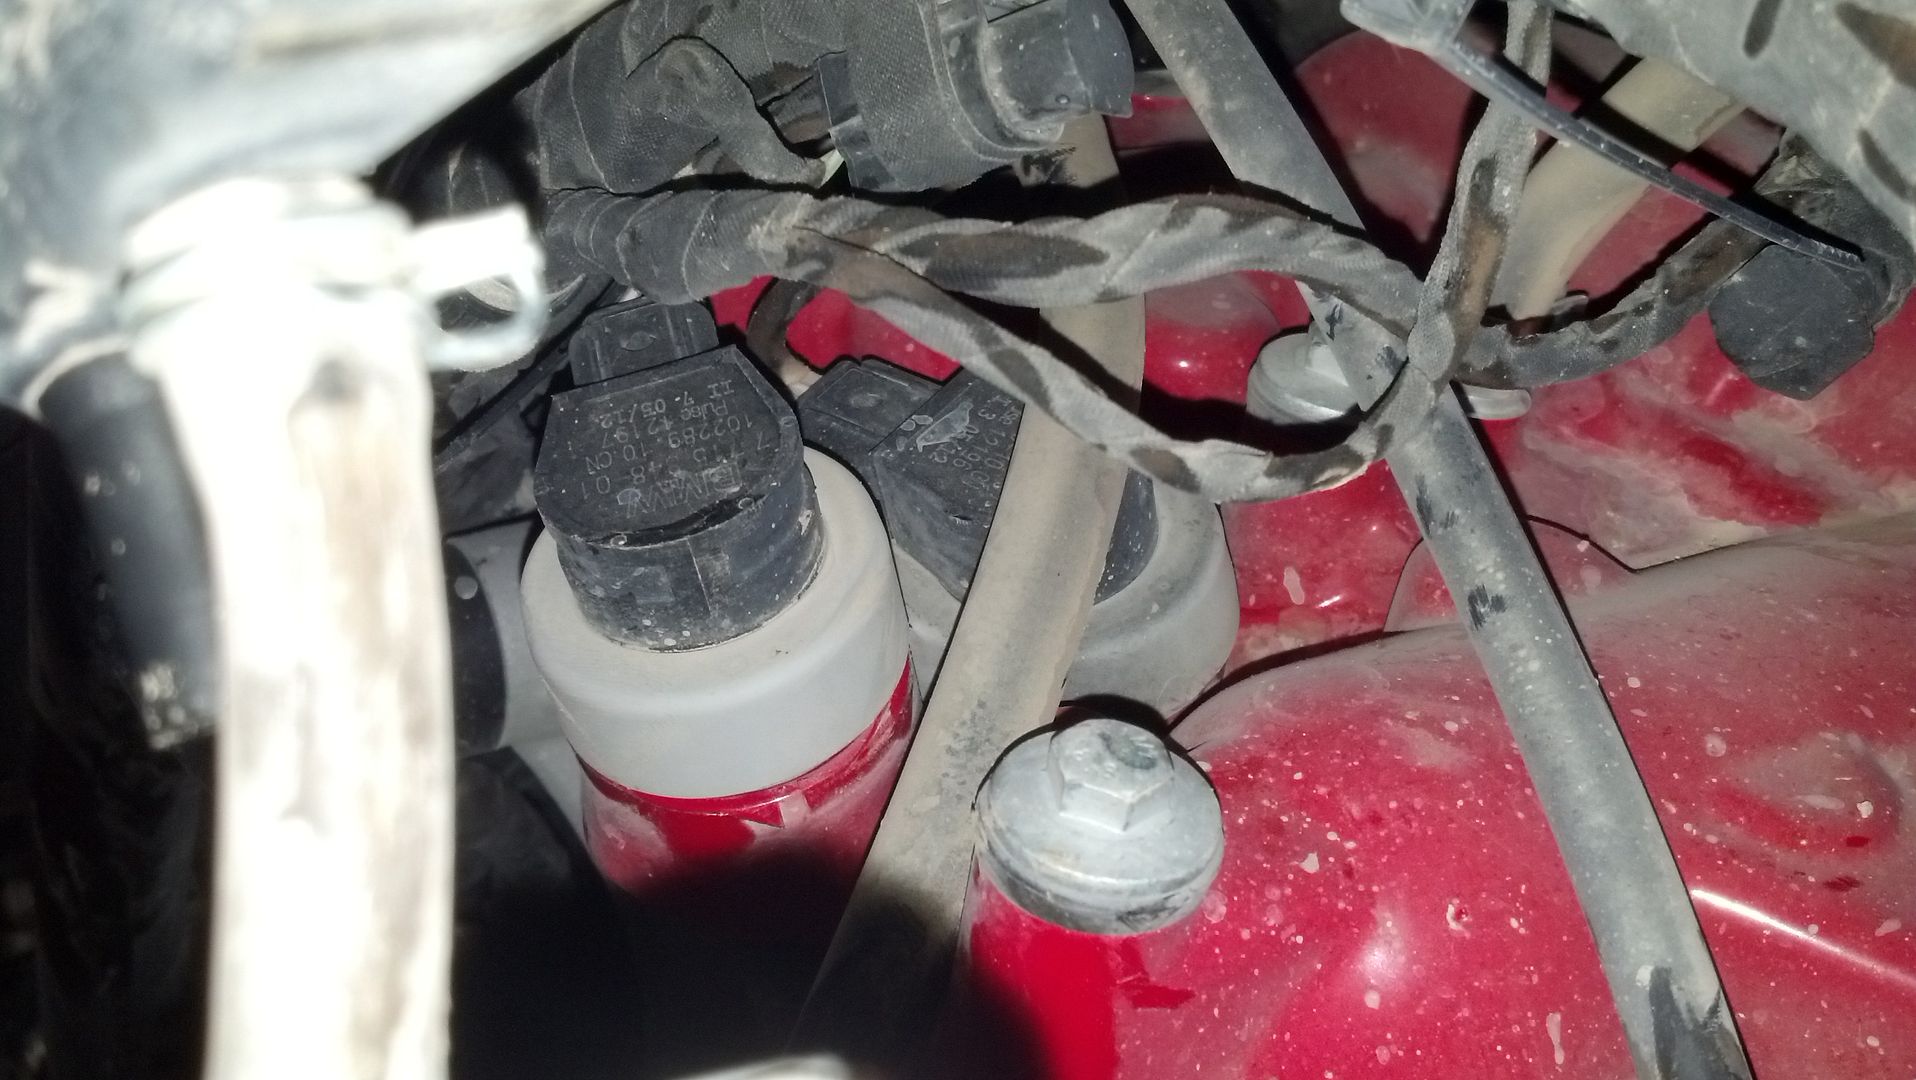
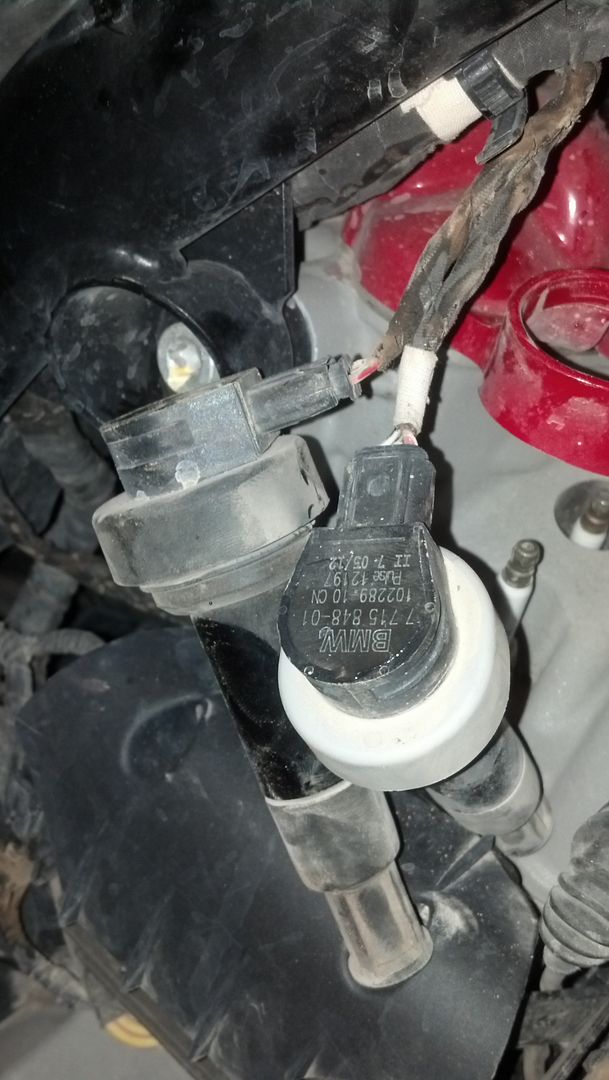
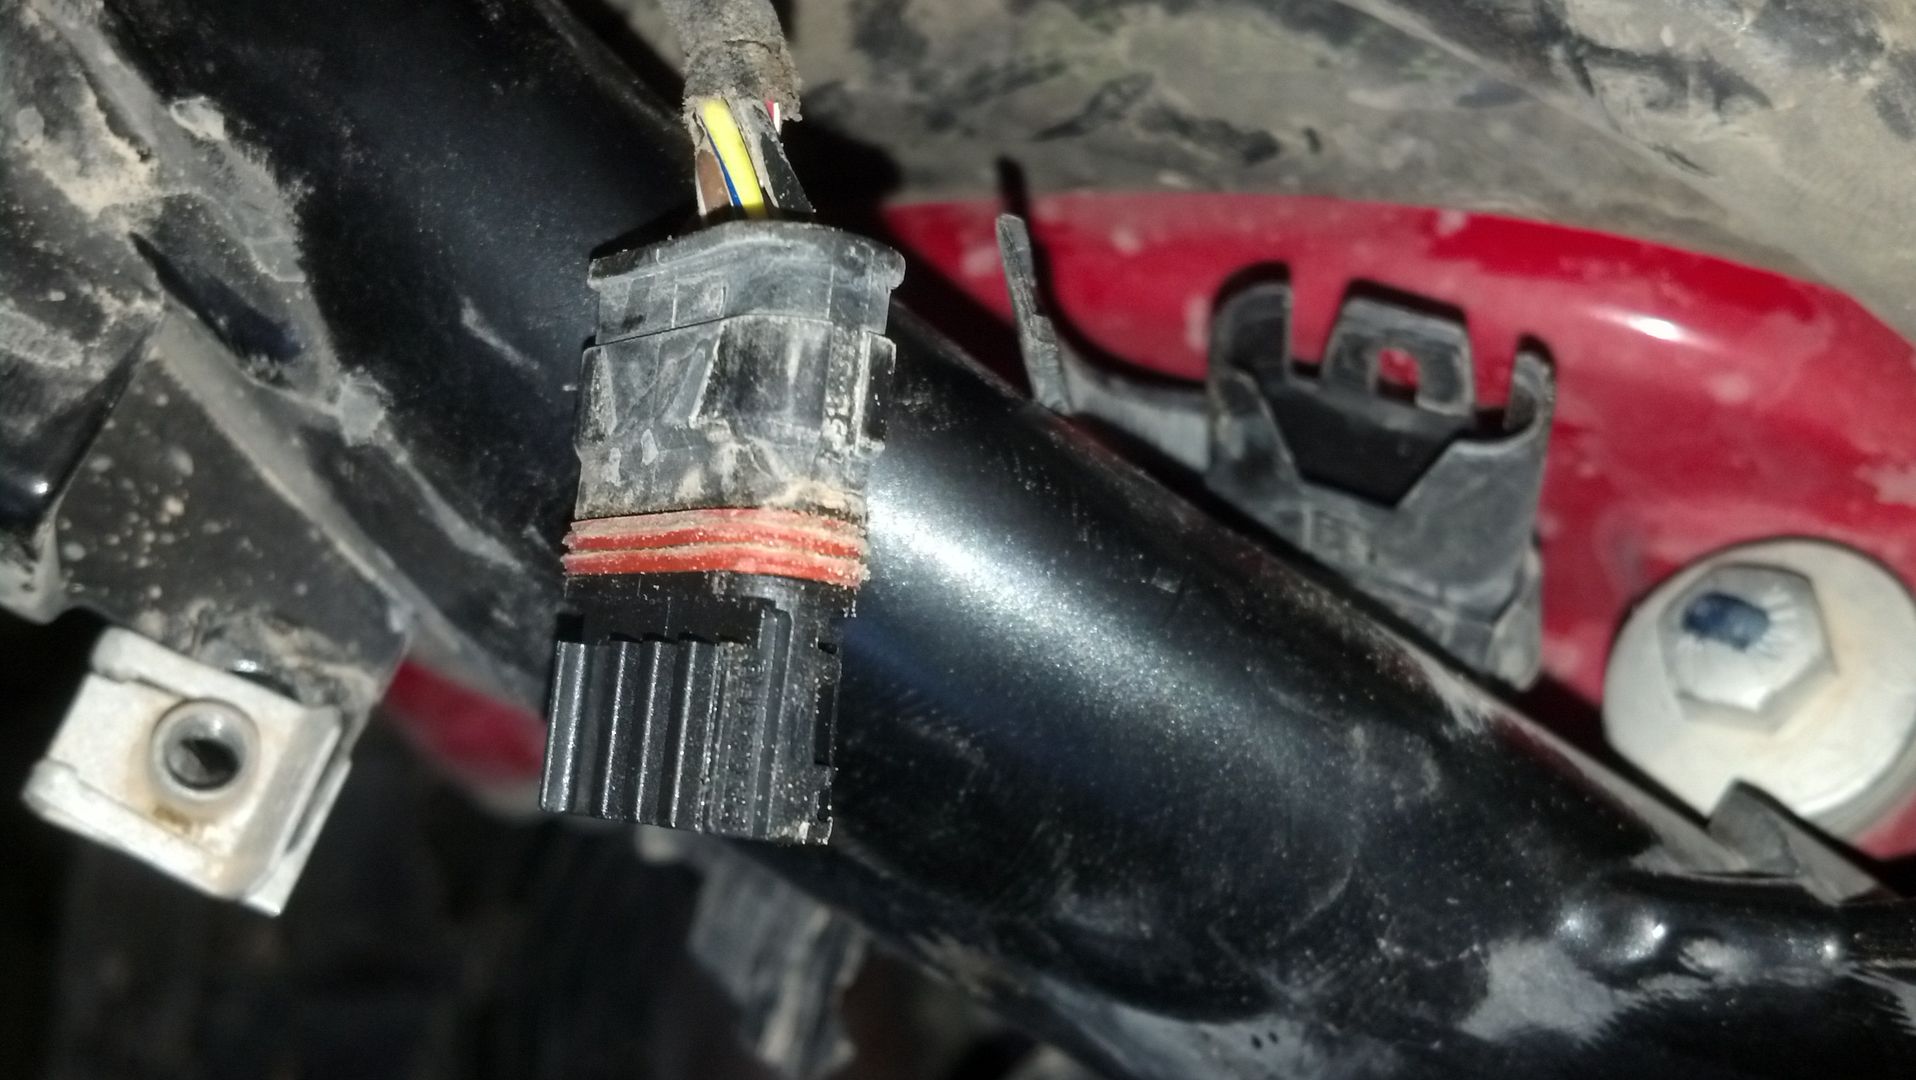
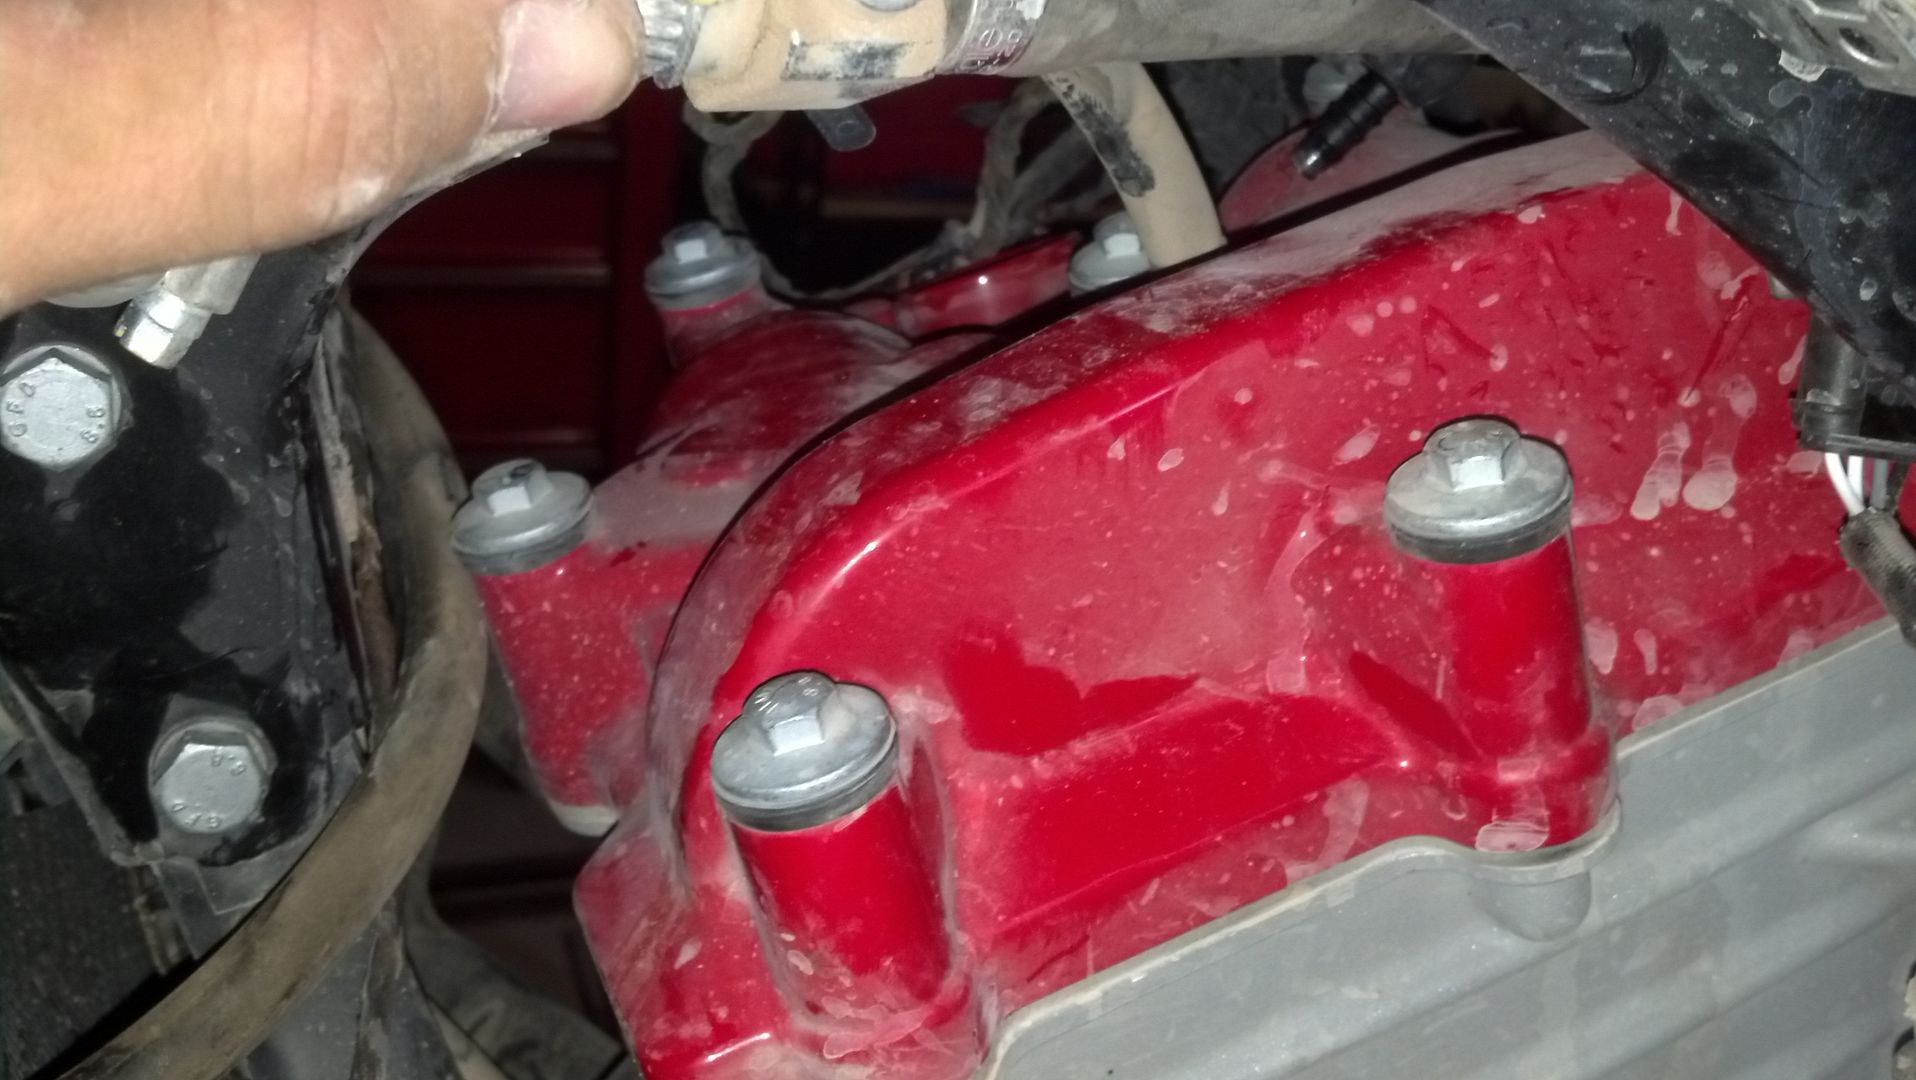
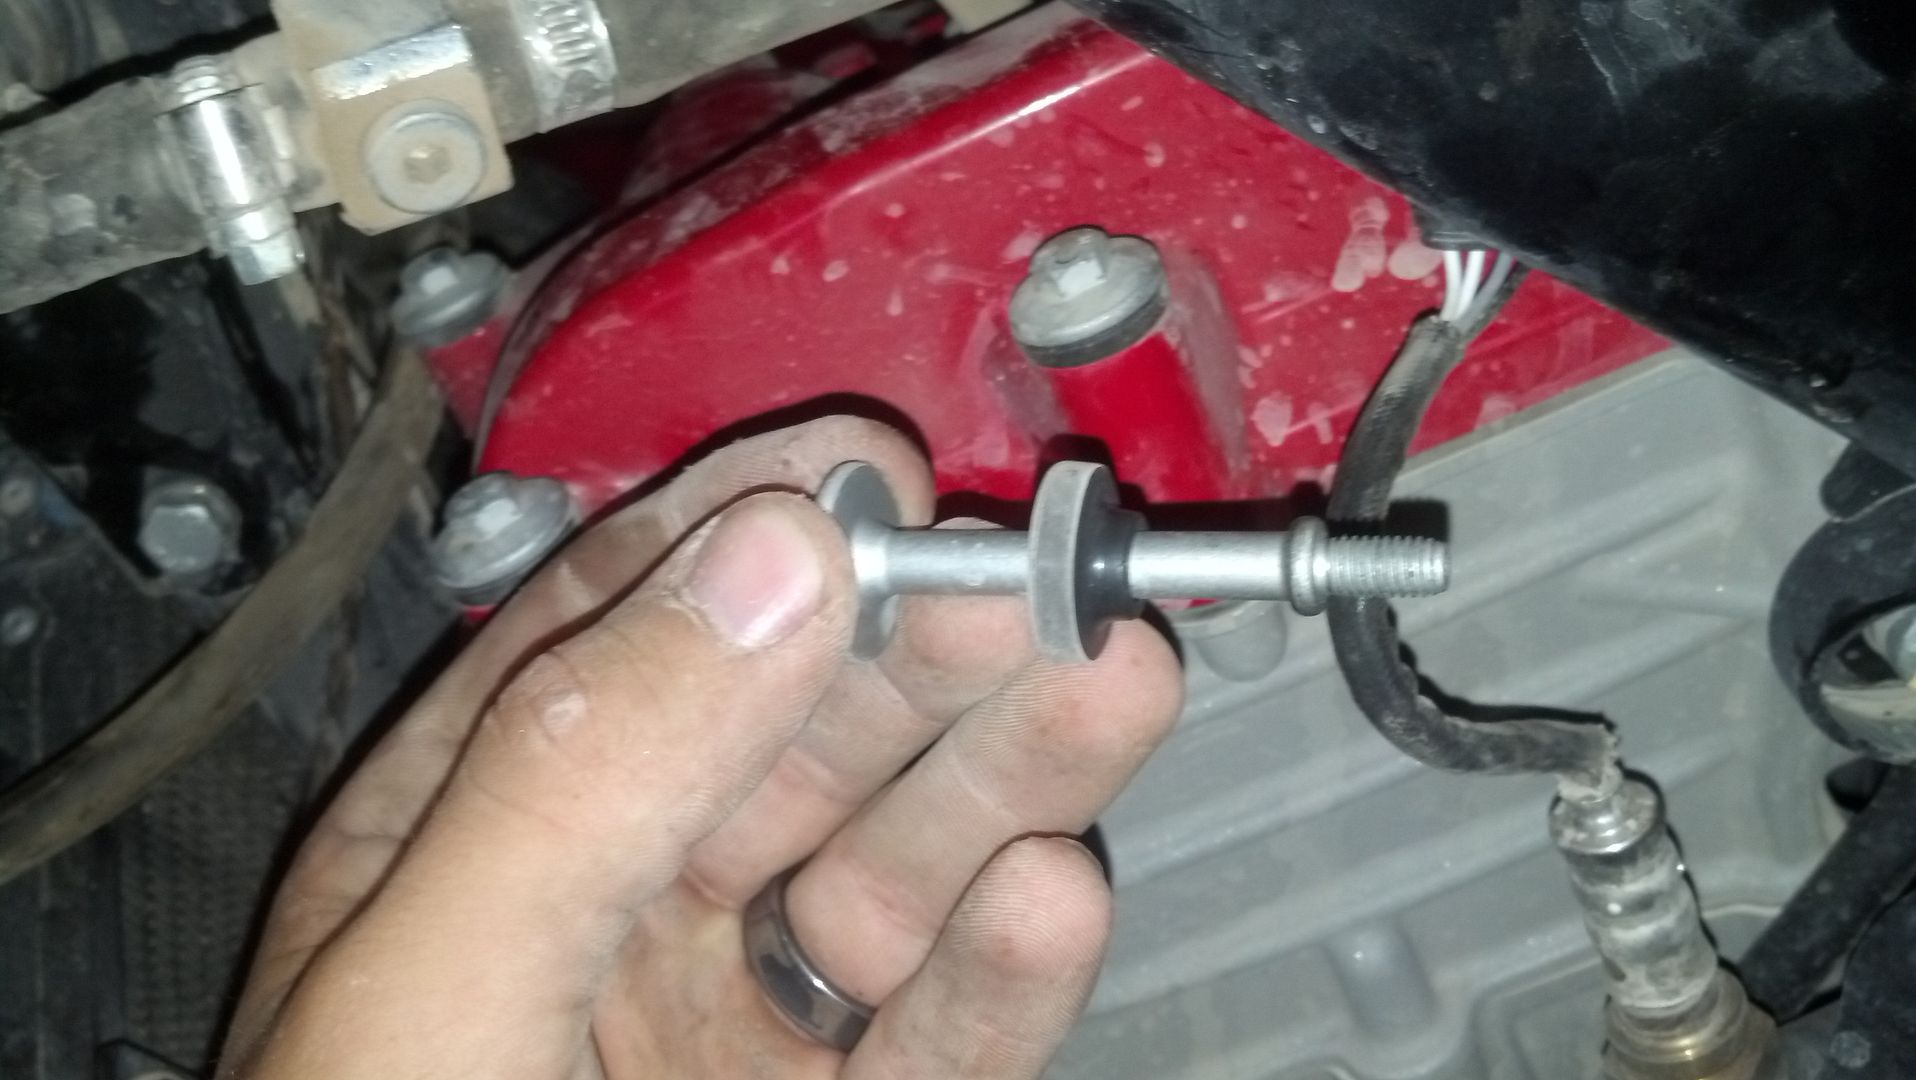
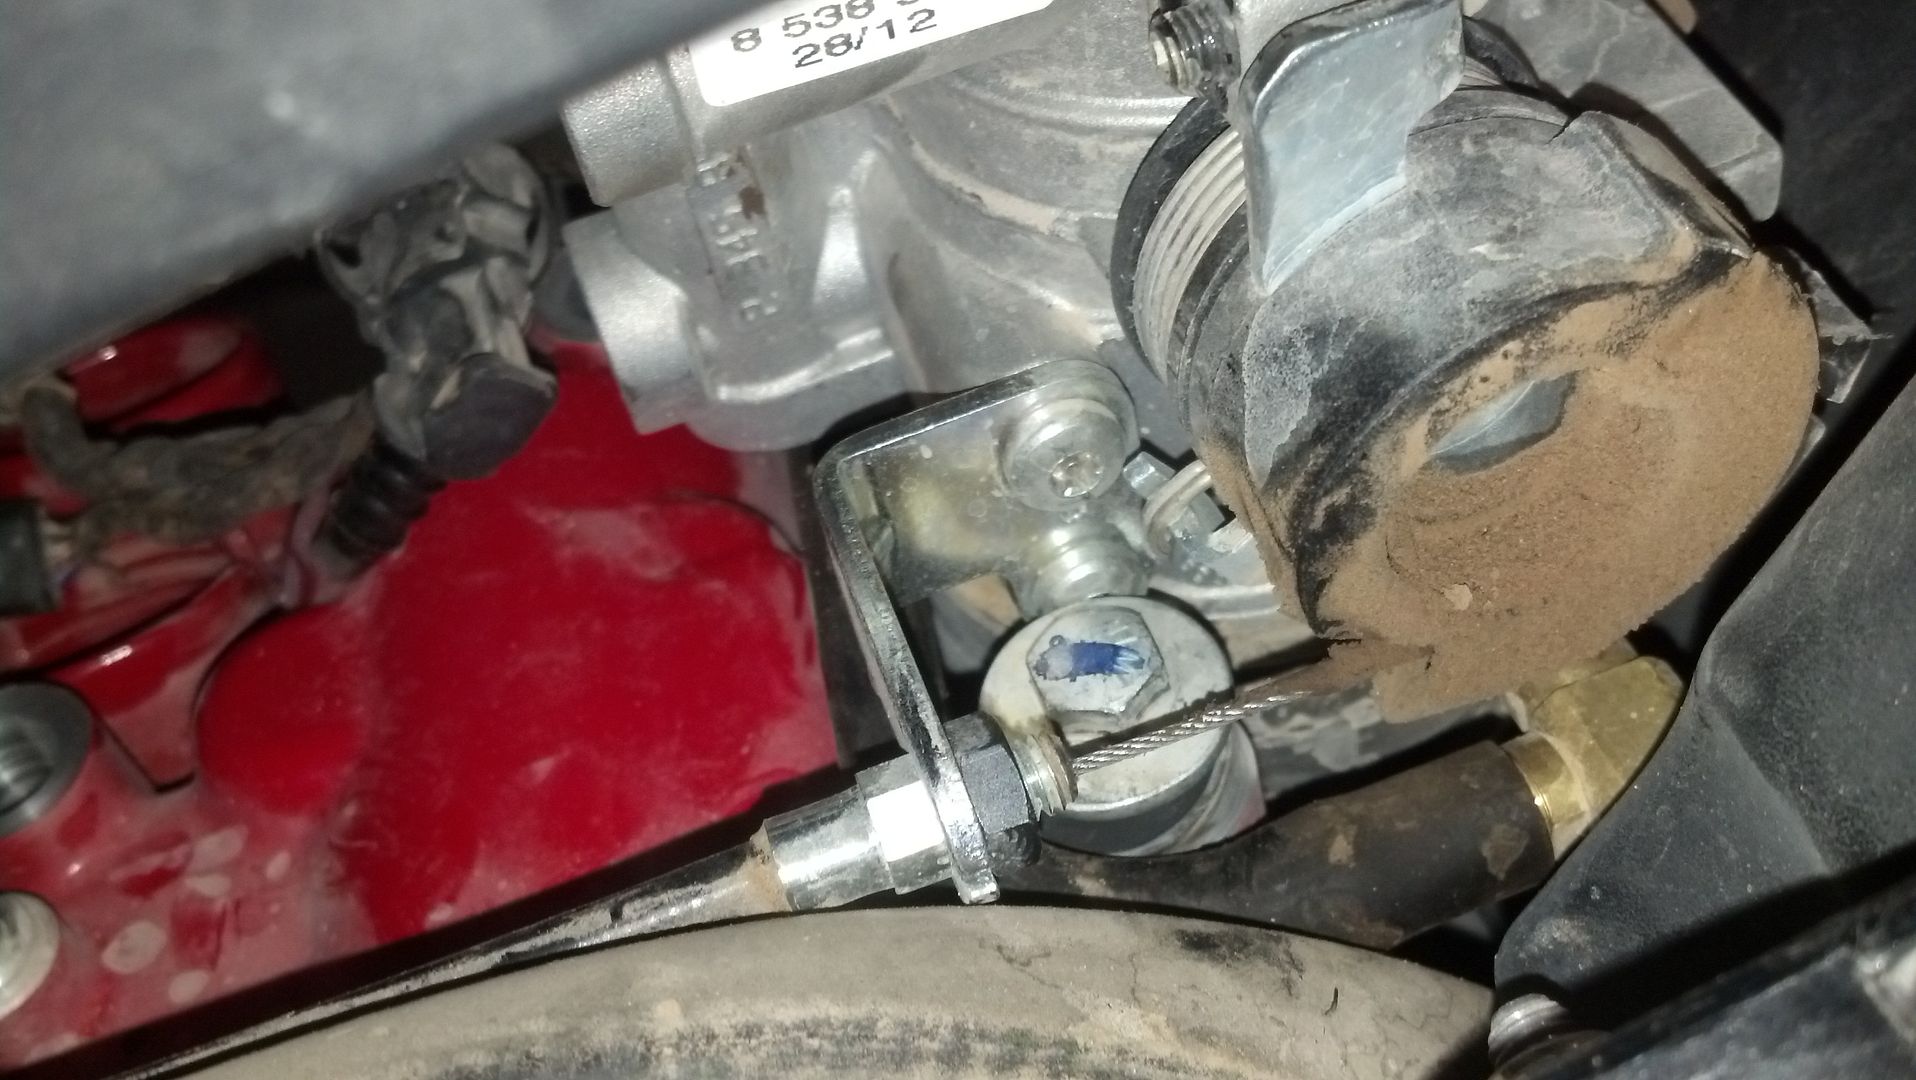
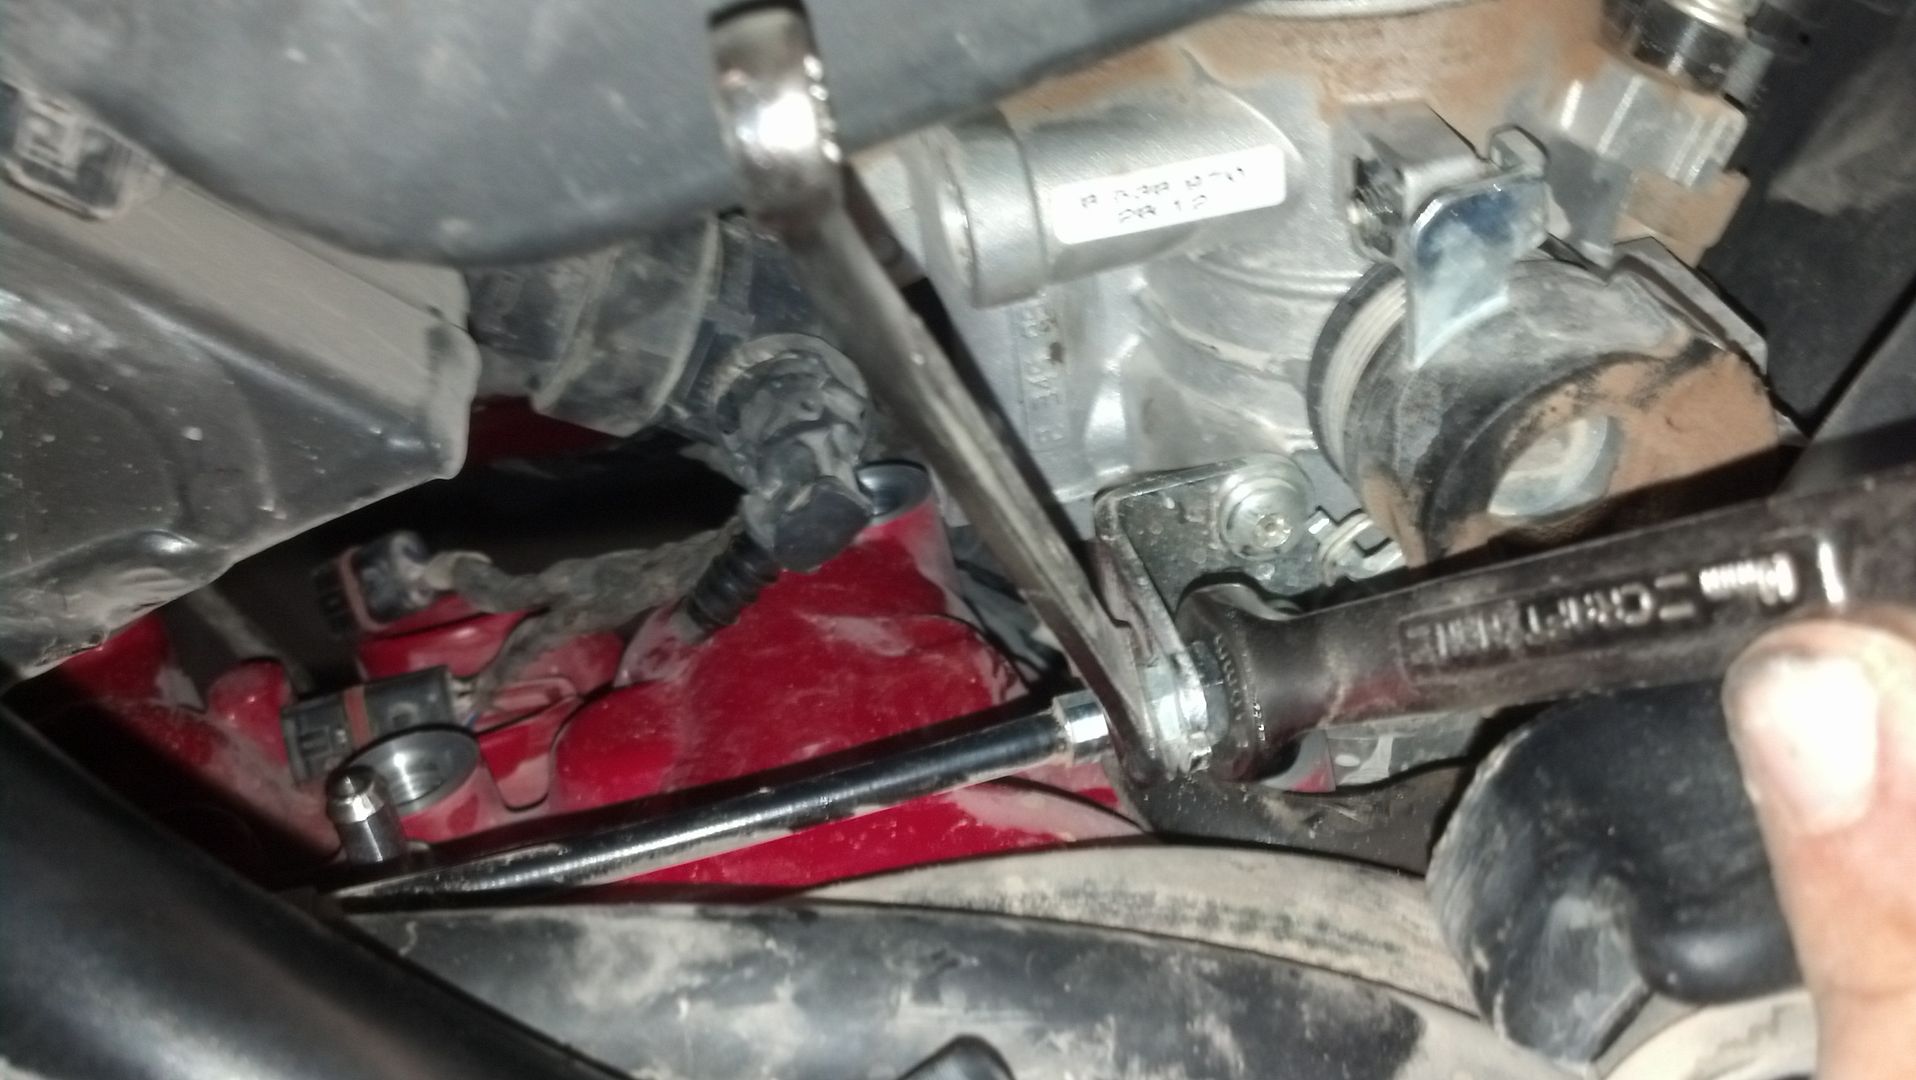
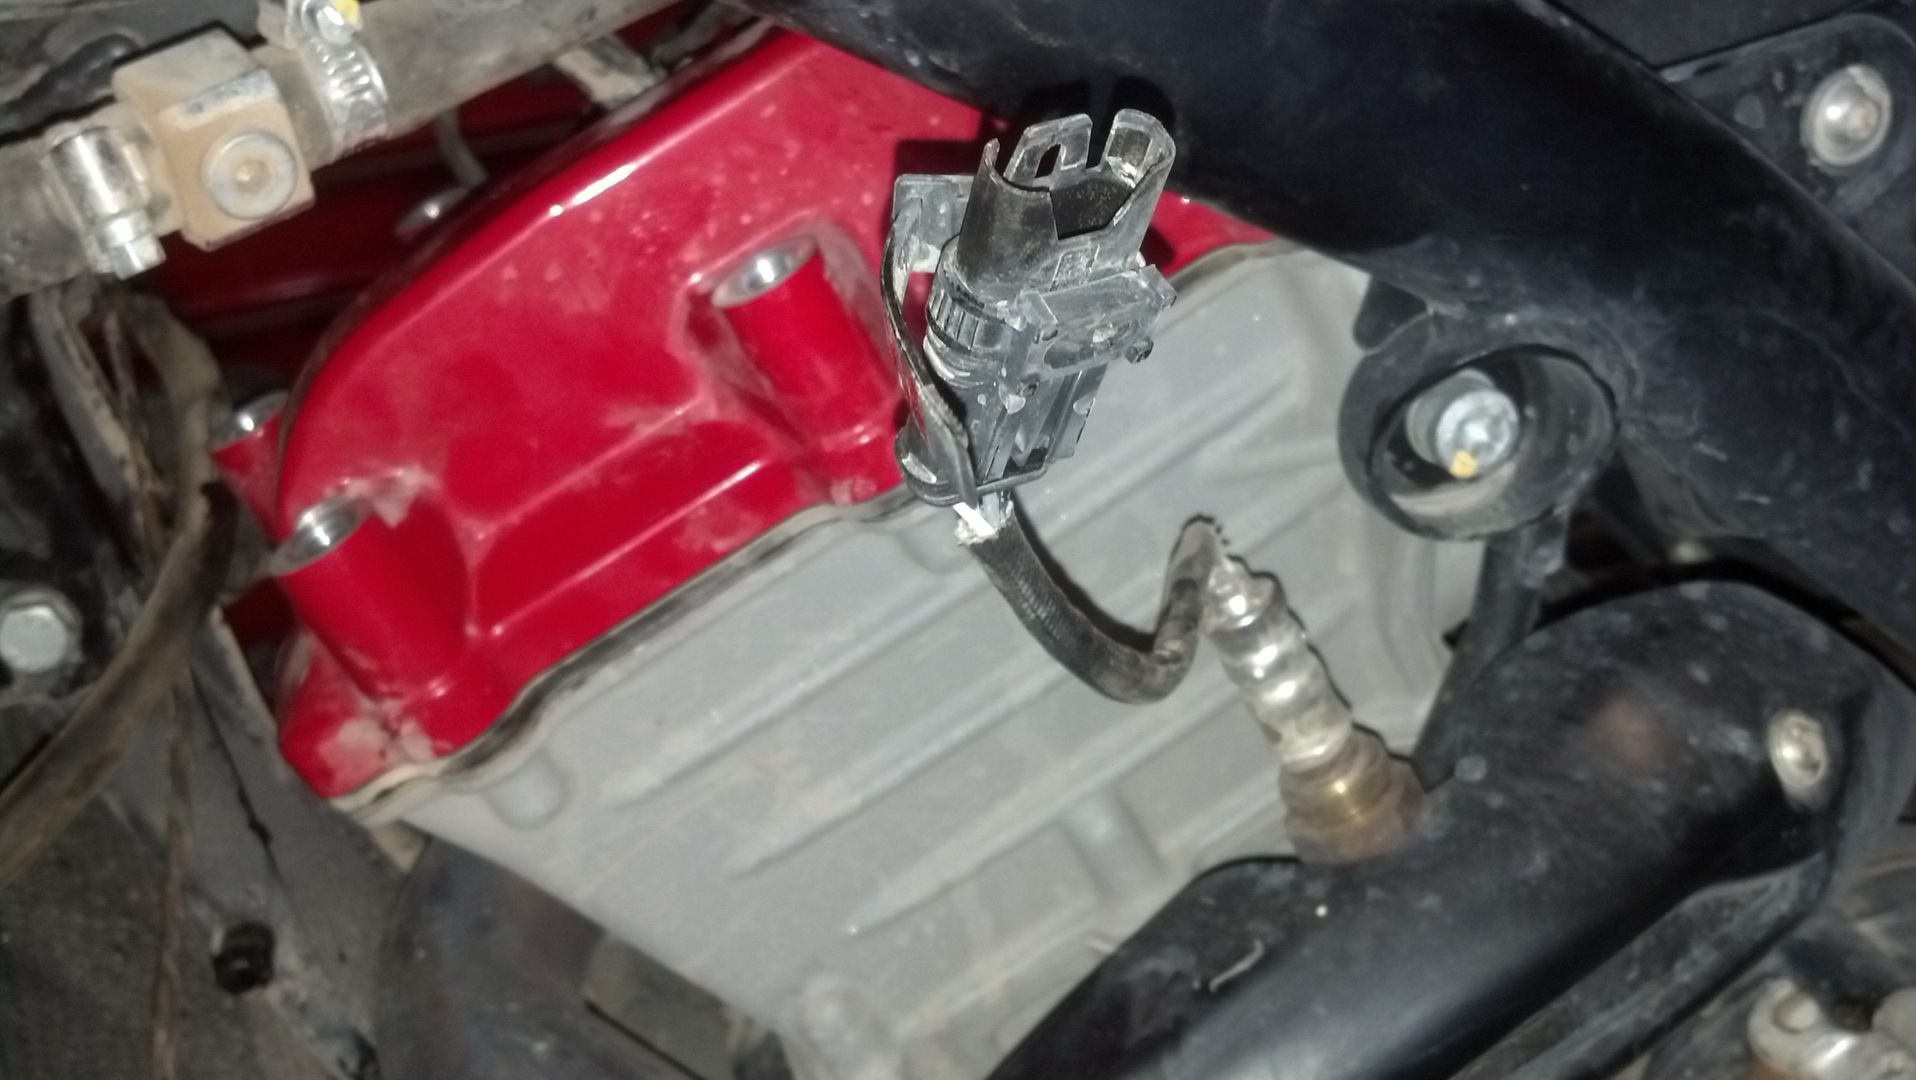
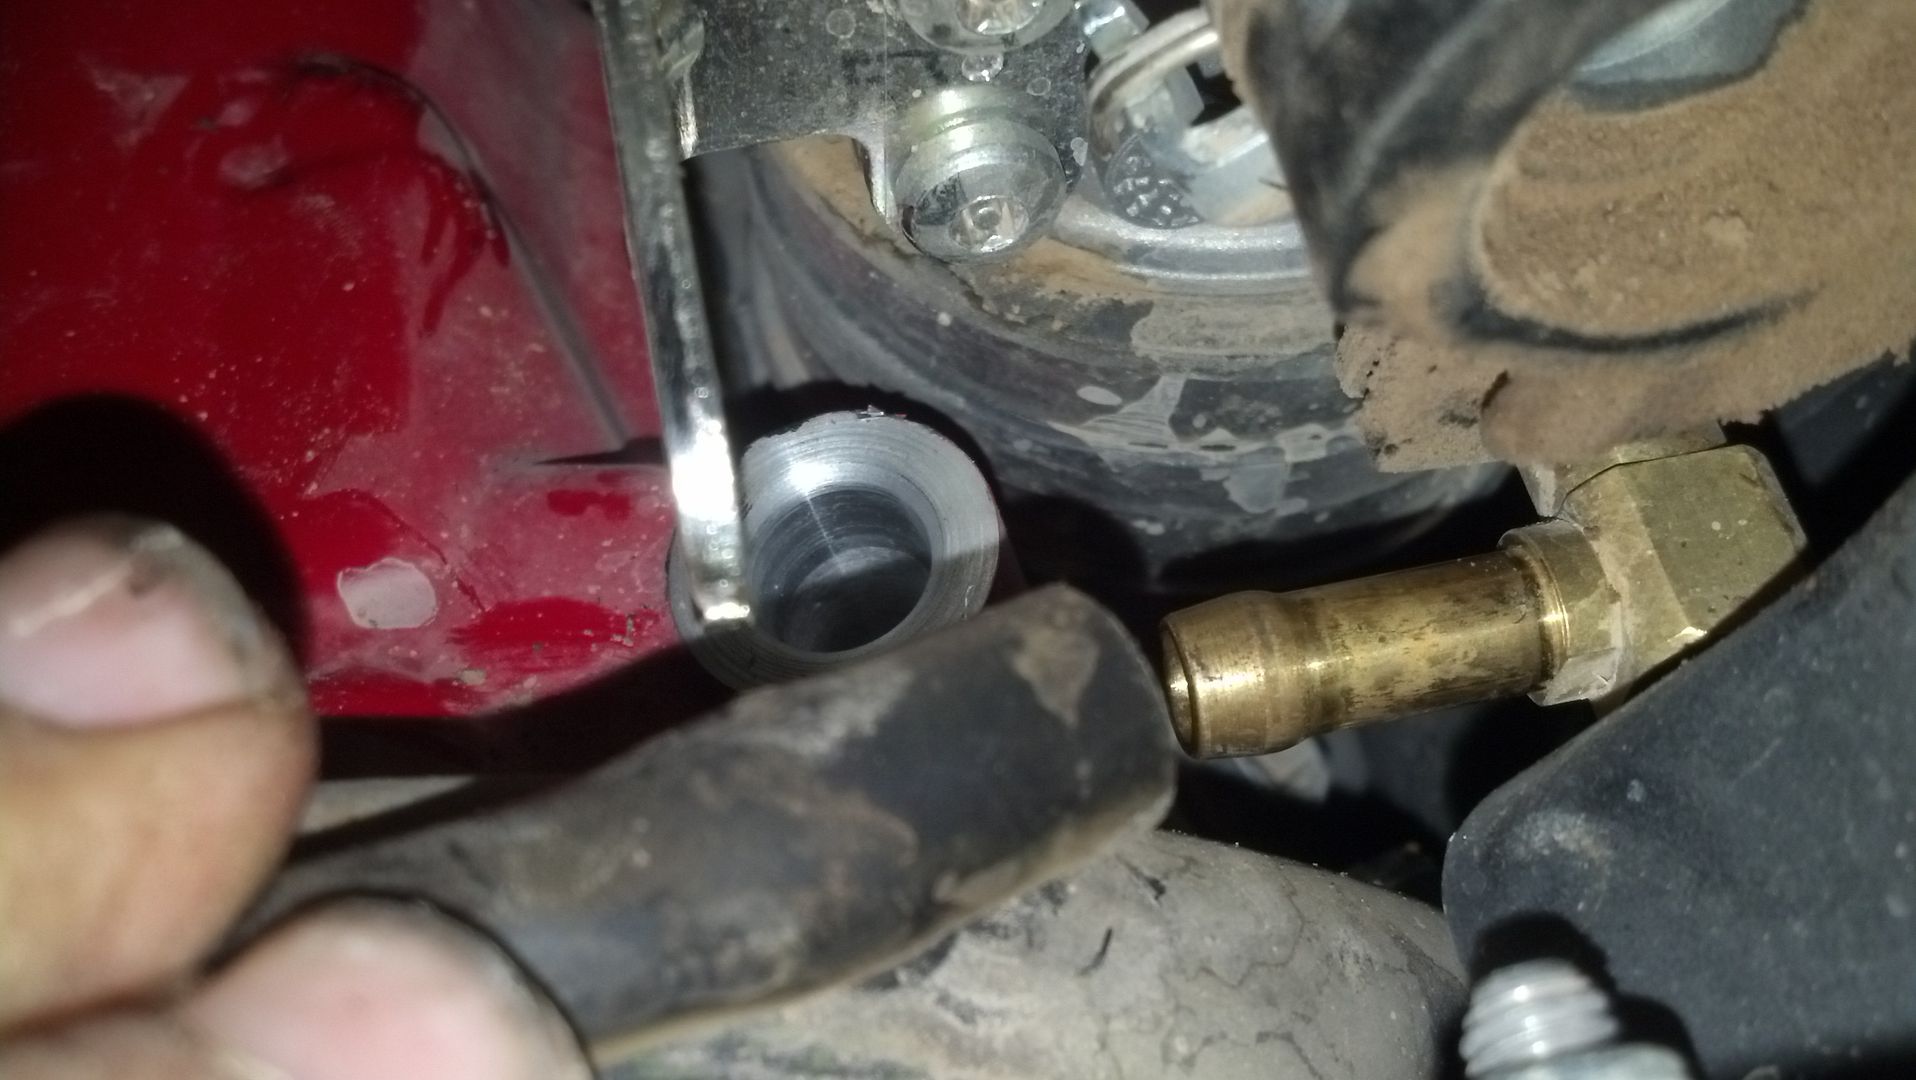
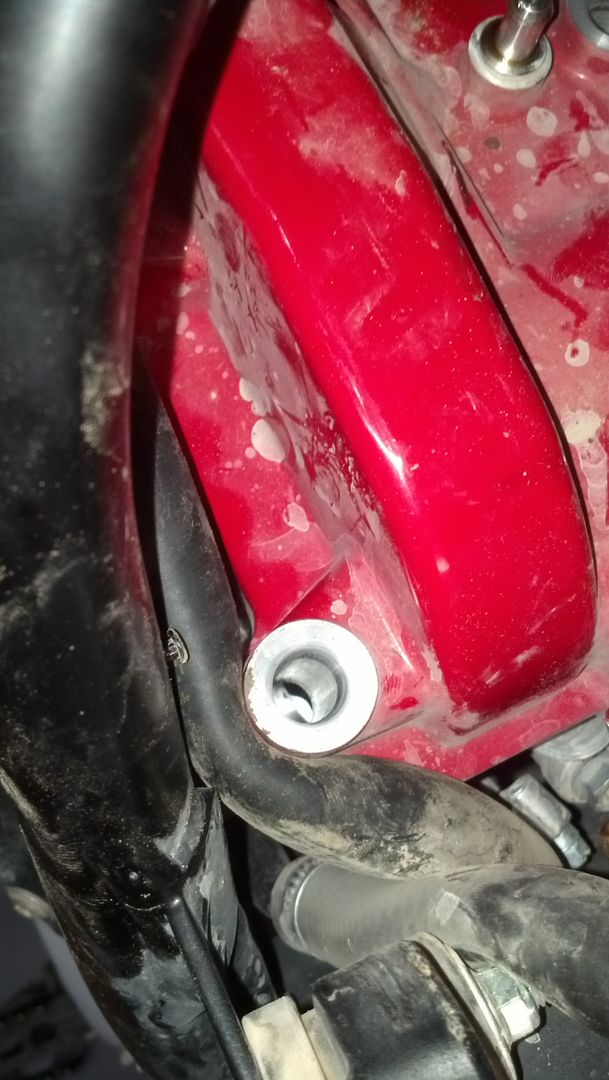
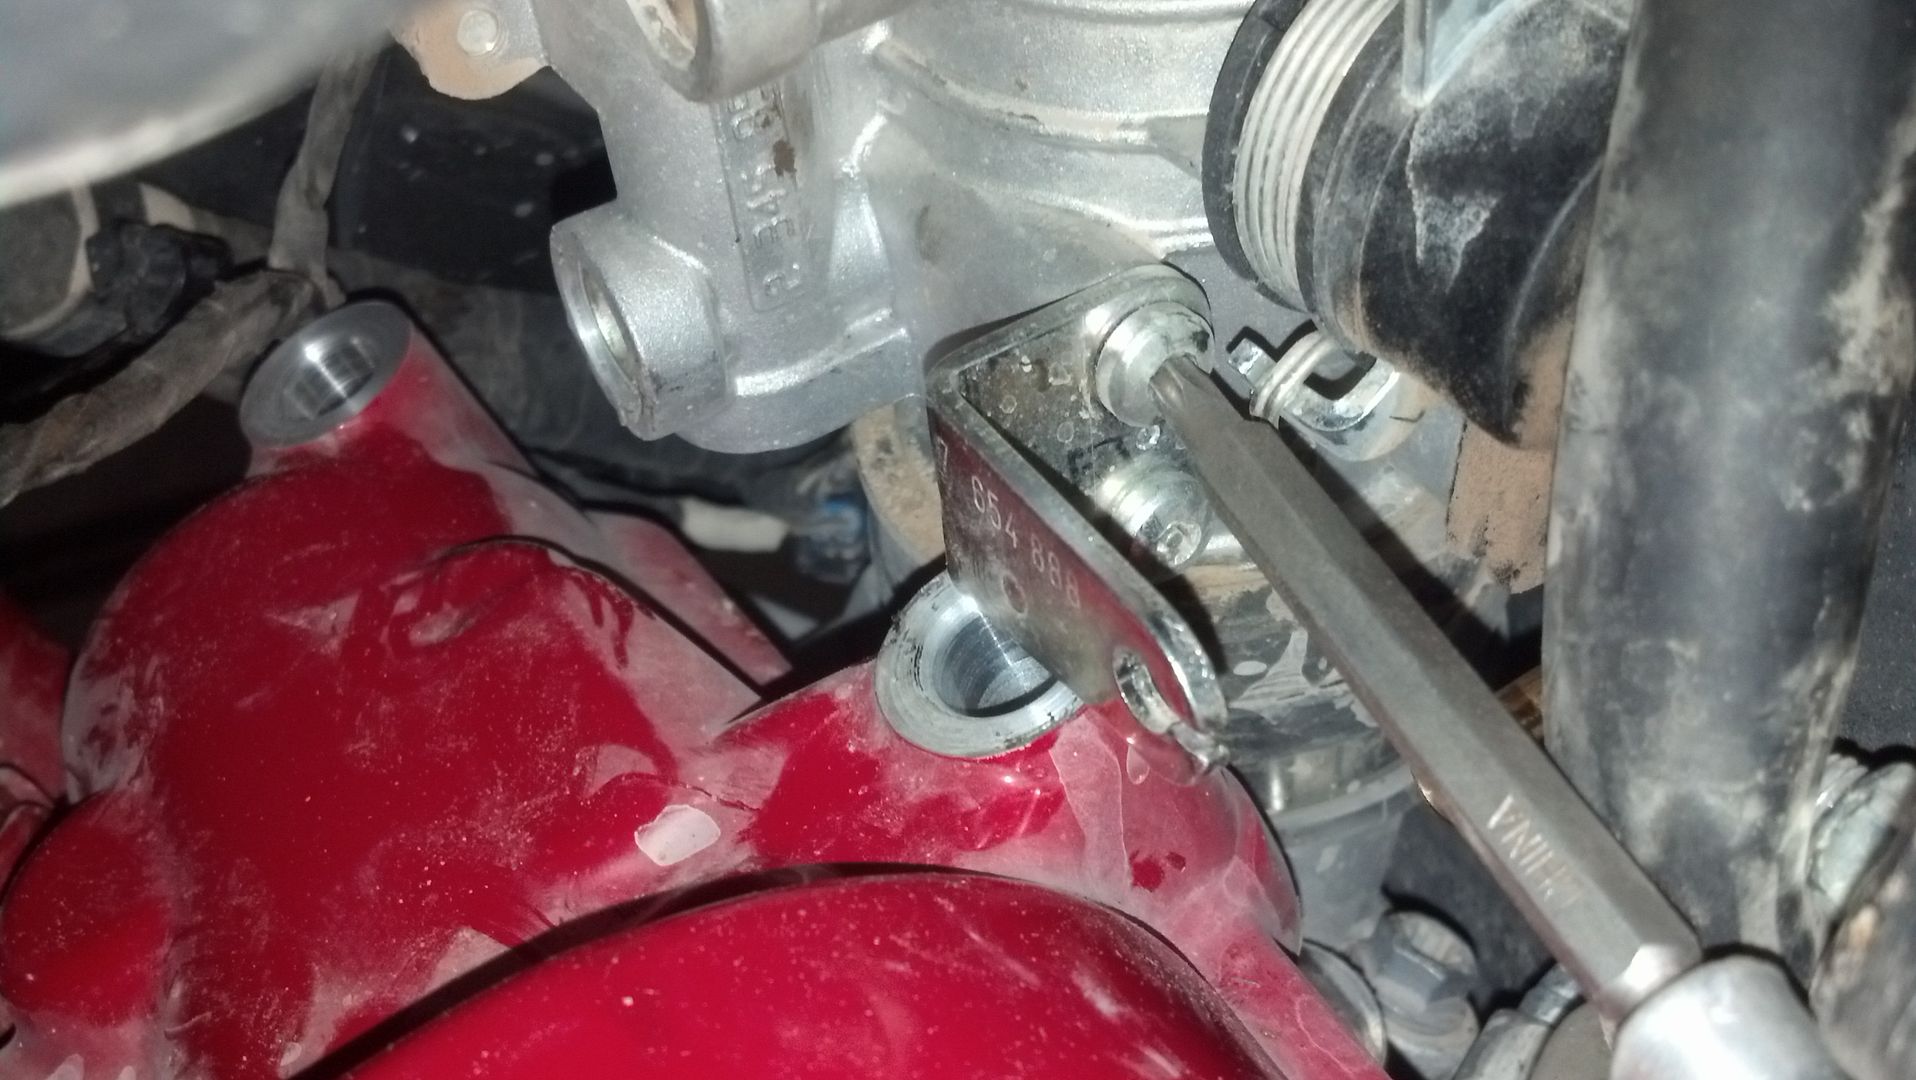
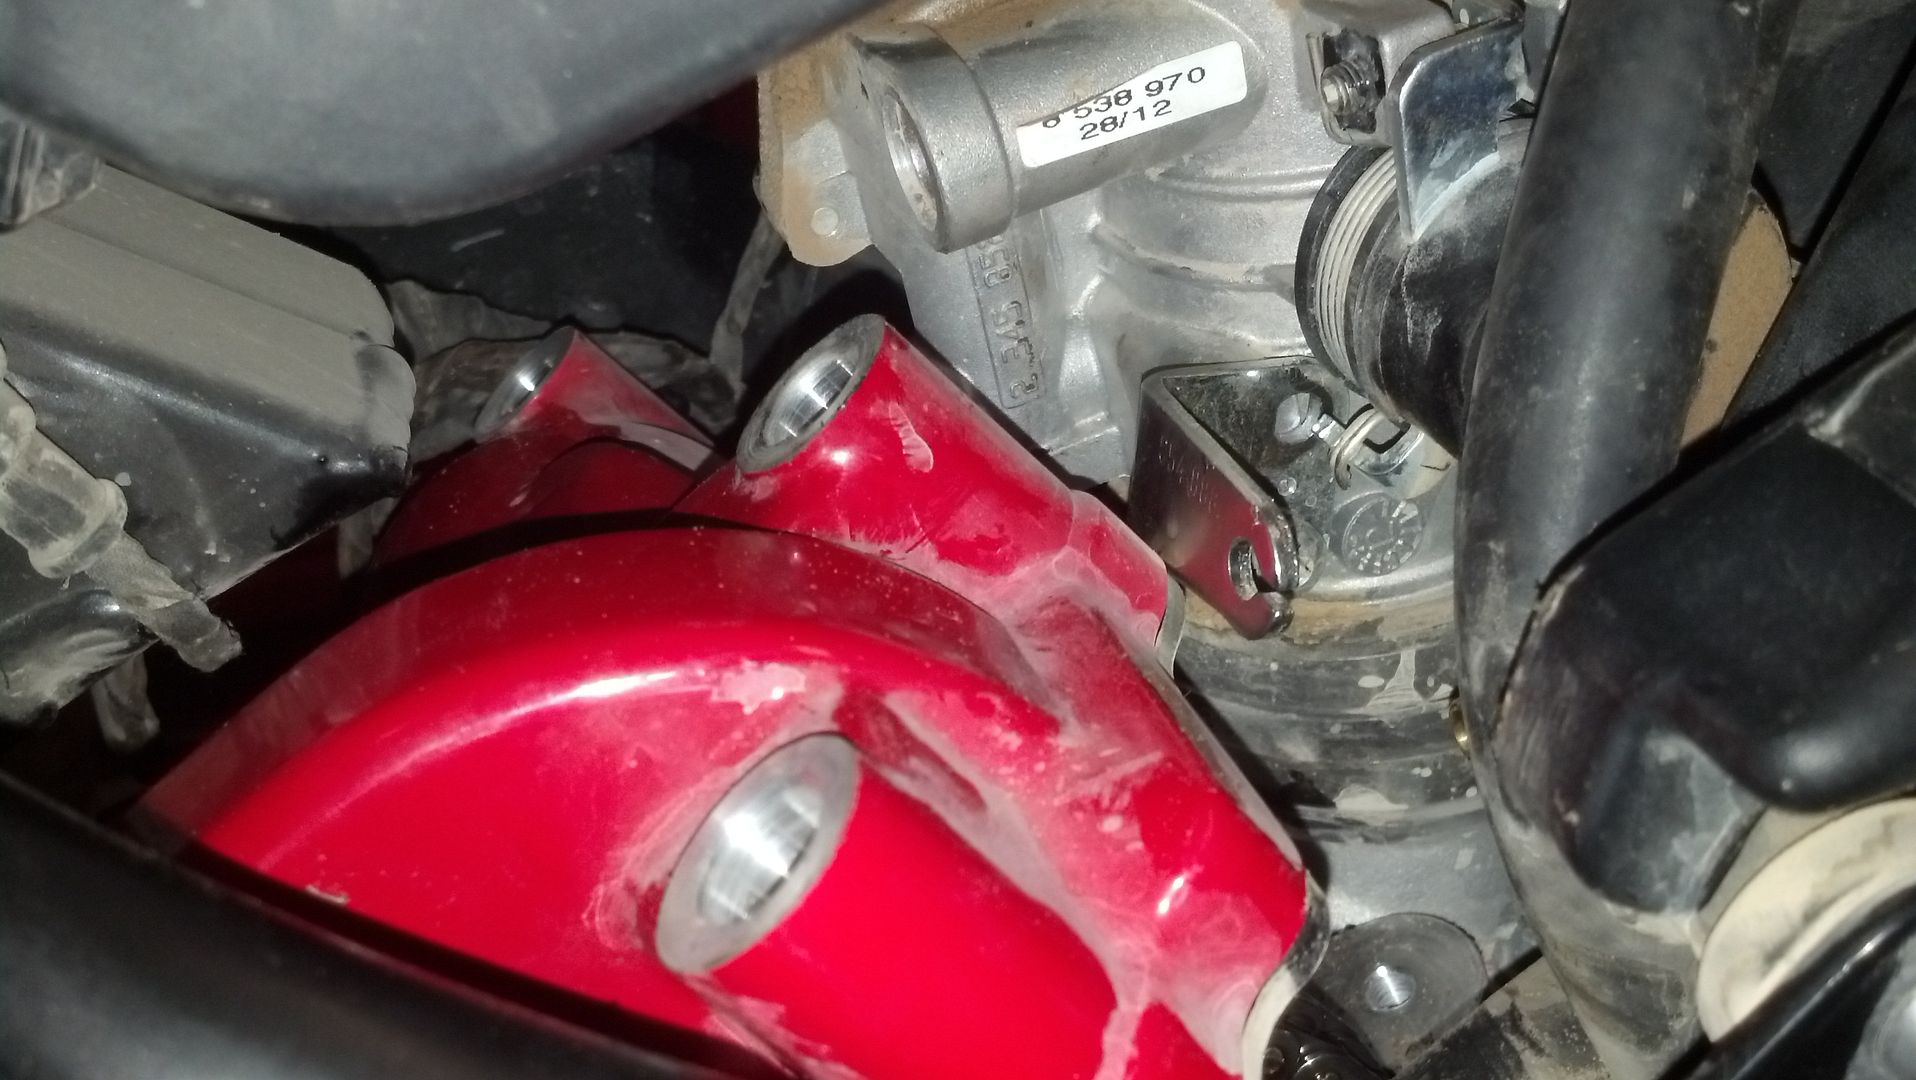
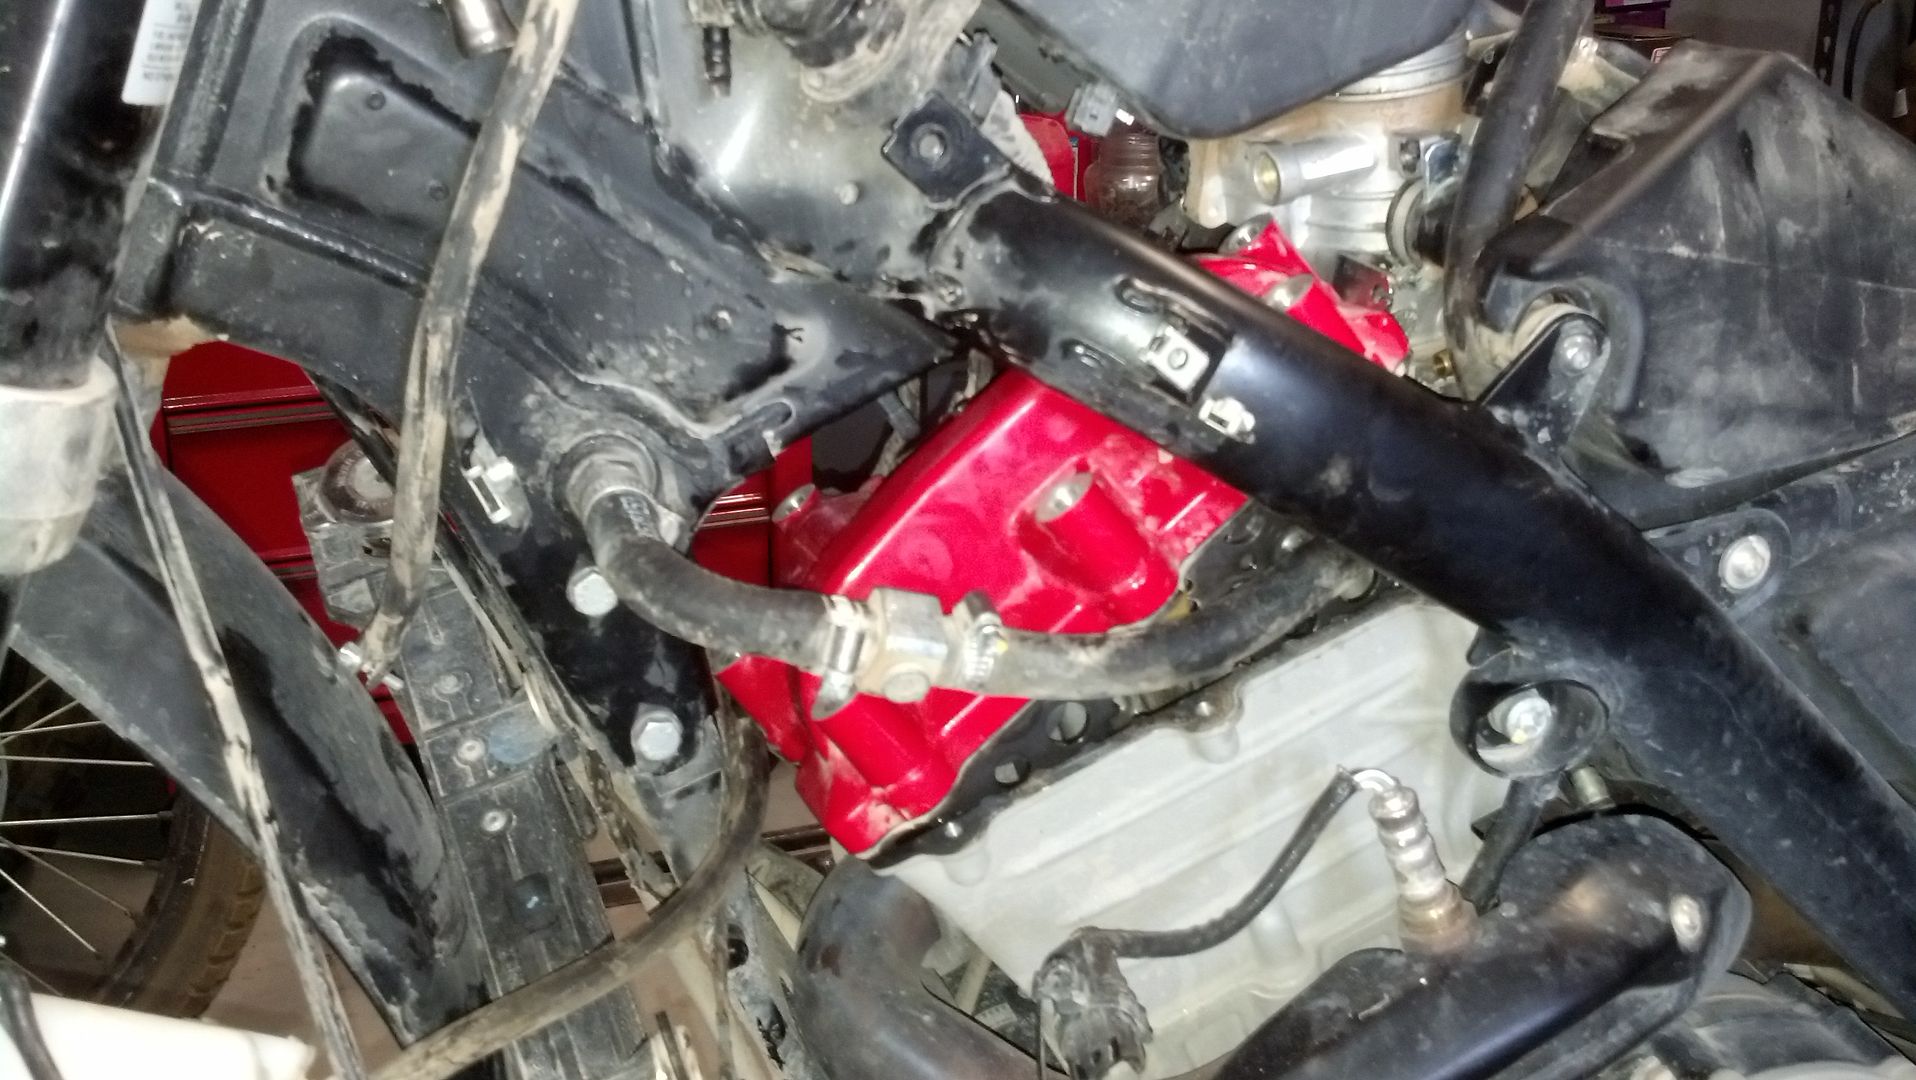
With the panels now off, begin to tackle the front fairing around the airbox:
Take the air filter out:
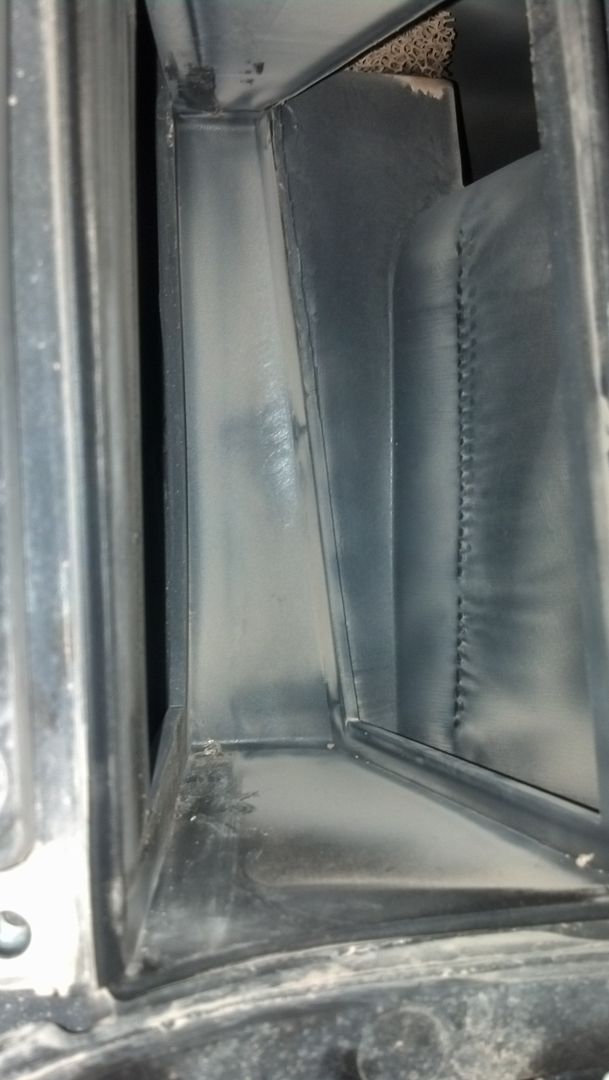
Looking inside, you can see a fair amount of dust that eludes the air filter. Not enough to make me lose any sleep, but I know this bike isn't a Toyota, so we'll see what the lasting effects are:
Why is that?
Because the f'ing TR650 shop manual did not include instructions on how to remove the fuel tank and air box. That's why.
This is just a pictorial on how I chose to check the valve clearances @6k miles. This task is not for the faint of heart and is a bit involved.
Begin by putting your bike up on the lift and taking the seat off:
If you don't have a lift, the job is still possible, but harder.
Now that you have your bike in a vulnerable position, you need to assert your dominance. Do not show any fear to this beast or it will realize it can overcome you and take the alpha position in the relationship.
Next remove the panel around the fill cap:
Then proceed to remove the body panels (If you can't figure out how to take these off by yourself, stop here. The rest of this will be way over your head):
With the panels now off, begin to tackle the front fairing around the airbox:
Take the air filter out:
Looking inside, you can see a fair amount of dust that eludes the air filter. Not enough to make me lose any sleep, but I know this bike isn't a Toyota, so we'll see what the lasting effects are:


 Awesome pics and write up, thanks for posting this. It's a big help!