• Hi everyone,

    As you all know, Coffee (Dean) passed away a couple of years ago. I am Dean's ex-wife's husband and happen to have spent my career in tech. Over the years, I occasionally helped Dean with various tech issues.

    When he passed, I worked with his kids to gather the necessary credentials to keep this site running. Since then (and for however long they worked with Coffee), Woodschick and Dirtdame have been maintaining the site and covering the costs. Without their hard work and financial support, CafeHusky would have been lost.

    Over the past couple of weeks, I’ve been working to migrate the site to a free cloud compute instance so that Woodschick and Dirtdame no longer have to fund it. At the same time, I’ve updated the site to a current version of XenForo (the discussion software it runs on). The previous version was outdated and no longer supported.

    Unfortunately, the new software version doesn’t support importing the old site’s styles, so for now, you’ll see the XenForo default style. This may change over time.

    Coffee didn’t document the work he did on the site, so I’ve been digging through the old setup to understand how everything was running. There may still be things I’ve missed. One known issue is that email functionality is not yet working on the new site, but I hope to resolve this over time.

    Thanks for your patience and support!

Help! Debris found in my engine - 610/630 clutch issues

Gudday guys,
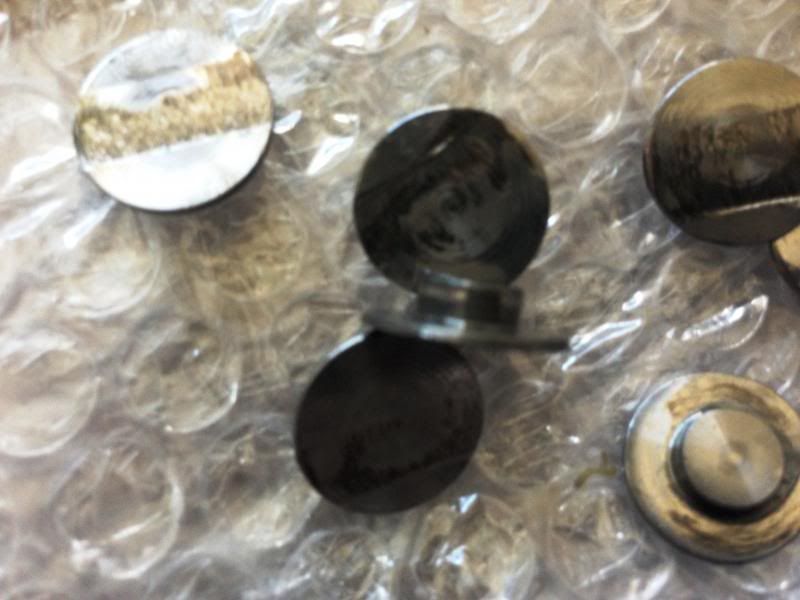
I discovered, through sheer necessity, that the rivets can be worked cold quite successfully into a solid fixture by just using patience, care and a good ball peen hammer. I didn't have access to a air hammer or heat source and was too cheap to go buy one for the one job... :-) Just take your time and back the rivet head with something solid. I used the jaws of a big bench vise...

Pics or it didn't happen. :D
 
I am sure the heating process is intended to anneal and hardens them.

I remember seeing another post on this from an aircraft mechanic. He outlined the correct method for hammering rivets which you hit from the opposite side using a tool on the mushroom side and no heat involved.
 
I remember seeing another post on this from an aircraft mechanic. He outlined the correct method for hammering rivets which you hit from the opposite side using a tool on the mushroom side and no heat involved.

I am sure it does depend on the type of rivet - ie what metal. I would imagine alu and SS rivets are worked cold. Copper non-ferous ideally requires heat to anneal and harden it as I understand. That said the action of peeling one with a hammer I would guess would work harden it some.
 
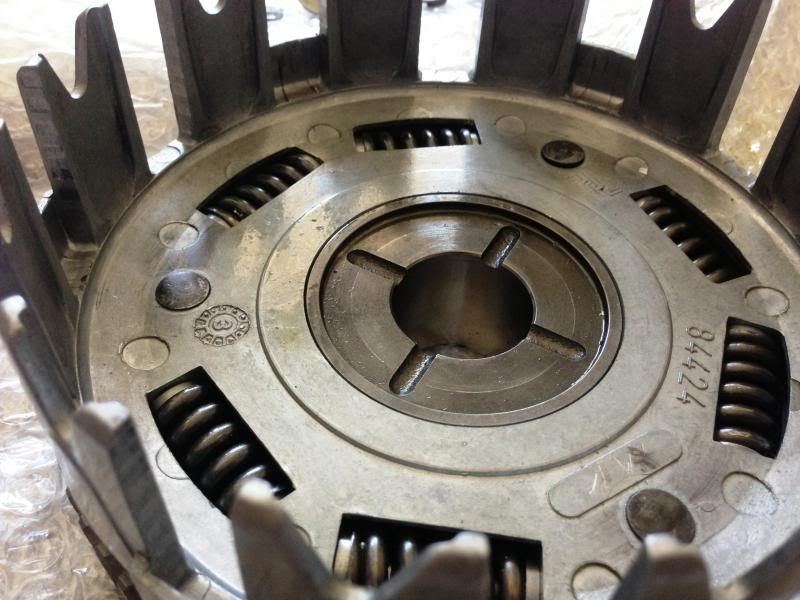
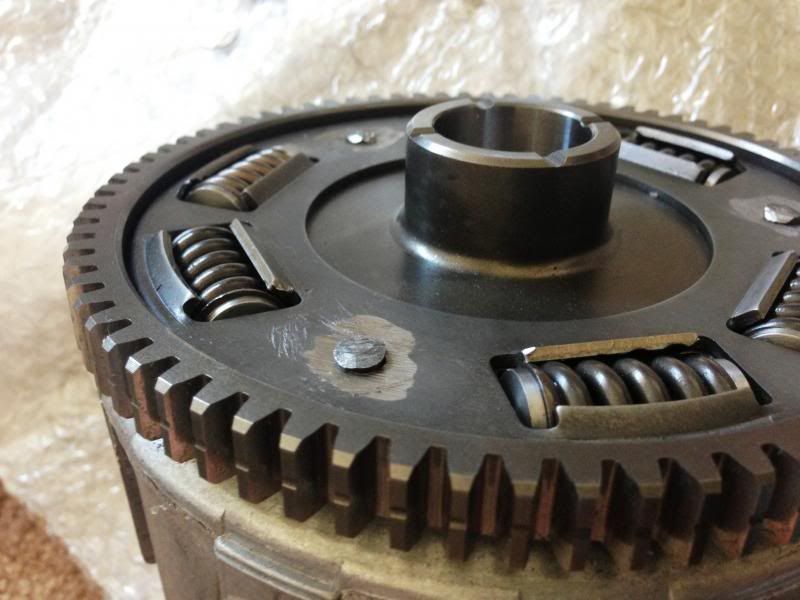
Taking a quick nap to smooth out the clutch basket.
Also replaced the bronze bushing, but the spring cups still looked new after over 8k miles, so i held off on doing them for now. I've got new ones and rivets already though.

2013-03-08_18-19-32_487.jpg

2013-03-08_18-19-47_1.jpg

2013-03-08_18-20-02_790.jpg

2013-03-08_18-20-38_20.jpg

2013-03-08_18-19-40_347-1.jpg
 
Taking a quick nap to smooth out the clutch basket.
Also replaced the bronze bushing, but the spring cups still looked new after over 8k miles, so i held off on doing them for now. I've got new ones and rivets already though.


2013-03-08_18-20-38_20.jpg


Those spring cups do look very good still however I would just replace them now since you have it all apart and parts on hand. Then you should never have to go back in again for a very long time.

_
 
I don't disagree, but I can lay the bike down and have the clutch basket out in ~15 minutes. They've got over 8000 miles on them now, and I have not been gentle, haha. If I had more time, I probably would have gone ahead and done them, but the weather was too pretty this weekend to be in the shop. They didn't look nearly as bad as I was expecting, especially considering the horror stories I've seen on here...
Did some riding today after smoothing out the notches and throwing on a new chain last night, and it's a brand new bike again, clutch is silky smooth. My chain was getting pretty bad, binding up and getting notchy.
 
[quote="RDTCU, post: 287323, member: 6494Did some riding today after smoothing out the notches ....[/quote]

Notches on the clutch basket? Also cleaned mine up just for good measure when I did the cup washers - looked much like yours.
 
[quote="RDTCU, post: 287323, member: 6494Did some riding today after smoothing out the notches ....

Notches on the clutch basket? Also cleaned mine up just for good measure when I did the cup washers - looked much like yours.[/quote]

Yes, my clutch had felt a bit grabby for a while now, figured It was time to smooth it back out, now it engages like it did when it was new. I only took of a couple thousandths, no more than ~0.005 on the worst fingers til the notches were mostly gone.
 
I changed oil yesterday and as always look closely for any metal pieces. Very fine particles on the magnetic drain plug. Just a few particles on the fine screen on left side of motor. One bright flake, maybe 1 mm, on the oil filter pleats. That's the first really identifiable piece of metal I've seen so far, at around 7K. It sure looks like it came from the spring cups, so I've been expecting to see something like that some time. It looks like I will be OK to run on to the cam chain replacement interval before replacing the spring cups and bronze bushing.
 
610 - I also get (#26 in diagram):

8000 72943

Two numbers listed depending on VIN I think, but specs identical.
Im about to order the bushing but in the parts list the one reads
Bushing (Ø 26 mmxØ 23 mm)and the other

Bushing (Ø 28 mmxØ 25 mm)
.Which one have you ordered guys?
 
I pulled mine apart and am having Indy Unlimited (maker of the new spring cups) do the labor of installing the spring cups and rivet it back together.

After 4K miles I had just a few washers getting thin but figured preventative maintenance now would be better than pulling it down in the middle of summer.

Will post photos of the finished product when Indy returns it.
 
UPDATE

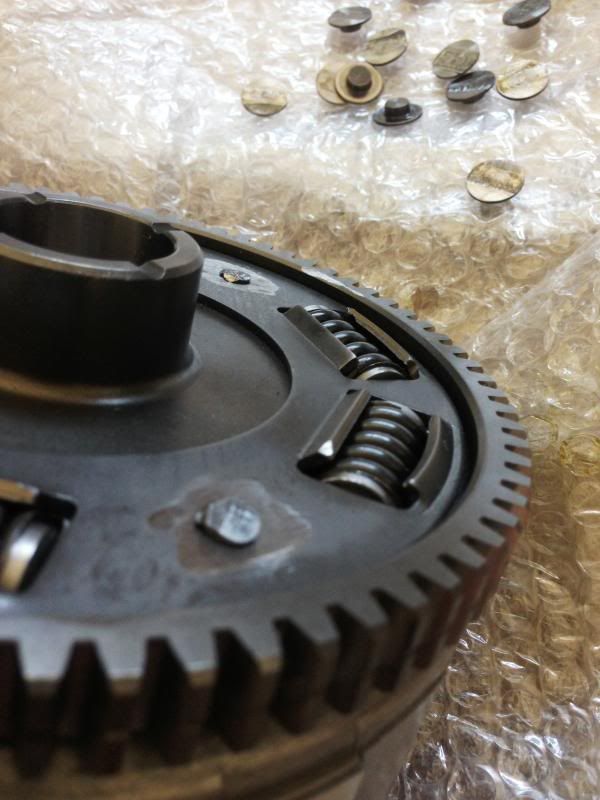
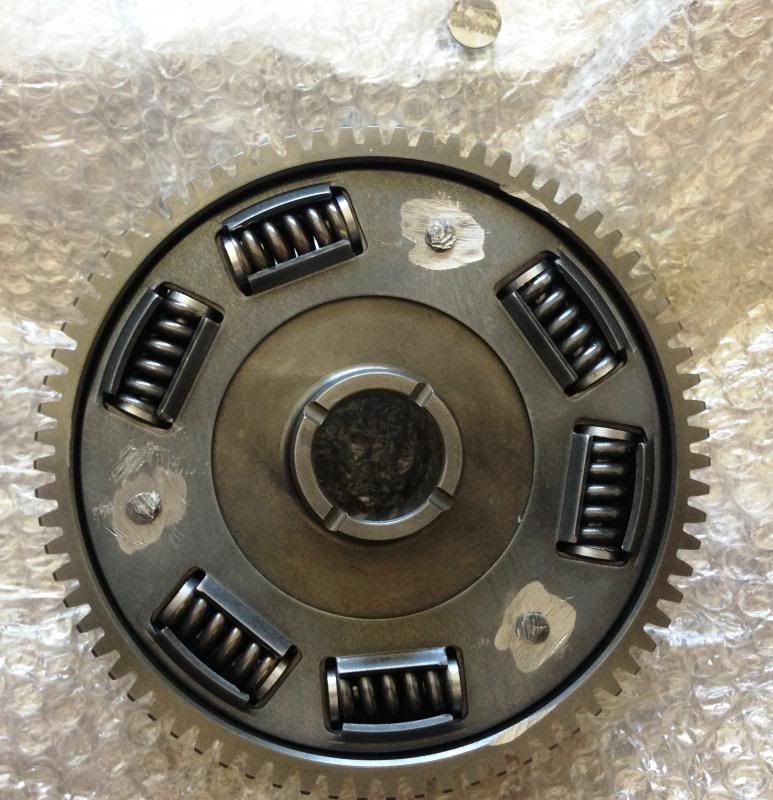
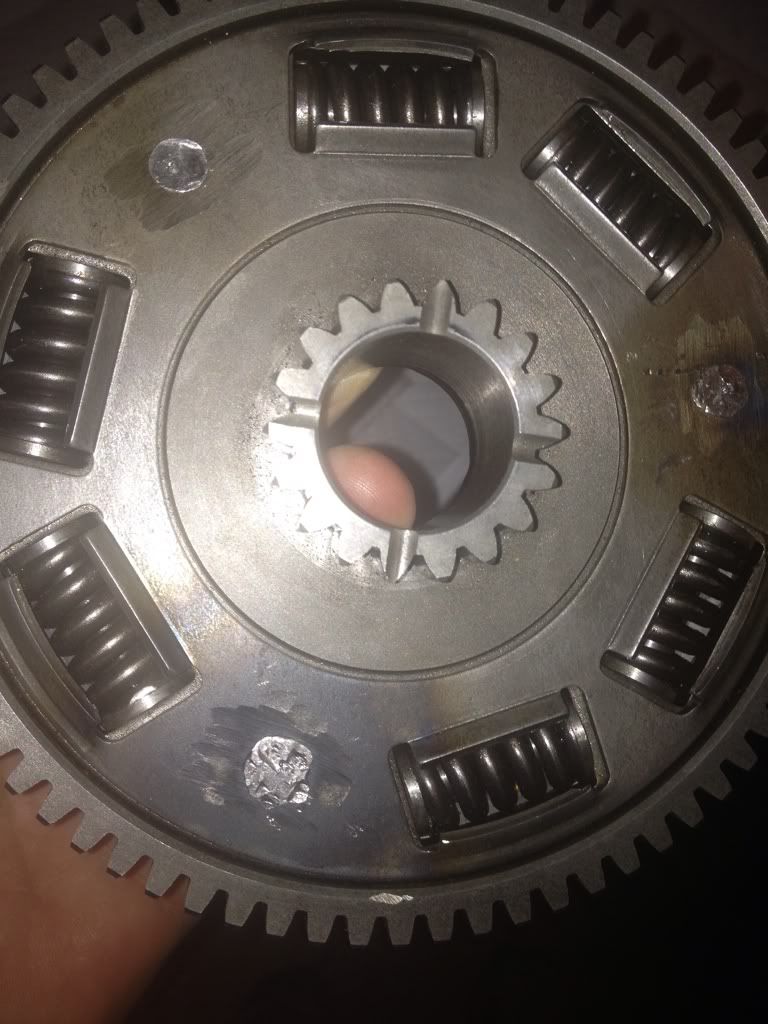
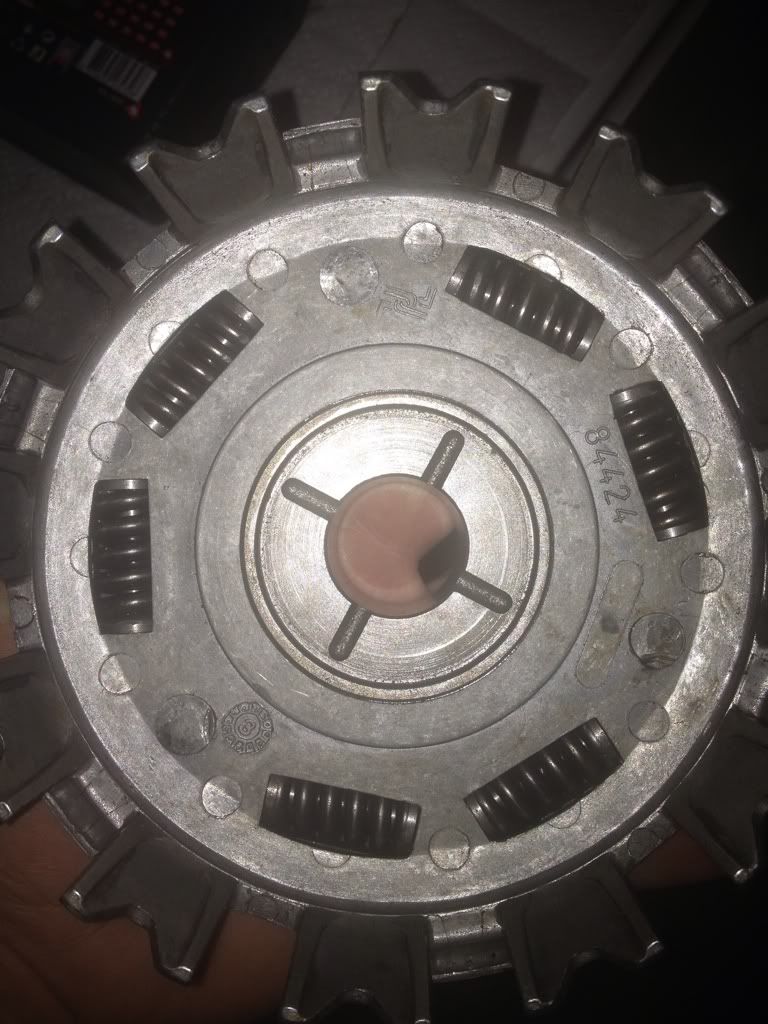
So Indy finished up my clutch spring cup overhaul and here are some photos (sorry about camera phone quality).

With only close to 4000 miles on my TE630 some of the spring cups were getting severely thin.

I also noticed groves/wear on the spring retainer tabs which is shown in the 3rd photo. Oddly this was only apparent on some of the retainer tabs, not sure why?

Clutch5_zpsb0f4e2bf.jpg


Clutch2_zps736e3137.jpg


Clutch3_zps4fc5c4a9.jpg


Clutch4_zpse011c2fb.jpg


Clutch1_zpsba268fab.jpg
 
You really have to make sure the base is seated proper when working the other end, but other than that its easy. I used a burns-o-matic to heat them in place. It was a 2 man job, but pretty easy.
 
Back
Top