-
Hi everyone,
As you all know, Coffee (Dean) passed away a couple of years ago. I am Dean's ex-wife's husband and happen to have spent my career in tech. Over the years, I occasionally helped Dean with various tech issues.
When he passed, I worked with his kids to gather the necessary credentials to keep this site running. Since then (and for however long they worked with Coffee), Woodschick and Dirtdame have been maintaining the site and covering the costs. Without their hard work and financial support, CafeHusky would have been lost.
Over the past couple of weeks, I’ve been working to migrate the site to a free cloud compute instance so that Woodschick and Dirtdame no longer have to fund it. At the same time, I’ve updated the site to a current version of XenForo (the discussion software it runs on). The previous version was outdated and no longer supported.
Unfortunately, the new software version doesn’t support importing the old site’s styles, so for now, you’ll see the XenForo default style. This may change over time.
Coffee didn’t document the work he did on the site, so I’ve been digging through the old setup to understand how everything was running. There may still be things I’ve missed. One known issue is that email functionality is not yet working on the new site, but I hope to resolve this over time.
Thanks for your patience and support!
You should upgrade or use an alternative browser.
HDB Handguards – New Option for Husky's
- Thread starter Muddy Waters
- Start date


Muddy Waters
Husqvarna
AA Class
Coffee;24513 said:Nice shirt!
You like it don't you

Limited black edition, (bad ass........) -->

Sorry, you can't have mine.........
Muddy Waters
Husqvarna
AA Class
Darkside;24519 said:Been meaning to post these pics. Nice product!
Dark, looking good

I was thinking it might be good to flip the OEM clutch/brake mirror holder upside down so it wouldn't become a rain water/dirt collector
So I guess the 510,450,250 gets the four hole (for accessories....)and the 610 gets the three? (Kelly can probably answer this better...)
Darkside;24519 said:Been meaning to post these pics. Nice product!
Man I do Love that mirror set up Very sweet.
Darkside
Husqvarna
AA Class
I was thinking it might be good to flip the OEM clutch/brake mirror holder upside down so it wouldn't become a rain water/dirt collector
get a 5/16" plug from Orchard Supply.

Darkside
Husqvarna
AA Class
So I guess the 510,450,250 gets the four hole (for accessories....)and the 610 gets the three? (Kelly can probably answer this better...)
What kind of accessories go there? I was hoping for some kind of filler panel or something. I guess if I eventually get a TrailTech Vector I could put dash lights in there.
Muddy Waters;19038 said:
Thank you Woodsy
I’m somewhat limited with my dirty options right now, till March 1st when things open up round here
Other then that… yeah you’re right , I did get myself a van for the toys so I really need to start looking for good places outside the islands to ride on…
Rajo; I hope you don’t mind me referencing your ice maker?
Nope, feel free to plagiarize all you like.
Muddy Waters
Husqvarna
AA Class
Darkside;24710 said:get a 5/16" plug
Even better
( it looks like the 610 set up is different, you can flip it without massing the stuff on the other side
 )
)Darkside;24712 said:What kind of accessories go there? I was hoping for some kind of filler panel or something. I guess if I eventually get a TrailTech Vector I could put dash lights in there.
 --> Handgrip warmers, auxiliary lights, garage opener.......that's were it stops for me cause I have only three holes on the 610's top clamp
You on the other hand have one extra hole on your 510's top clamp and the possibility's are infinite.......
If for now you want the filler panel try with Paul, I've seen it on the bikes in his site so he must sell it or know where to get them
Motosportz might be an avenue of expediting things?
mrkartoom
Husqvarna
AA Class
Shameless plug.Coffee;24513 said:Nice shirt!
fitness2go
Husqvarna
AA Class
Muddy Waters
Husqvarna
AA Class
NothingClever
Husqvarna
AA Class
TripleW;19024 said:Those are sweet! Add some flush LED turn signals to those hand guards and they would be stylin' ! TW
An idea already in progress.....watch out Zeta
 !!
!!
OldTLSDoug
Husqvarna
AA Class

Muddy Waters
Husqvarna
AA Class
NothingClever;25809 said:An idea already in progress.....
Nice -->
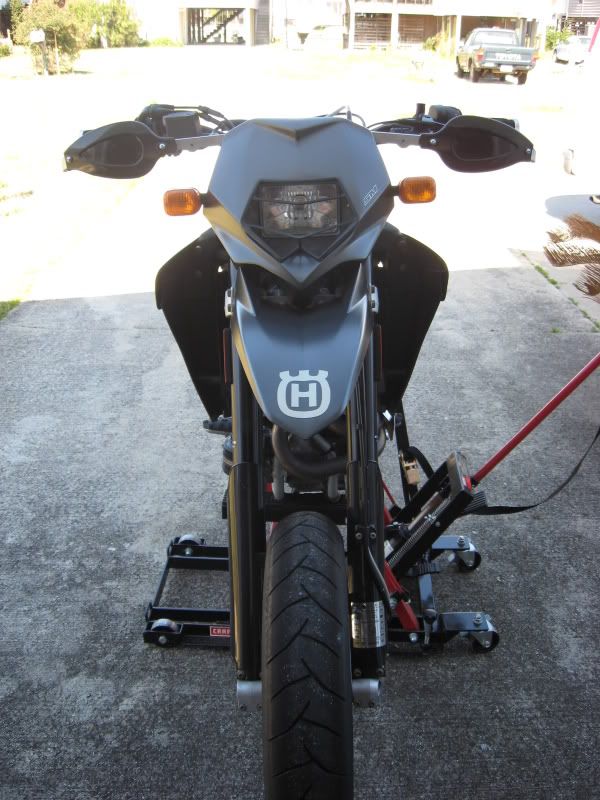
fitness2go;24840 said:Anyone have a straight-on level view/picture?
I've been 200 miles away from my bike this last weekend so sorry but no frontal pics, will try it again this weekend
Muddy Waters
Husqvarna
AA Class
fitness2go;24840 said:straight-on level view/picture?
There you go, you can have your pick;
1. No plastic deflectors ______________________________________________________ 2. The WHO quadrophenia look?
")
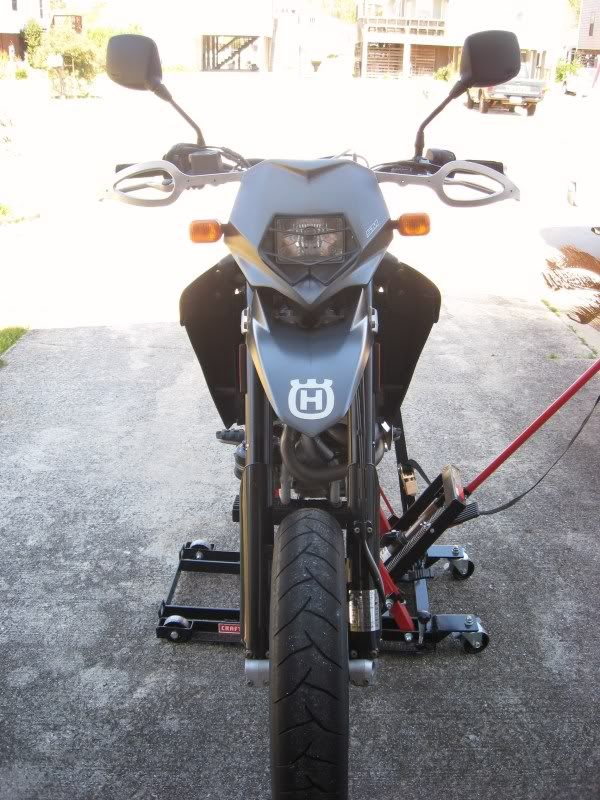
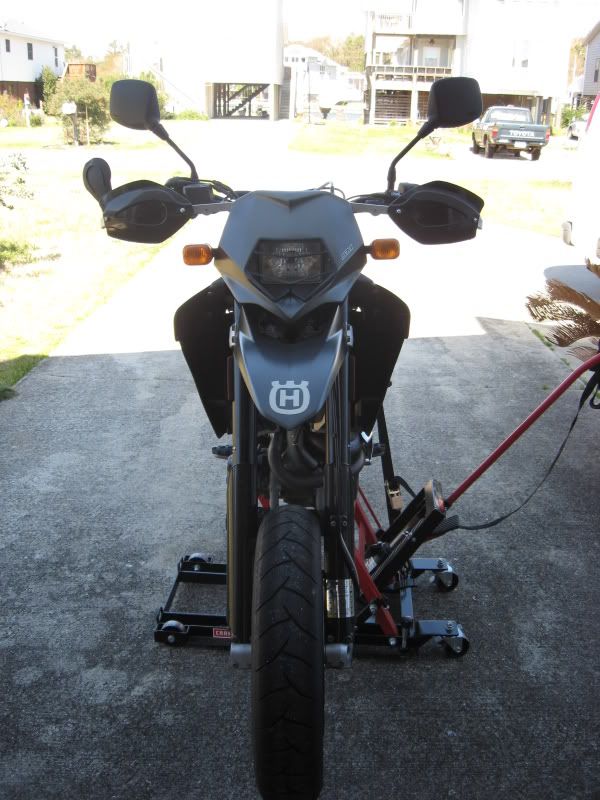
3. Original HDB look, mirror open _______________________________________________ 4.mirror closed
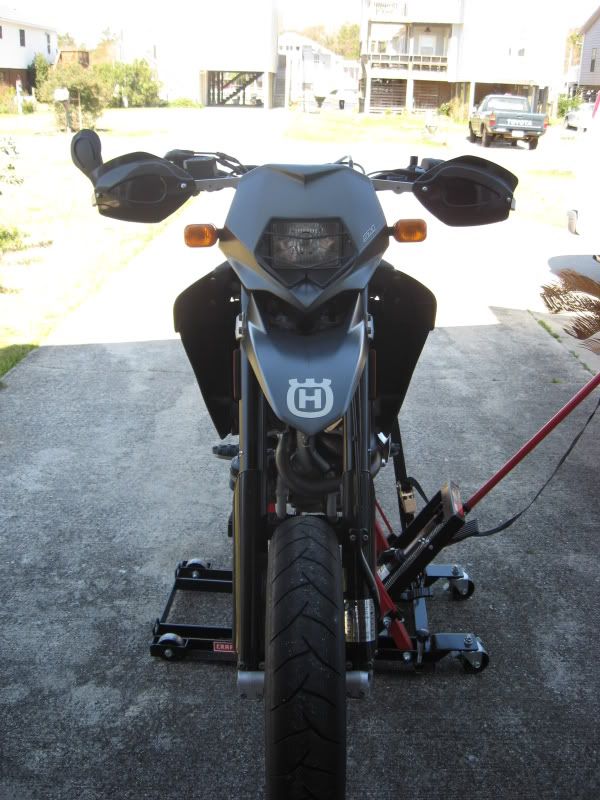
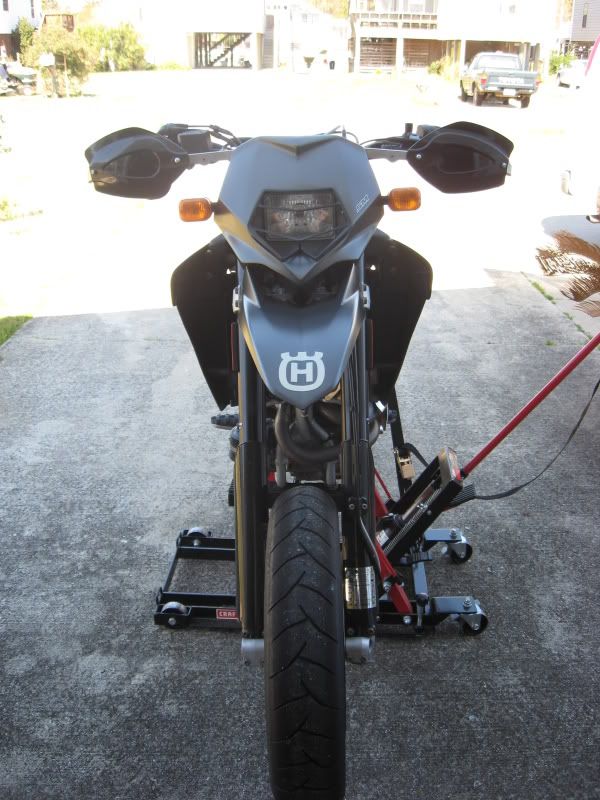
5. Deflectors cut to tear drop indentation
Don’t forget, you can get them from this cool dude <--
mrkartoom
Husqvarna
AA Class
Can those HDB mirrors be adjusted in the vertical axis? Depending on one's angle of view I don't see how they can be tilted up or down. I'm curious how they work in that regard.Muddy Waters;23632 said:A little update;
Got a package from HDB
In it were cut to the teardrop shape deflectors (Paul had decided to try it and liked it enough to send me a pair to see how it looks )
and a mirror ( It's a seconds that was used to test glues so disregard the dirtiness and scuffs.......)
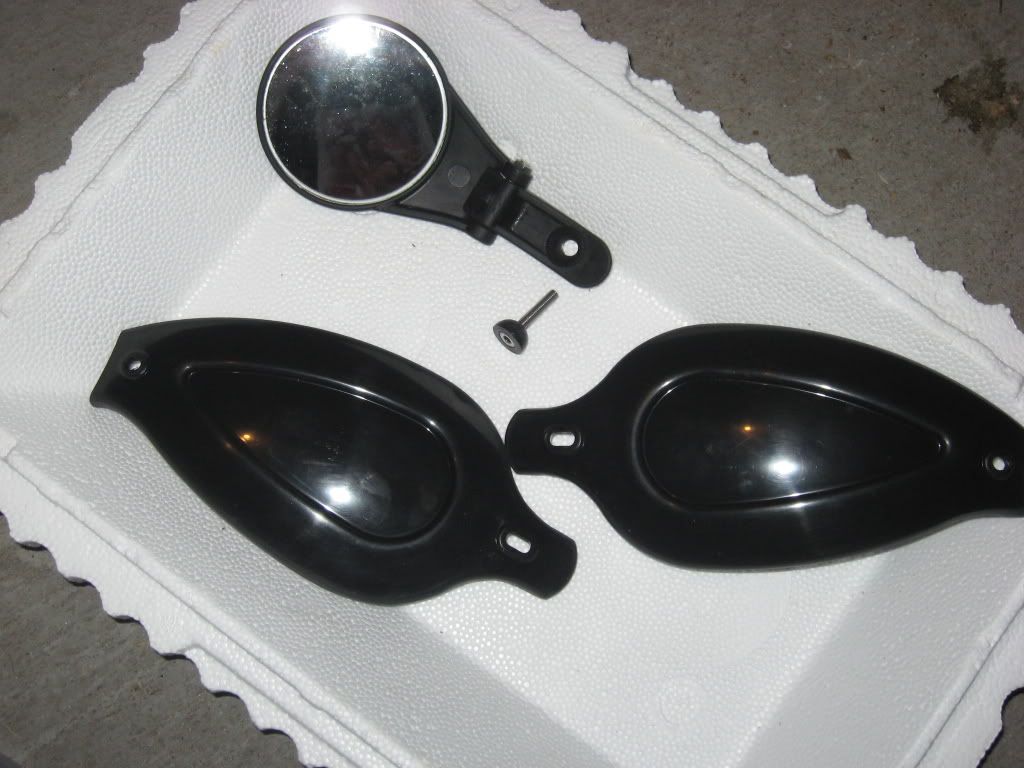
The first thing that jumped at me was the size of the mirror
From all the pictures I have seen I did not realized that the mirror is actually a decent size.....
As you can see it's almost half the size of the factory ones
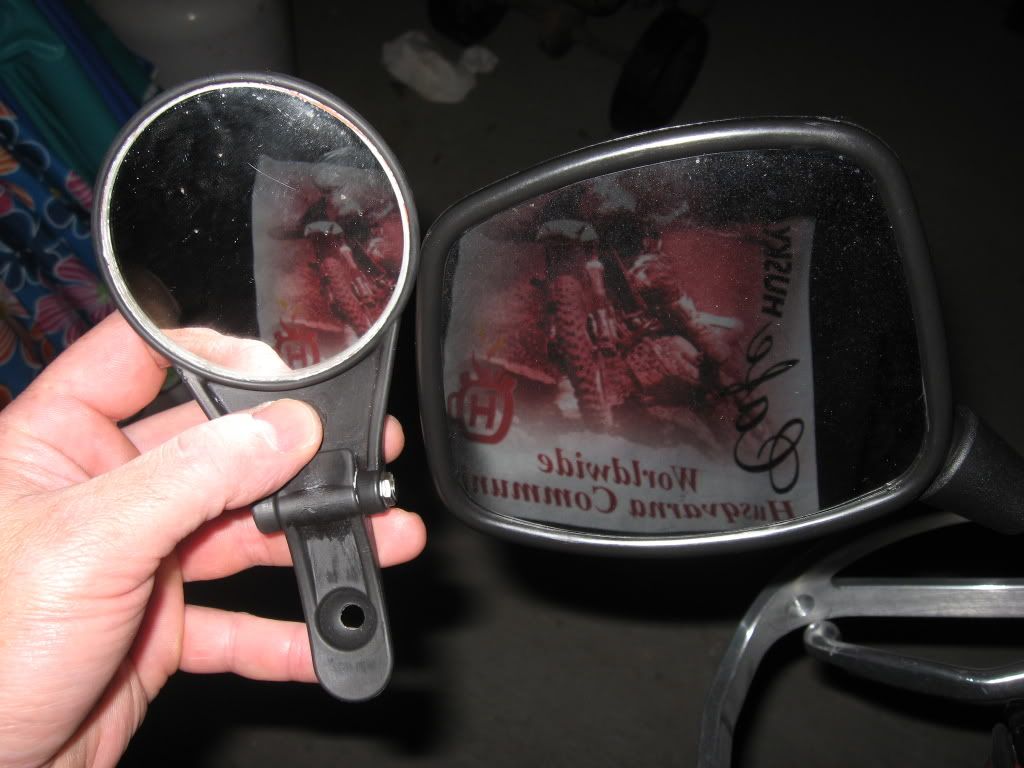
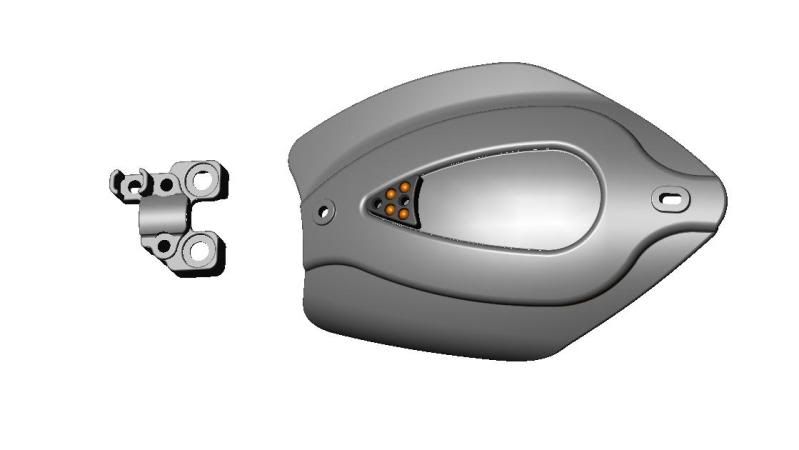
Check the details on the mirror;
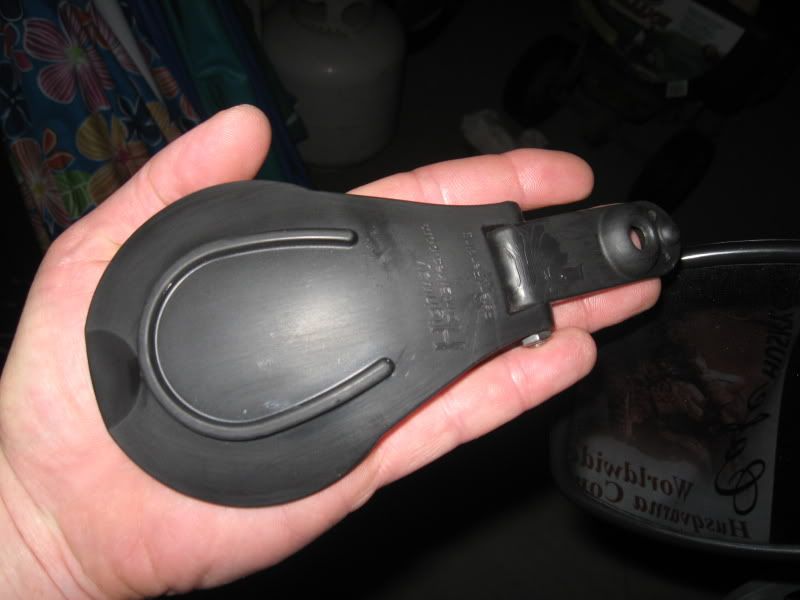
The horse shoe ridge nest nicely in the tear drop opening and keeps it there
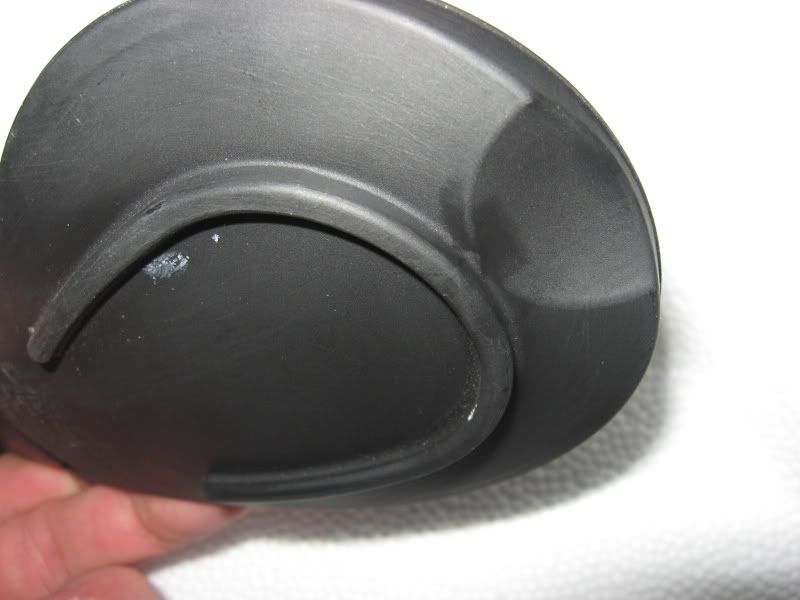
The thumb indentation is there for you to help pop the mirror out of it's nesting place and is big enough for winter glove use
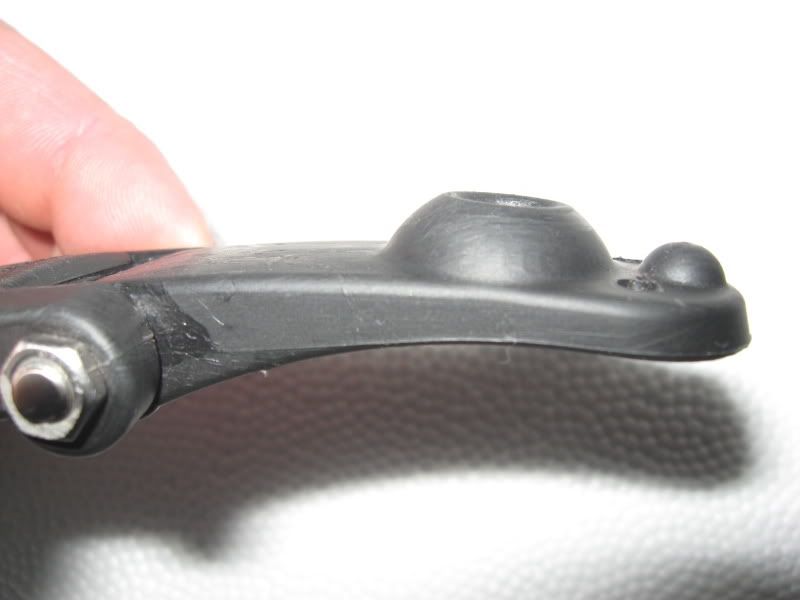
Here you see what enables the mirror to swivel and the little bump at the end is there to hold the mirror open
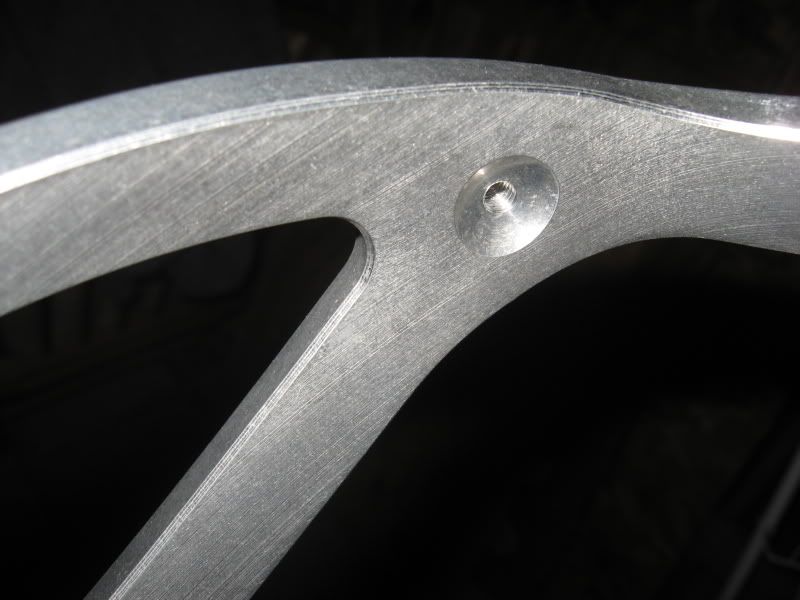
And the mirror goes in to this hole here;
How dose it look on the bike you ask?
Well I think it looks awesome.......
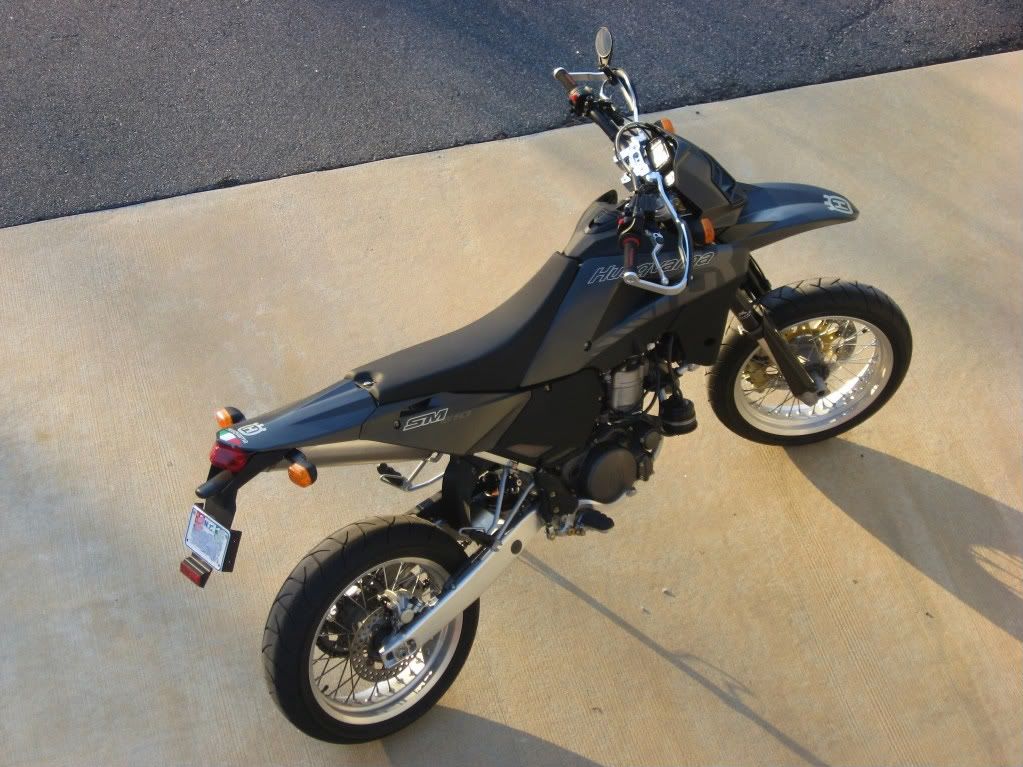
So if you want a pair drop them a line at motosportz@gmail.com
http://motosportz.smugmug.com/gallery/7964919_KAwQQ#517296699_B8w4S
They really are VERY good hand guards. I really like them.
Muddy Waters
Husqvarna
AA Class
mrkartoom;37791 said:Can those HDB mirrors be adjusted in the vertical axis?........I don't see how they can be tilted up or down. I'm curious how they work in that regard.
What do you mean? You quoted the picture with the answer in it ……
--> Well, here it is again
All right, top to bottom (bottom meaning the mirror part in my hand)
The small ball at the top is there to keep the mirror in the open and close position
The bigger mound right next to it is the connection to the handguard, the mirror moves on the axes of that mound left to right, up and down and all around
The connection between the two pieces where you see the small bolt is where you get the main up and down movement
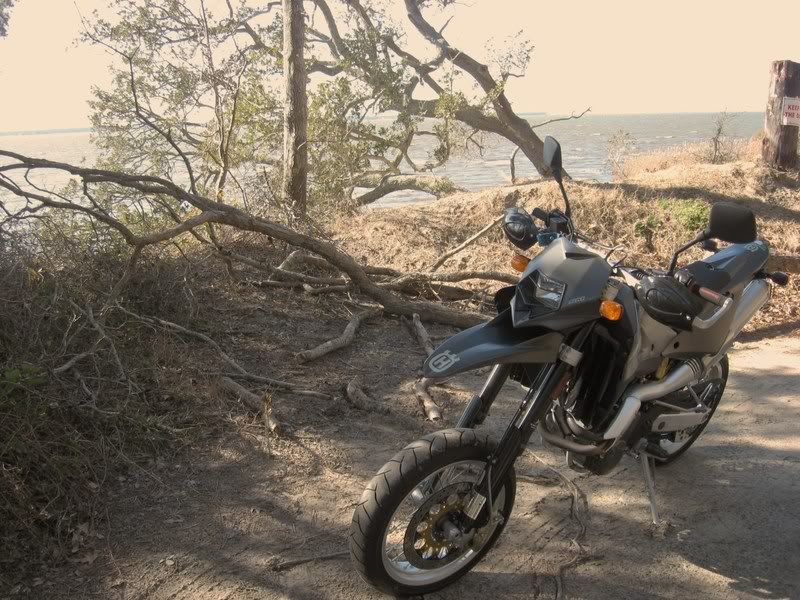
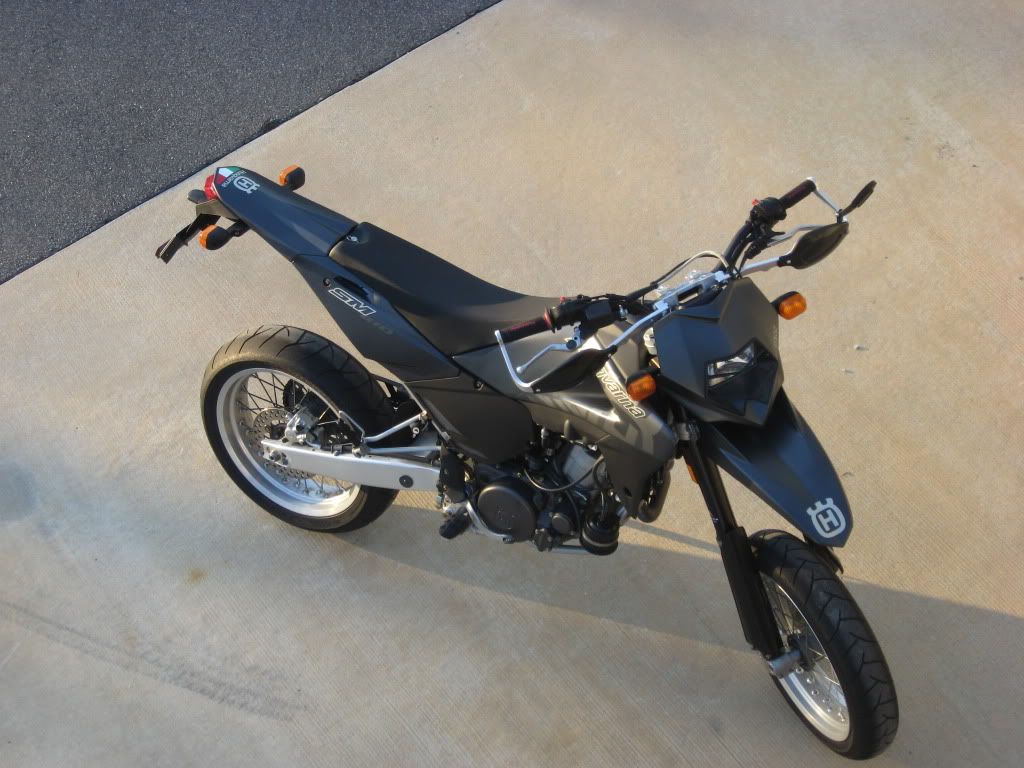
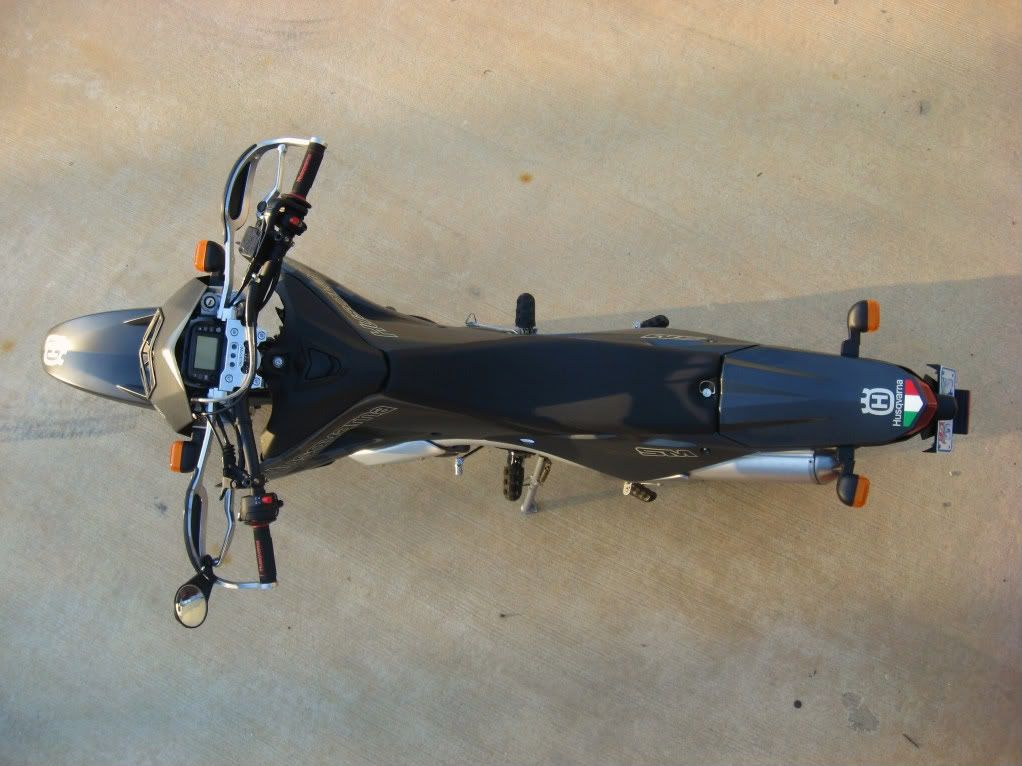
If you study the three big pictures of my bike on the first page you can actually see it working
 Top notch I tell ya, top notch
mrkartoom
Husqvarna
AA Class
I can sort of see it now in one of the pics on page 1. I was thinking the pivot was more vertical in the open position and with them not looking infinitely adjustable that had me wondering. Looks like when open the pivot is in such a position it works well. Thanks!Muddy Waters;37825 said:What do you mean? You quoted the picture with the answer in it ……
Well, here it is again
All right, top to bottom (bottom meaning the mirror part in my hand)
The small ball at the top is there to keep the mirror in the open and close position
The bigger mound right next to it is the connection to the handguard, the mirror moves on the axes of that mound left to right, up and down and all around
The connection between the two pieces where you see the small bolt is where you get the main up and down movement
If you study the three big pictures of my bike on the first page you can actually see it working
JSArcher
Husqvarna
B Class
Hi guys,
I need some help please....
I just got my HDB set and I'm amazed at the quality..... Paul is also a true gentleman, and has customer service SECOND TO NONE! Awesome......
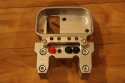
Has anyone ventured so far as to actually wire up the aux. holes on the HDB top clamp?
I'm keen to set up my four holes like this;
LED's - Red GRN GRN GRN
AUX master power - Aux 1 - Aux 2 - Aux 3
Push Button boots -RED BLK BLK BLK
I hope someone on here can point me in the direction of some schematics for wiring it up so that the whole panel is inactive unless the Master is on, and each functions independantly when it is.
I also want to enable the LED bank to show when each Aux is live.
The kit I got came with LED's, resistors and push on/off switches, but can anyone help, or point me to where I can find out how to wire it, without going to trade school...
")
(or would I be better off just making them all independantly powered?)
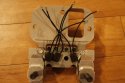
Here's some pics of how it looks, oh, and the new Husky Speedo Protector!
View attachment 1371View attachment 1372