husqyman
Husqvarna
AA Class
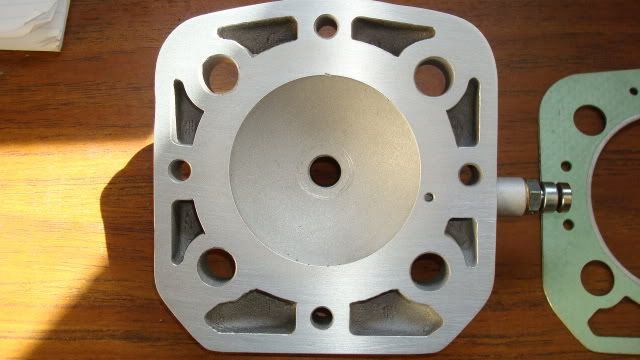
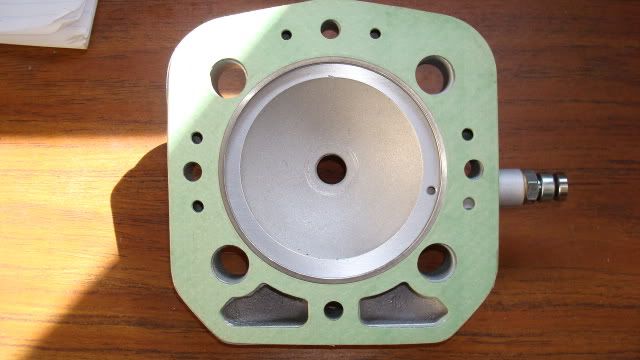
I finally have the parts for this mod. I would like some advice from those who have converted an LC head before, Dukkman etc, I am planning to install it on th R/H side on the dome part of the head (on the slant) back towards the coolant spiggot (so I can still get at the plug OK) I am going to use a suitable length of T6 bar 5/8" dia and bore through slightly smaller than the dia of the de-comp valve head (in case of failure) then counter bore and tap to suit the Husky chainsaw valve. The advice I am after is how did anyone do the combustion chamber end ? My thinking is turn down said end to about 1/2" then bore/drill the combustion chamber to that size whilst boring a 5/8" hole on the water jacket side & get it TIG welded on both side's. Then clean up & polish the combustion chamber side back to the correct profile with a dremel.
Does sound OK or is there a better way of doing the combustion chamber end?? bearing in mind I only have my lathe & a pillar drill. Otherwise due to a back problem i may have to sell cos it is difficult to get the required kicking speed.
Sorry for the wordy post but I think words are easier to understand than my version of a workshop drawing.


 :oldman:")

 A step stool would probably work too but I would really look stupid with it bungied to the fender.
 You however are probably smart enough to hide a folding stool.


