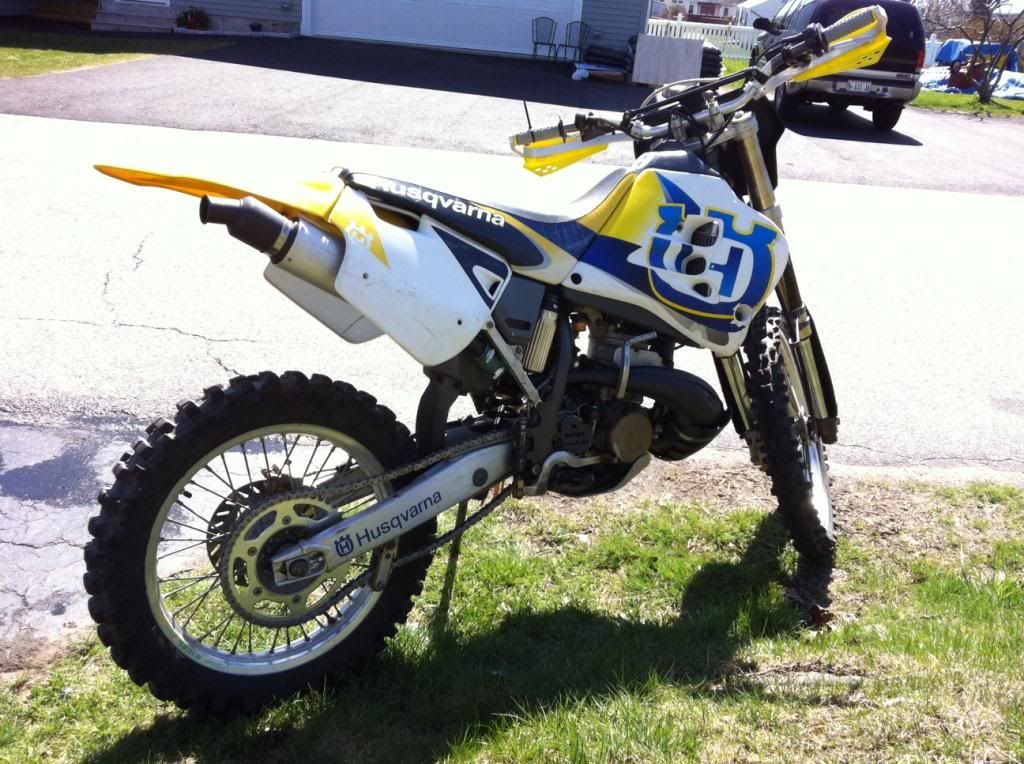
• 2 Stroke Husqvarna Motorcycles Made In Italy - About 1989 to 2014
    WR = 2st Enduro & CR = 2st Cross

  • Hi everyone,

    As you all know, Coffee (Dean) passed away a couple of years ago. I am Dean's ex-wife's husband and happen to have spent my career in tech. Over the years, I occasionally helped Dean with various tech issues.

    When he passed, I worked with his kids to gather the necessary credentials to keep this site running. Since then (and for however long they worked with Coffee), Woodschick and Dirtdame have been maintaining the site and covering the costs. Without their hard work and financial support, CafeHusky would have been lost.

    Over the past couple of weeks, I’ve been working to migrate the site to a free cloud compute instance so that Woodschick and Dirtdame no longer have to fund it. At the same time, I’ve updated the site to a current version of XenForo (the discussion software it runs on). The previous version was outdated and no longer supported.

    Unfortunately, the new software version doesn’t support importing the old site’s styles, so for now, you’ll see the XenForo default style. This may change over time.

    Coffee didn’t document the work he did on the site, so I’ve been digging through the old setup to understand how everything was running. There may still be things I’ve missed. One known issue is that email functionality is not yet working on the new site, but I hope to resolve this over time.

    Thanks for your patience and support!
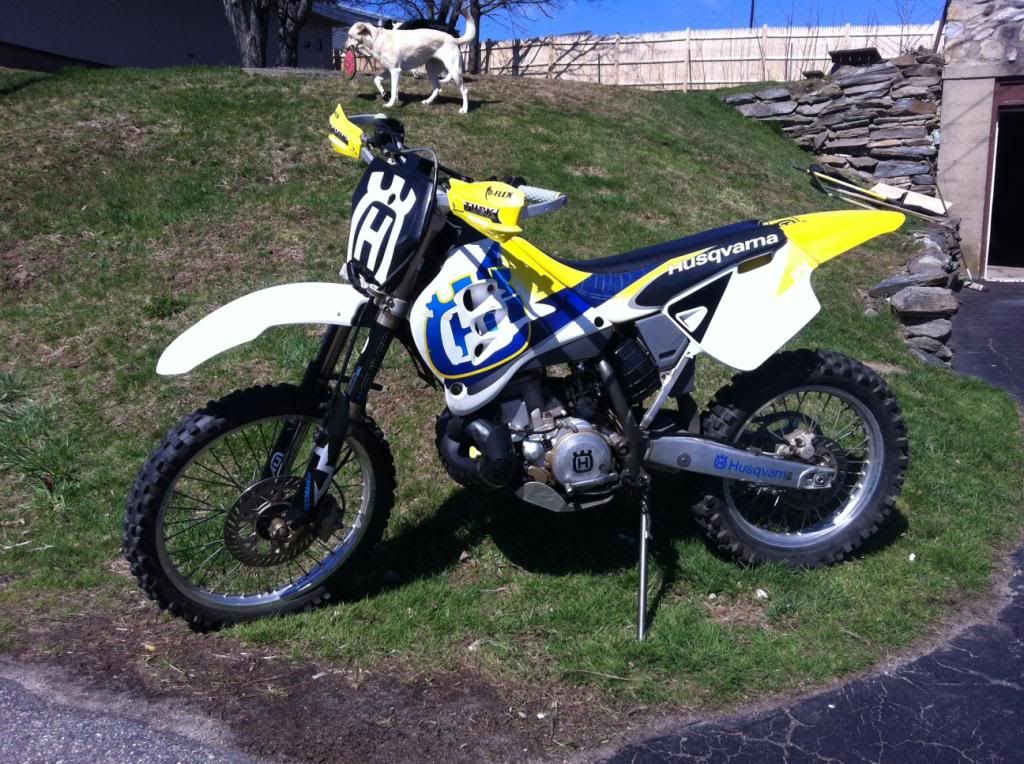
250-500cc 1999 WR250 Pics

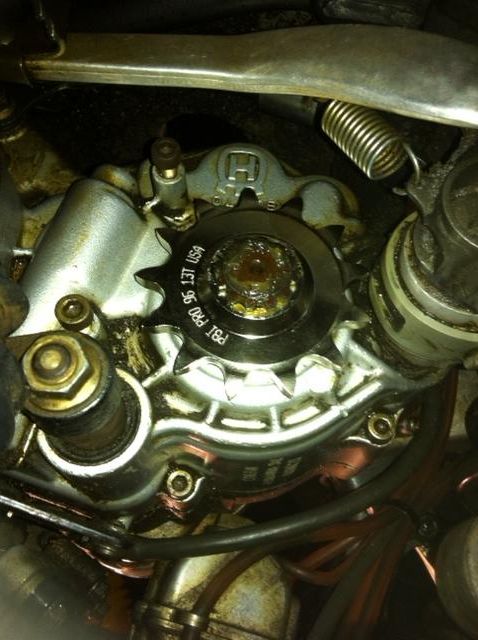
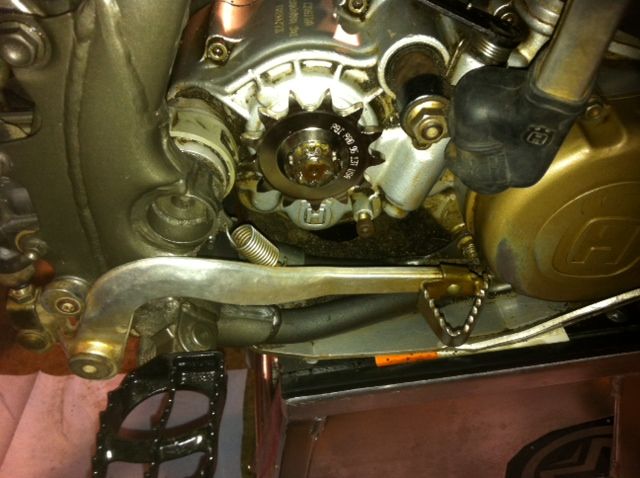
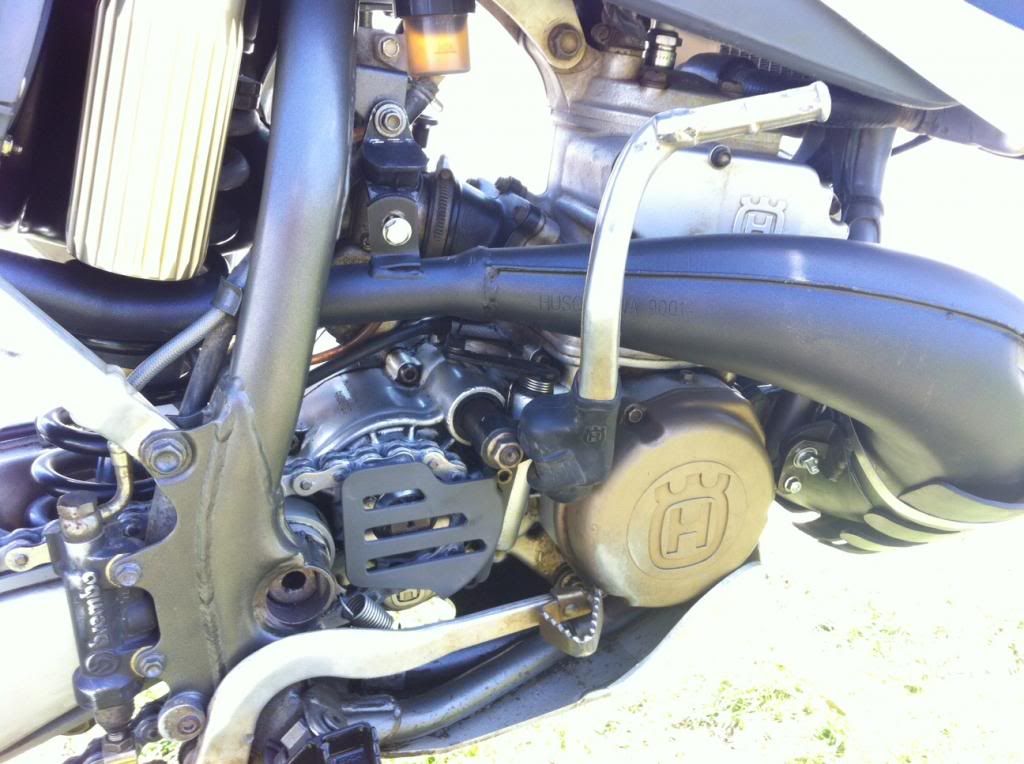
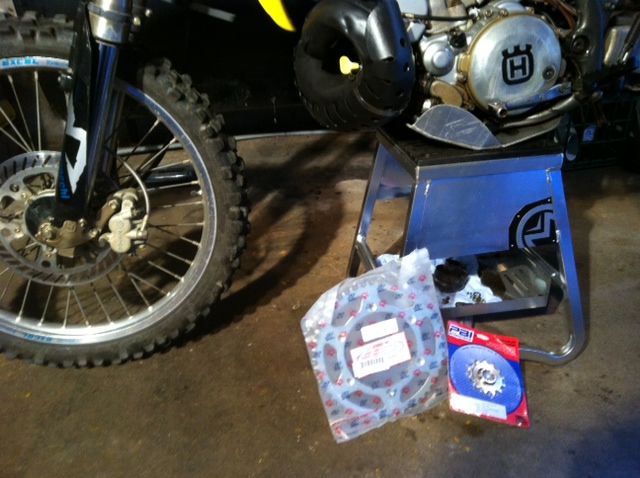
^Thanks Chef! Got into a new set of sprockets and a new chain. In the process now. More pics to come. Just thought I'd through up a few more shots in case anyone else out there has a 1999 WR250 and could use reference pics. The more info on this site...the better right?

newsprocket1.jpg


newsprocket2.jpg


newsprocket3.jpg
that peg looks hammered!
 
Double-check that front sprocket. I believe the collar of the sprocket goes to the inside. Might make your chain misaligned or grind into the case. Don't ask me how I know.
 
^Thanks Chef! Got into a new set of sprockets and a new chain. In the process now. More pics to come. Just thought I'd through up a few more shots in case anyone else out there has a 1999 WR250 and could use reference pics. The more info on this site...the better right?

Absolutely, great work!

Double-check that front sprocket. I believe the collar of the sprocket goes to the inside. Might make your chain misaligned or grind into the case. Don't ask me how I know.
The collar does go to the inside on four strokes and out on two strokes.
 
Yeah...seems likes it's on ok. Took it for a test drive and chain alignment seems legit. Working on unsticking some clutch plates now. See other post about " hard thump going into first "

Will I be wanting to kill myself riding this thing on trails with only a kick start? From what I've read these seem to be ok trail bikes?
 
bit of a odd request but cud u upload a pic of the side stand plate where the spring attaches as i hava 03 missing this and its so hard to get parts in the uk im wanting to make 1 up , thanks
 
Excellent bike. Suggest you take the time to pull the brake calipers; leave the line attached. Pull the brake pads. Pump the piston out of the caliper with the brake lever. Pull the caliper seals with a little pick- you will find dirt in there on a 15 year old bike. Take the time to then disassemble the caliper pins[ these allow the caliper to 'float'] these will be dirty at best. A tiny dab of silicone grease on these pins. The clean seals and clean pins will allow the brakes to work correctly and live much longer.
Buy a new air filter. Check for cracks on the bottom of the airboot from the airbox to the carb. These crack over time right on the little corner moulded in where it goes by the shock.
Lots more to do if you are going through it. Worth the time and effort.
 
Eyeball the bottom end of the rear shock shaft with the rubber pulled up. Lots of people wash a bike and fail to raise the rubber bumper on the shock shaft to drain wash water/soap/dirt and end up over time with a corroded shock shaft.
 
Back
Top