Crashaholic
Husqvarna
Pro Class
Sweet looking ride! All you guys with these 500's is making me feel envious.

As you all know, Coffee (Dean) passed away a couple of years ago. I am Dean's ex-wife's husband and happen to have spent my career in tech. Over the years, I occasionally helped Dean with various tech issues.
When he passed, I worked with his kids to gather the necessary credentials to keep this site running. Since then (and for however long they worked with Coffee), Woodschick and Dirtdame have been maintaining the site and covering the costs. Without their hard work and financial support, CafeHusky would have been lost.
Over the past couple of weeks, I’ve been working to migrate the site to a free cloud compute instance so that Woodschick and Dirtdame no longer have to fund it. At the same time, I’ve updated the site to a current version of XenForo (the discussion software it runs on). The previous version was outdated and no longer supported.
Unfortunately, the new software version doesn’t support importing the old site’s styles, so for now, you’ll see the XenForo default style. This may change over time.
Coffee didn’t document the work he did on the site, so I’ve been digging through the old setup to understand how everything was running. There may still be things I’ve missed. One known issue is that email functionality is not yet working on the new site, but I hope to resolve this over time.
Thanks for your patience and support!
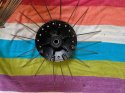
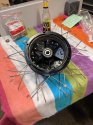
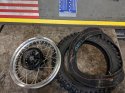
 I started the re spoke with the new rim and spokes following the info i got here and got it tied up nicely.
 I scratched the new rim and used a lot of force to get those spokes in place!
 At least I got the layout right the first time in less than an hour!
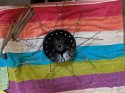
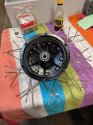
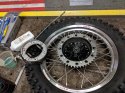
 I've got the correct spokes on the way but still have to get the spoke that are wayy to long out of my rim.
 So today i learnt to buy the wheel and spokes together and to make notes if you don't!
 :oldman:") When I bought the spokes I had a 19" skinny wheel i was going to use but changed my mine a week later and bought the correct wheel size and width for the bike forgetting I had already bought the spokes for the larger wheel(that's where the notes come in handy ). Can't wait to try again, should be easier with 1" shorter spokes!
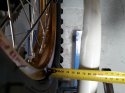
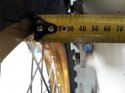
When I bought the spokes I had a 19" skinny wheel i was going to use but changed my mine a week later and bought the correct wheel size and width for the bike forgetting I had already bought the spokes for the larger wheel(that's where the notes come in handy ). Can't wait to try again, should be easier with 1" shorter spokes! 18mm, close to 3/4 of an inch. I wouldn't let it bother me too much. You won't notice it at speed. My 360 auto rear wheel is like 2 inches offset, Marty says Husky made them like that, who am i to say they are wrong.
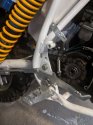
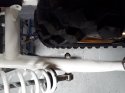
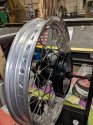
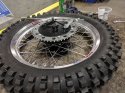
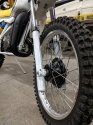
 Took the front wheel apart and will blast the hub and both brake plates for powder. New bearings,seal and shoes for the rear and new bearings and shoes for the front. My front has the plate for a speedo drive. Are the drives specific to the wr ? Here's a video
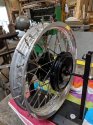
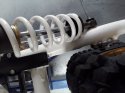
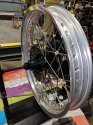
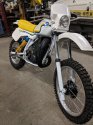
  Marty shipped one and it should be here tomorrow. Still gotta do the wiring. But the wheels set it off pretty!! And I won't be able to ride it until the salt is gone!
 On the other hand, i don't have to start it til then, which is good for my kicking foot.
 It is still sore but healing, and i have tried to be Dainty with it! Spring will be AWESOME!!
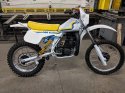
 The end of a 2 year project.
 Chris
Chris