• Husqvarna Motorcycles Made In Sweden - About 1988 and older

  • Hi everyone,

    As you all know, Coffee (Dean) passed away a couple of years ago. I am Dean's ex-wife's husband and happen to have spent my career in tech. Over the years, I occasionally helped Dean with various tech issues.

    When he passed, I worked with his kids to gather the necessary credentials to keep this site running. Since then (and for however long they worked with Coffee), Woodschick and Dirtdame have been maintaining the site and covering the costs. Without their hard work and financial support, CafeHusky would have been lost.

    Over the past couple of weeks, I’ve been working to migrate the site to a free cloud compute instance so that Woodschick and Dirtdame no longer have to fund it. At the same time, I’ve updated the site to a current version of XenForo (the discussion software it runs on). The previous version was outdated and no longer supported.

    Unfortunately, the new software version doesn’t support importing the old site’s styles, so for now, you’ll see the XenForo default style. This may change over time.

    Coffee didn’t document the work he did on the site, so I’ve been digging through the old setup to understand how everything was running. There may still be things I’ve missed. One known issue is that email functionality is not yet working on the new site, but I hope to resolve this over time.

    Thanks for your patience and support!

1982 430CR Restoration

MotoFo

Husqvarna
AA Class
More than a year after I picked this up – after disassembly, purchasing parts, reading everything I could (thanks Cafe Husky) and painting – I'm ready to reassemble. I plan to document much of this as my hopes are 1) if I have questions or someone has suggestions, my process is available and, 2) this information becomes available to others in the future. My plan is to turn this into a competitive racer and enter in some local AMA D36 vintage hare scrambles. I've waited this long to start this post as I think I'm finally ready to get it going at a decent clip. Stay tuned…

ready-to-rebuild.jpg
 
Congrads Motofo, You have been busy and keeping it all to your self . Very self discipline, now start with the pics . I have always wanted to do a build like this too. Get all the parts done , painted, rebuilt, or new and just put them on the shelf and when you get them all that's when you start building. Very cool.
 
My goal is to do a little bit every day – make it a point to do something so bit by bit I keep this project moving. Large chunks of time are hard to come by with work and family. My 11 and 12-year-old have the itch to ride as well. I've been holding off until we get some rain in Northern California. I'm not a big fan of dust riding.


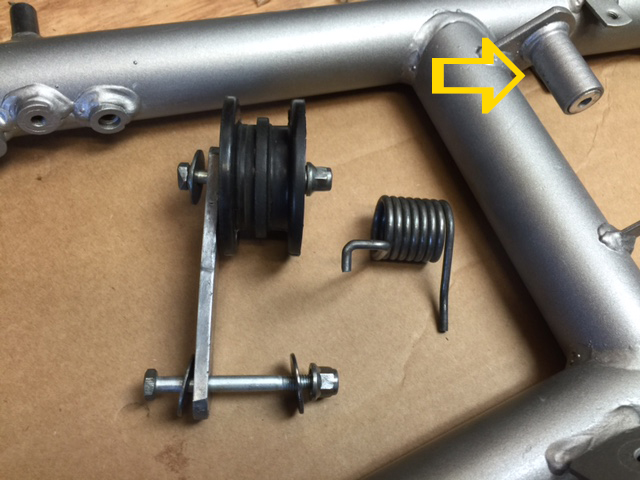
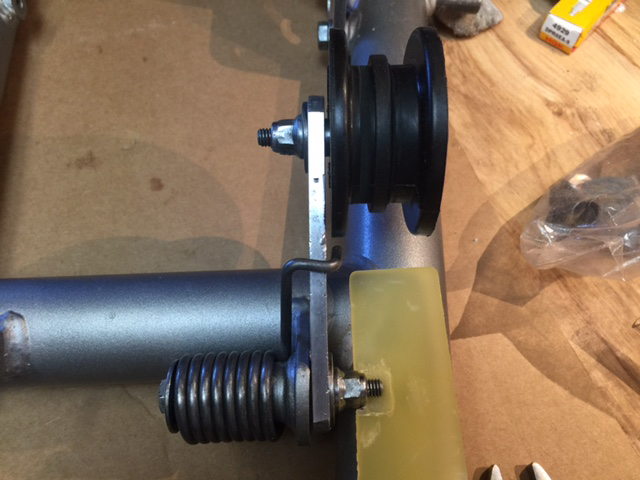
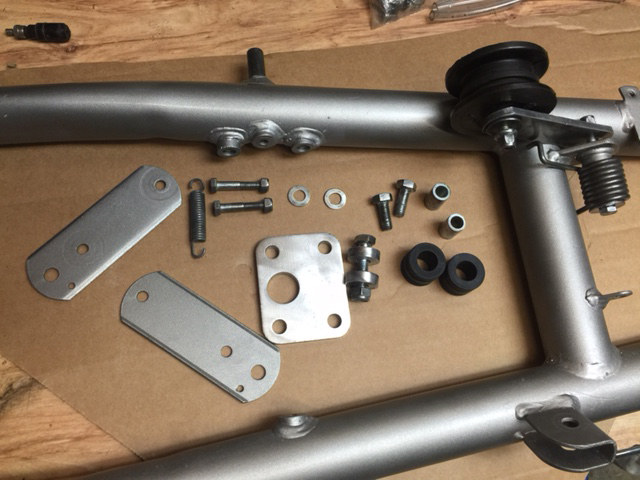
I decided to start with the swing arm. Lots of pieces to put together. I took a bunch of photos when I took the bike apart and they proved helpful with the chain tensioner and chain guide. I'm also using the 1982 Husqvarna Parts Diagrams.pdf (in the Vintage Tech Ref and Parts section of this web site) as reference. I put the chain tensioner together but found that originally the bolt that holds the chain tensioner arm was inserted from the outside and the bolt was on the inside. I had a difficult time removing the bolt to begin with as the tube of the outer swing arm rises high enough to not allow the bolt to push through. I would have to whack at it really hard and would have scraped up the fresh paint. My solution was to reverse the direction of the bolt but this now required removing some material from the plastic swing arm protector (Husqvarna Parts) so the nut and remaining bolt fit. [there goes my concourse restoration!] I'm not sure why the clearance is off. The bolt housing does not appear to be bent. Also, I believe I installed the swing arm protector the correct way. I'll find out soon enough. I did grease all bolts and used loctite on swing arm protector screws.

That's it for now,

-MB

swingarm-1.jpg


swingarm-2.jpg


swingarm-3.jpg
 
Get small vinyl tubing to slide over end of tensioner spring tips. It will save paint on your swing arm.
 
watch that tensioner bolt free length.....just a tad of contact known to chomp off master link clips! Ask me how I know this! LOL!
 
dartyppyt, Thanks for the tip!

Joe Chod, I'll need to investigate the tensioner bolt a little more. It does bother me that the bolt has an issue going in the 'correct' way.

Only managed to do a little sanding of the clear coat on the lower triple clamp. Painting has been my least favorite part of the process so far. For me it is experimental so the results are what they are. More on that later.
 
watch that tensioner bolt free length.....just a tad of contact known to chomp off master link clips! Ask me how I know this! LOL!

Yeap I've had that problem too :o
 
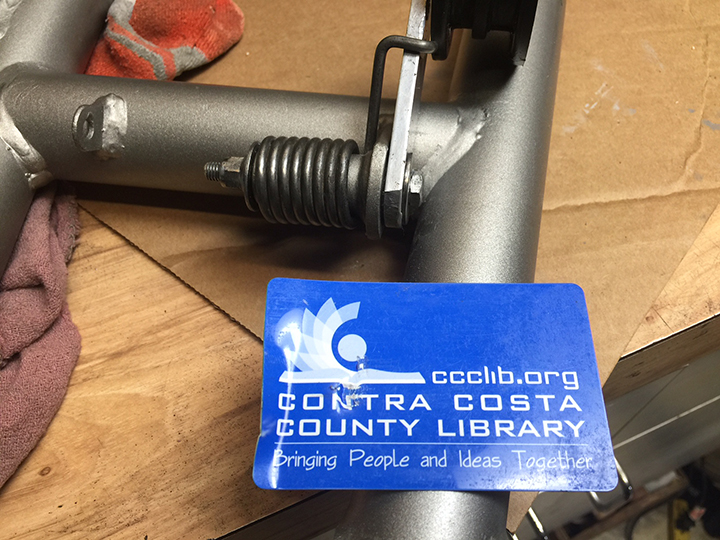
With a little help from the old library card (most use I ever got out of it) I was able to get the bolt to slide in the correct way. Hopefully, with the bolt this way I'll avoid any mishaps with the master link. I did add vinyl tubing to the spring where comes in contact with the swing arm.

swingarm-4.jpg
 
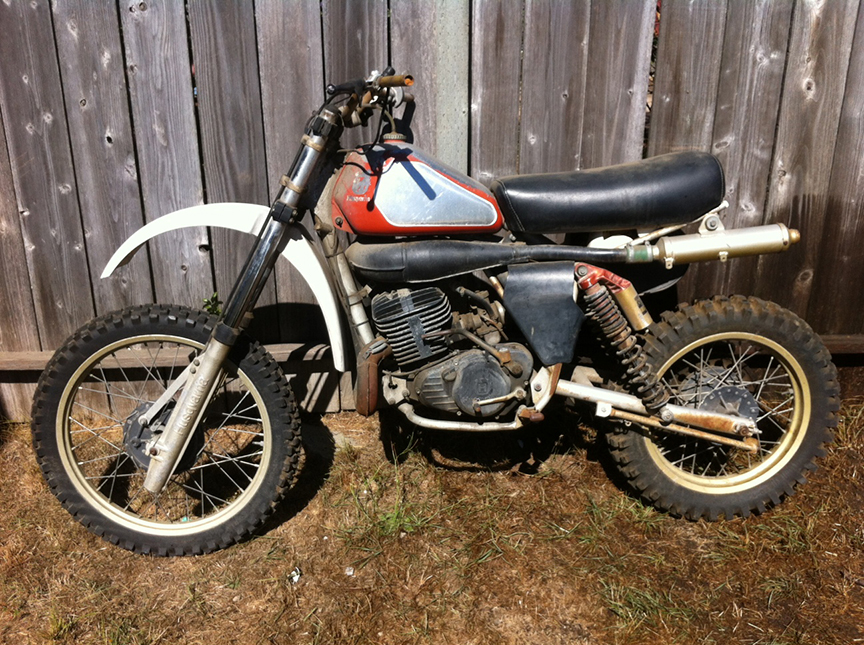
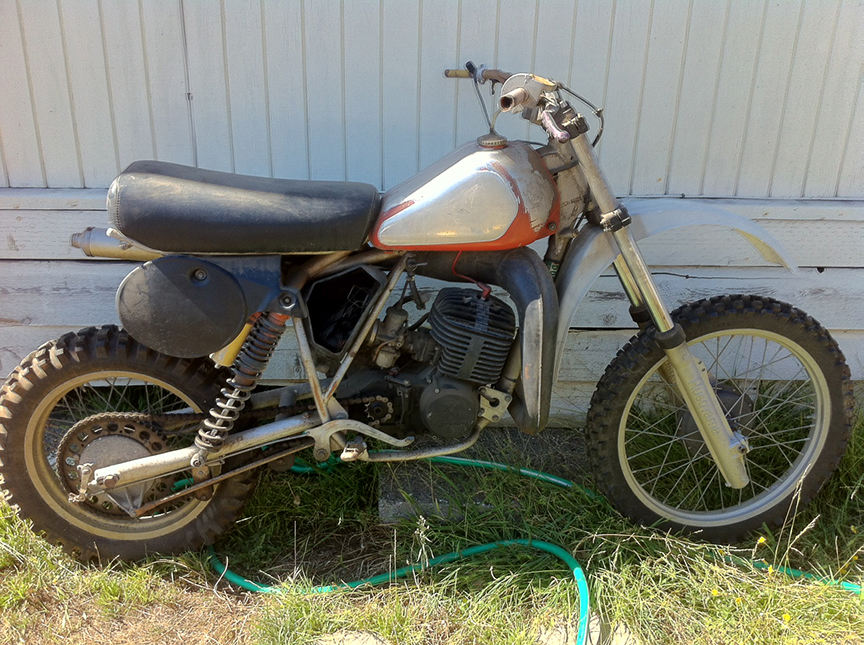
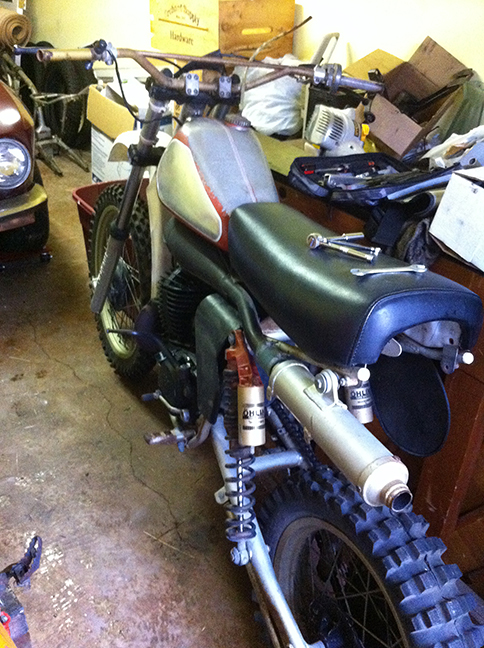
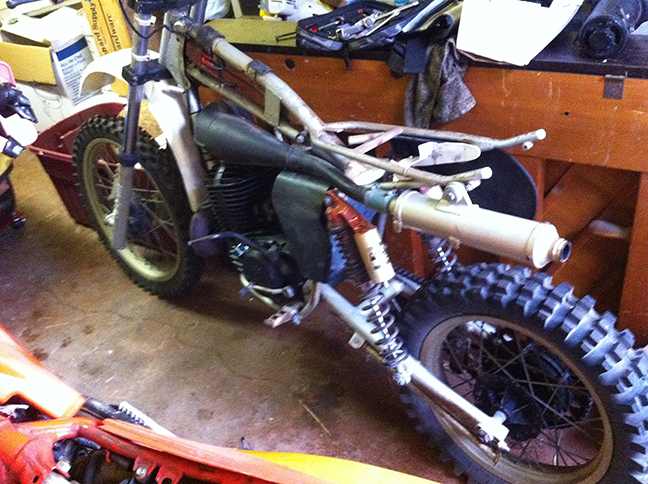
Here is what the bike looked like when I brought it home last September.


1982-Husqvarna-430CR-1a.jpg


1982-Husqvarna-430CR-2a.jpg


So the story goes… I often look at Craigslist and, over the years, I’ve gotten a few great deals and missed out many. It’s all about timing. The ad for the 430 (I wish I kept the ad) was a single photo, it said the bike ran and the price was $300. It also mentioned a 1984 Honda XR350R for sale. With no phone number listed I fired away an email and waited… I could tell from the time on the listing that I responded within the first two hours. No response. The next morning I send another email asking if it was still available. Forty-five minutes later I receive a response — Call (916)XXX-XXXX for details. I am posting this ad for my father (He isn't very computer savvy). His name is Tom. Sorry for the inconvenience.

I contact Tom and I’m the second one he’s spoken to about the bike. The first guy was a no-show. I find out he’s selling everything — turns out he and his wife are splitting up. I agree to purchase the 430, the 350R and a ’83 XR350L with a blown motor for $600 with an option to buy a ’83 CR60R basket case for another $100 — I’ll sell-off the 350s to finance the 430 restoration, the CR60R would make a fun pit bike. He agrees to hold it for me until the end of the next day.

I’m stoked but have that nervous feeling as the deal isn’t done yet. It’s not done until the bikes are loaded and I’m driving away. And sure enough I call the next day to let Tom know I’m leaving (its an hour drive and I’ll be meeting his ex at his house) and Tom tells me someone is already on the way (!?!?). He says I thought it was you. Ugggggh! My blood boils. I'm panicked. I told him we had a deal and I agreed to take all his bikes so he wouldn’t have to deal with it anymore. I convince him to call the other guys and he tells him he made a mistake. I hightail to Tom’s house not knowing if this other guy is still on his way – it’s a tense drive through rush-hour traffic.

I arrive at dusk with anticipation. The other guy isn’t coming and it looks like things will go my way. The 430 has definitely been sitting outside for a while as are a handful of other bikes in various states (I’m not interested in the CBX six cylinder). The garage has the basket-case CR60 but, alas, no motor. I’m talking to Tom on the phone and he’s telling me where to look for the motor. In the end he’s convinced his ex tossed the motor by mistake. I agree to give him $100 for the CR60 if he throws in a very nice 1968 Penton Berkshire gas tank. Deal done. I load up everything and I’m off. And happy.
 
lol, nice work. the 430 looks like it had very little use..hopefully there isnt too much water damage! the price was certainly right!
 
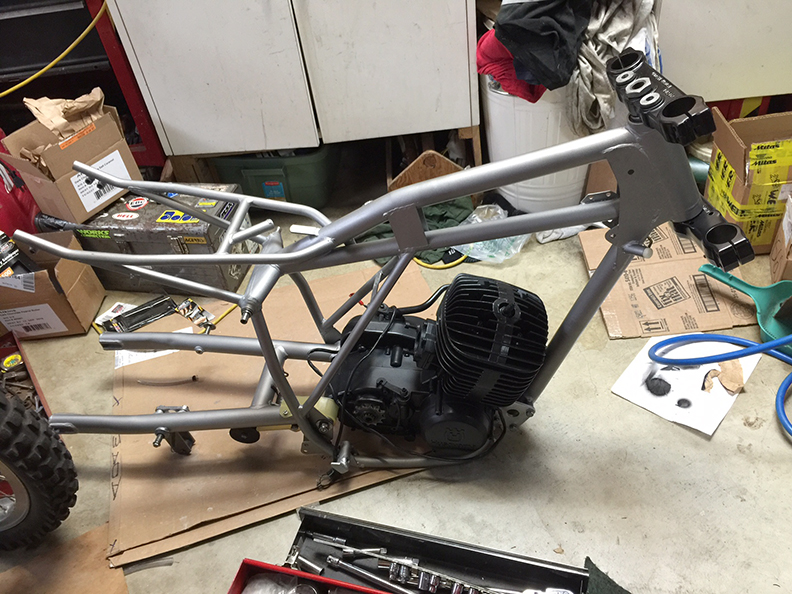
A little more progress. Thanks to my son Max for helping me align the frame, swing arm and motor while I guided the bolt through.

motor-in-frame.jpg


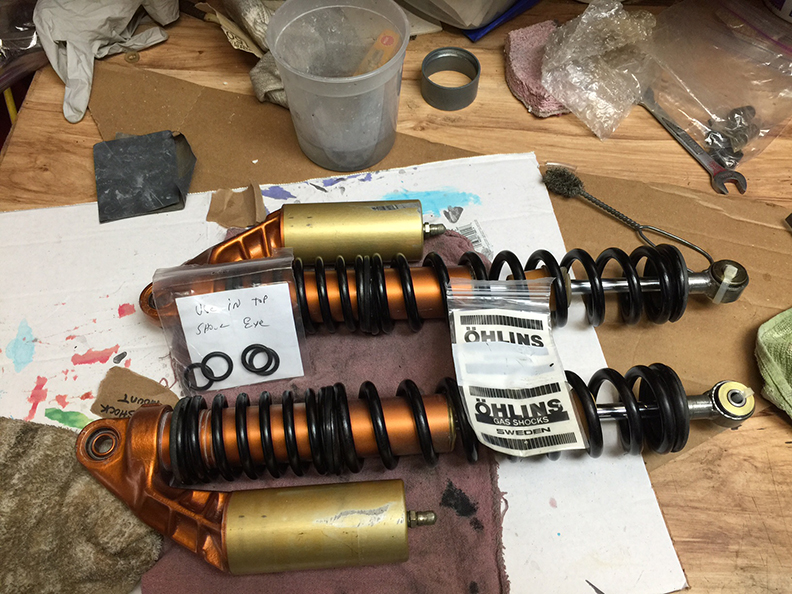
Rebuilt Öhlins next…
ohlins.jpg
 
I've never had the patience to collect everything and get it ready to go before starting... looking forward to watching this come together!
 
nice work ... its a 1981 as you know the 82 had maroon tank and non painted head and barrel .
 
nice work ... its a 1981 as you know the 82 had maroon tank and non painted head and barrel .

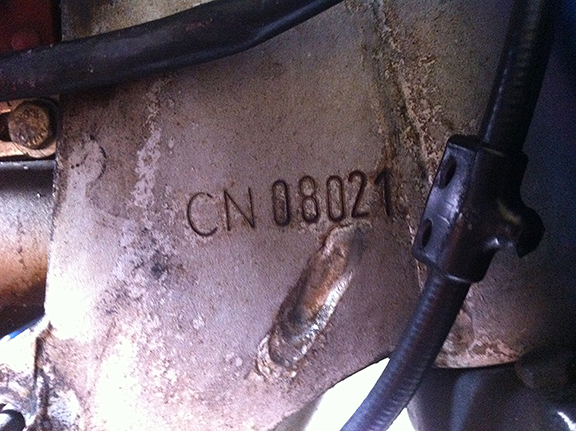
Interesting. Here is a photo of the frame numbers. I looked it up on Husky Club (1981 - CN 1001 and 1982 - CN 11000). Honestly, I'm not quite sure how to i.d. mine (CN 08021). I thought since it has five digits, despite beginning in zero, it was a 1982. I'd be happy if it were a 1981. I'm having the tank painted Husqvarna Red. 1981 was also the year the dirt bike bug hit me – I drooled all over the YZ80 in Dirt Bike magazine (Sept. 1981) and the 430CR Husky was so far out of my league at the time but looked so sweet and the review was excellent.

frame-numbers.jpg
 
I believe he meant 1981 as well.

I had only spoken to the former owner of the bike on the phone. This limited the questions I was able to ask at the time. He said it ran but hadn’t ridden it in years. After bringing her home I soon had a chance to give her a once-over. Aside from looking a bit weathered the bike was original, complete and showed little signs of abuse. The seat cover looked fine, the bars were straight, there were no dents in the pipe. There was even set of Metzeler Perfect-Cross tires with what looked to be one ride on them (unfortunately the side-walls were completely wasted from sitting around so long.)

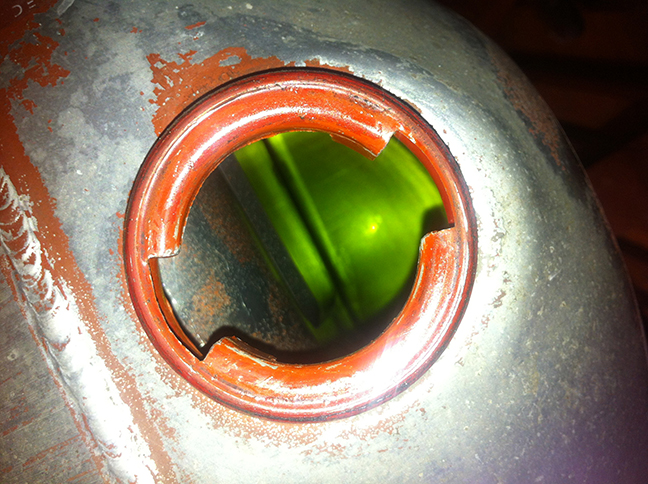
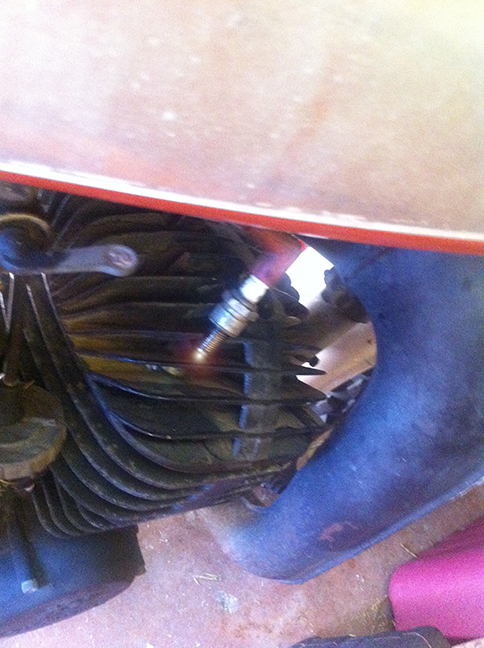
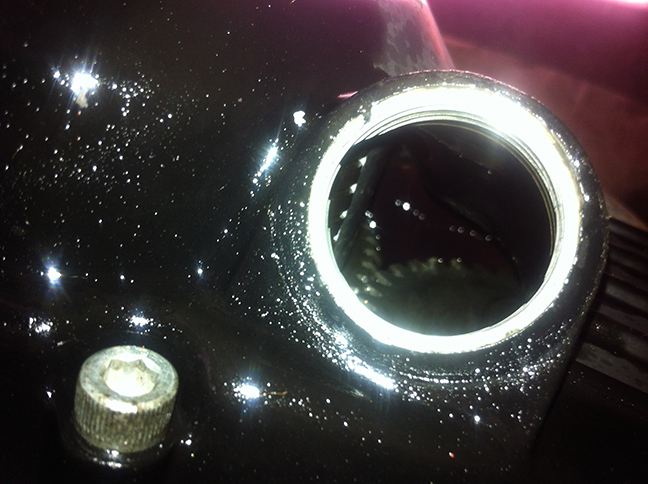
A look in the gas tank revealed rather fresh looking gas – too fresh to have been sitting in there for years. The crankcase had oil in it and I was able to get a spark at the plug. I was further amazed that the carburetor float bowl was nearly spotless. I have to presume the former owner spent a bit of time verifying that it would run.


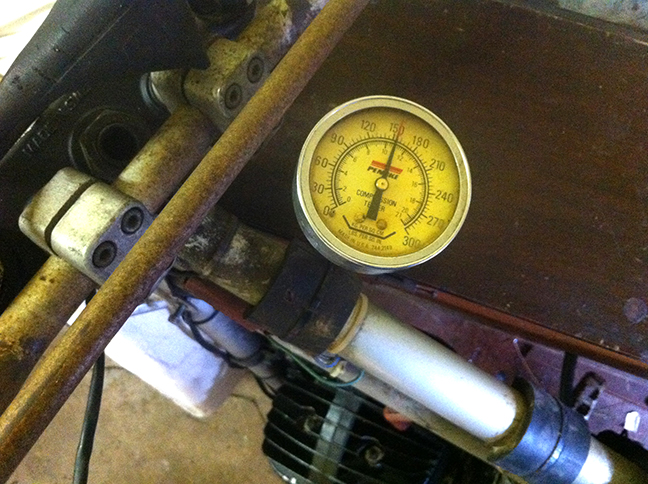
I decided to mix a little bit of gas and see if she would start. I kicked for a while and she came close but no go. Further inspection revealed that the rubber carb/intake manifold connector was chafed so bad that air was being drawn in through it. A quick fix with some electrical tape and the bike fired to life in about three kicks. I was so pleased I decided to take her around the block. I blew through the gears to clean it out and soon realized there was basically no front brake. Yikes! The bike had great power that’s for sure. A compression test a short time later indicated 150psi. This seemed to be a pretty solid bike that needed, at the very least, a good cosmetic makeover.

gas-tank-2.jpg

Gas looks awfully clean.

has-spark.jpg

Has spark.

oil-level.jpg

There's oil in there somewhere.

green-sticker-1.jpg

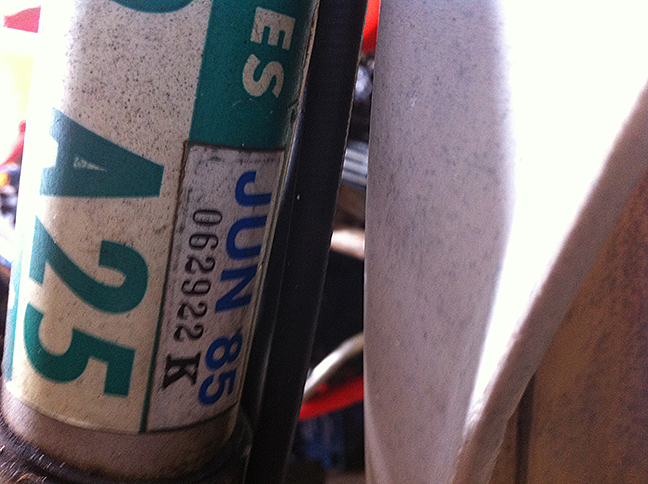
She hasn't been registered in a while. I presume it will be out of the DMV records.

X.jpg


Y.jpg


compression-test.jpg
 
I have never fully disassembled a bike and put it back together. My big worry was losing track of all the pieces and not remembering what went where. What has helped out a lot is detailed labeling, zip-loc bags and plenty of reference photos. It was just around this time last November that I was laid-off and remained largely under-employed for the next several months. The only benefit was this provided extra time to get into disassembling and cleaning the bike. I also spent a lot of time reading everything I could about the 430CR and compiled a lot of notes.

Given my finances at the time and the idea that I was going to build a rider/racer, I wanted to keep costs down while saving my pennies for having the suspension gone through and freshened-up. I decided to go the rattle-can route for paint. I figured I’d try it this time and see how it holds up. I used Rustoleum Appliance Epoxy stainless steel #7887 for the silver parts and Rustoleum Burnished Brass for the gold parts. While obviously not exact matches both are, for me, acceptably close. I did a bunch of research on clear coats and I decided to give SprayMax 2K a try – "2 component clear coat with very high chemical, petrol and weather resistance for high-quality and long lasting sealing of repairs and new paint jobs on vehicles and motorcycles". Definitely wear a respirator when using this stuff – very bad to inhale. I got good results with this product as there is a nice, hard clear over the initial color coat. I did just a bit of 1500-grit wet sanding to smooth out the finish. We’ll see how it holds up.

paint.jpg
 
Back
Top