dartyppyt
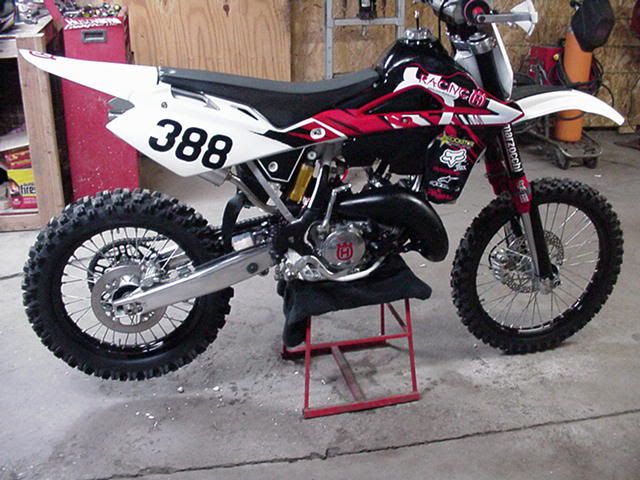
Husqvarna
Pro Class
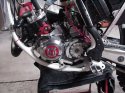
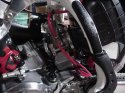
Thanx guys! Hopefully will get her buttoned up soon.
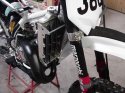
?????? Not sure if I like the WR125 Decals I made for the swingarm???? I kinda might like the plain swingarm look?
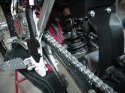
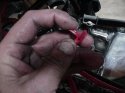
I also just cut the red rubber tubing to lay over the rear brake line, not fond of it either??????
Thanx!
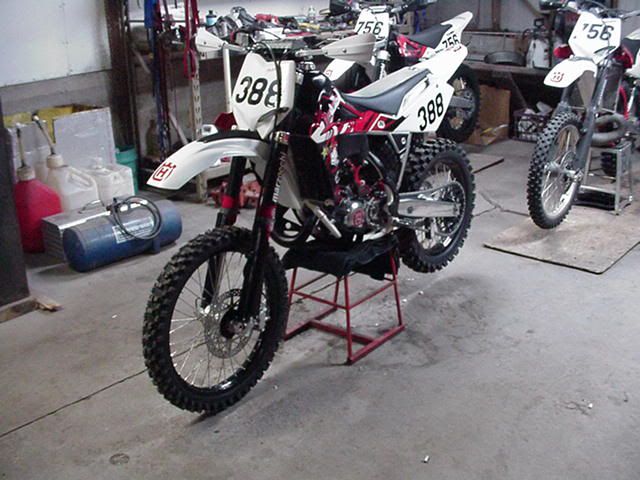
Darin
?????? Not sure if I like the WR125 Decals I made for the swingarm???? I kinda might like the plain swingarm look?
I also just cut the red rubber tubing to lay over the rear brake line, not fond of it either??????
Thanx!
Darin


 WOW!... Looks Great...