dartyppyt
Husqvarna
Pro Class
Pic 010
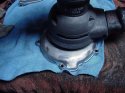
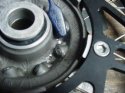
I sand the covers until I remove all scratches, dings and wear marks. I start with 120 grit and end with 220 grit (Electric sanders). Then I wet sand starting with 600 grit paper and end at 1000 grit, before polishing. I usually do not sand the edges of the covers around the bolts and sides. With the wire wheel, you remove the anodizing and it leaves like a pitted cast finish. When you polish the edges, it comes out really good. This is another little trick I do to cheat and save time.
Pic 011
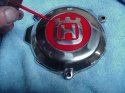
Shows my ignition cover after polished. Next I use an automotive touch up brush and paint red acrylic enamel over the grey anodizing, left down in the emblems. You can always get a sheet of clear number plate sheets to cut out and install in high rub areas. After they get scratched up, peel them off and stick a new one on.
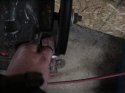
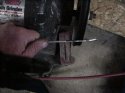
Pic 012
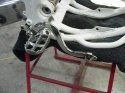
Thought I'd show you what the brake lever looks like against the frame. I still have to paint the tip, after I sharpen the cleats with a file. It was corroded and rusty.
I sand the covers until I remove all scratches, dings and wear marks. I start with 120 grit and end with 220 grit (Electric sanders). Then I wet sand starting with 600 grit paper and end at 1000 grit, before polishing. I usually do not sand the edges of the covers around the bolts and sides. With the wire wheel, you remove the anodizing and it leaves like a pitted cast finish. When you polish the edges, it comes out really good. This is another little trick I do to cheat and save time.
Pic 011
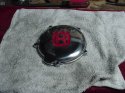
Shows my ignition cover after polished. Next I use an automotive touch up brush and paint red acrylic enamel over the grey anodizing, left down in the emblems. You can always get a sheet of clear number plate sheets to cut out and install in high rub areas. After they get scratched up, peel them off and stick a new one on.
Pic 012
Thought I'd show you what the brake lever looks like against the frame. I still have to paint the tip, after I sharpen the cleats with a file. It was corroded and rusty.
")


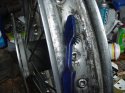
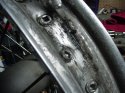
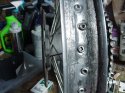
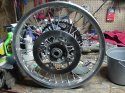

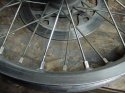


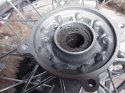
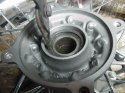

 , you really want to put me over the edge? I agree with you, polished hubs and black rims. So how many want to see if I can do this?
