Finally a bit more time to get back to the Husky...
Not wanting to finish up with the same problems others have had and test the "warranty-willingness" of the previous AUS-importer re: top-end rebuilds etc. I finally pulled the finger out and got cracking on the Pod-Mod this afternoon.
Once more a huge thanks to those who've done all the hard yards, coming up with the idea and ways of how to do it...THANKS!!!
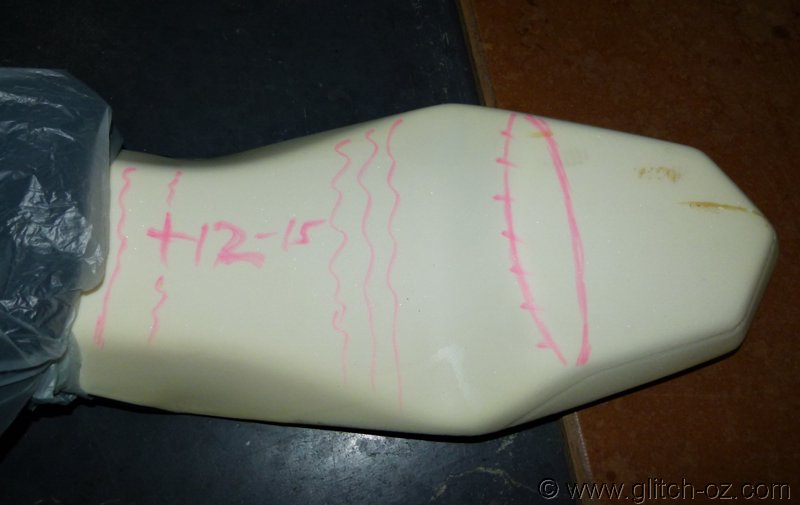
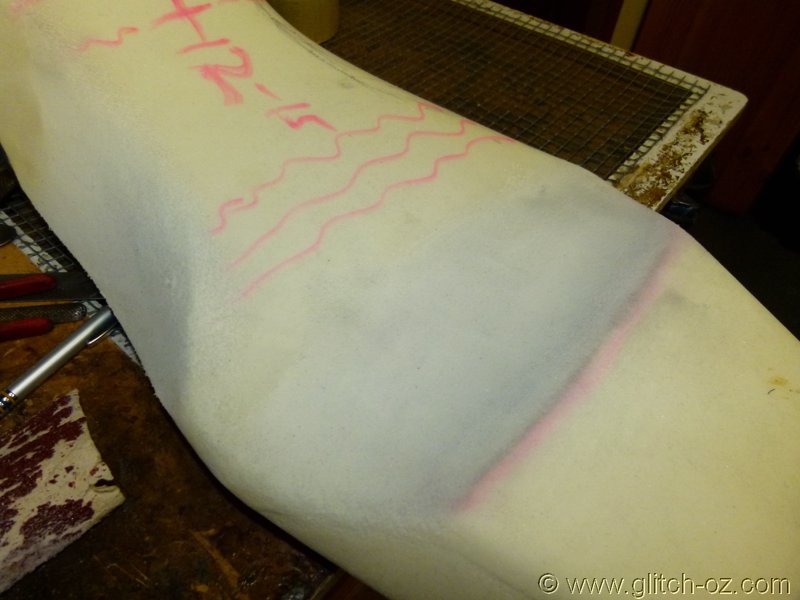
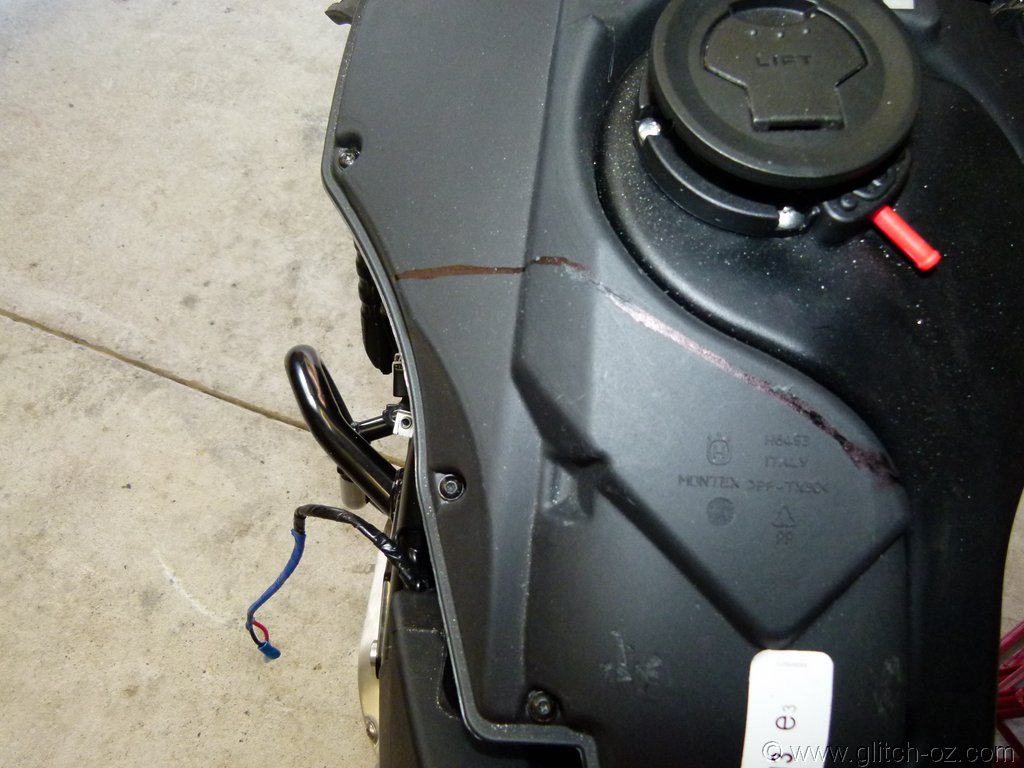
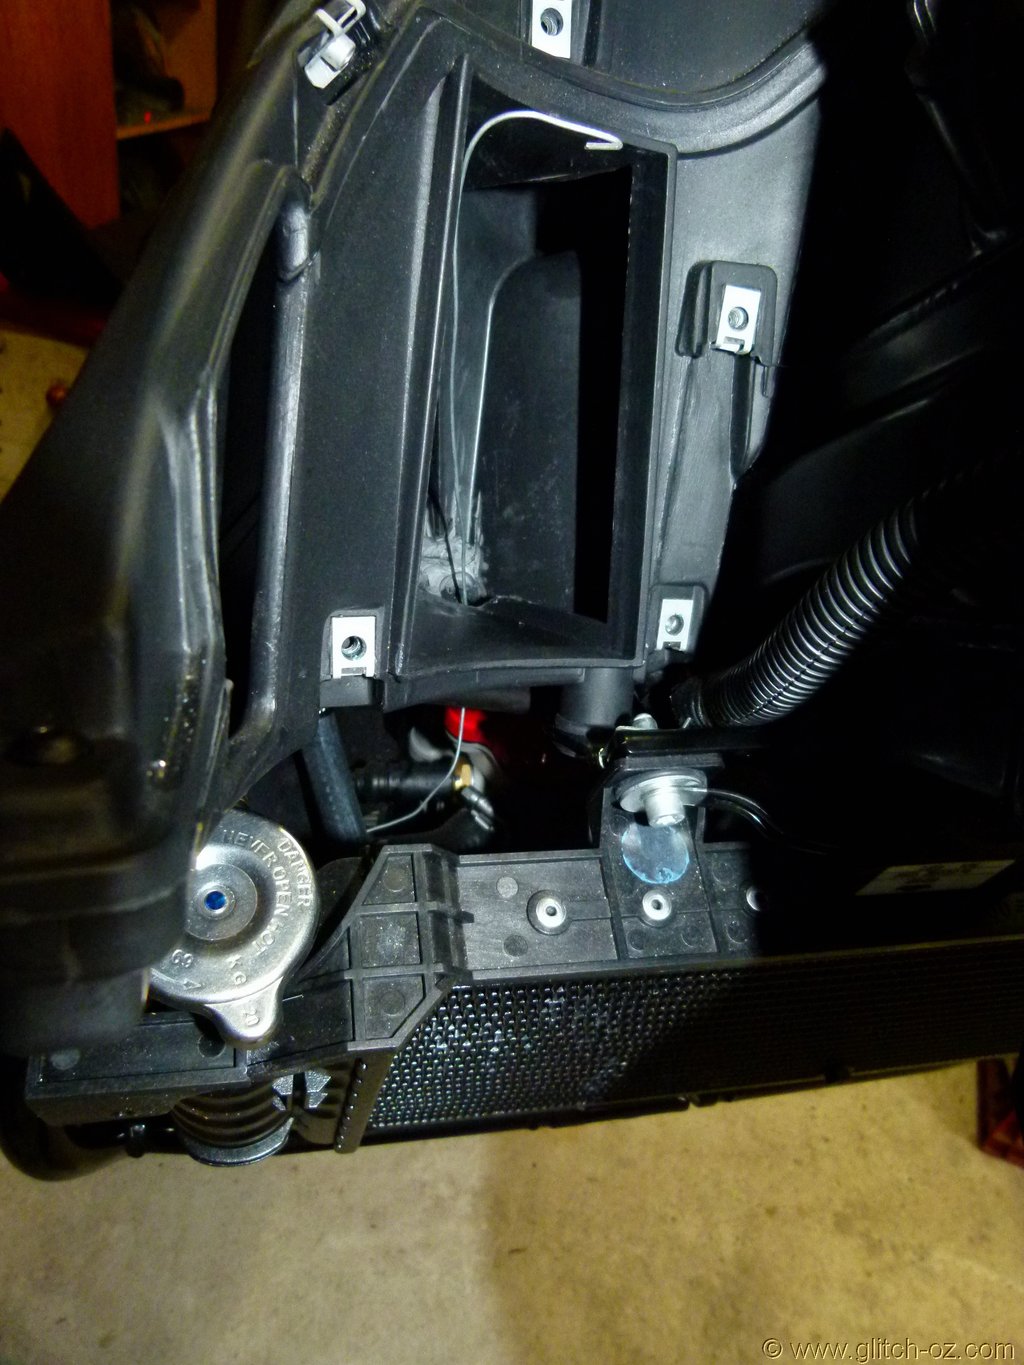
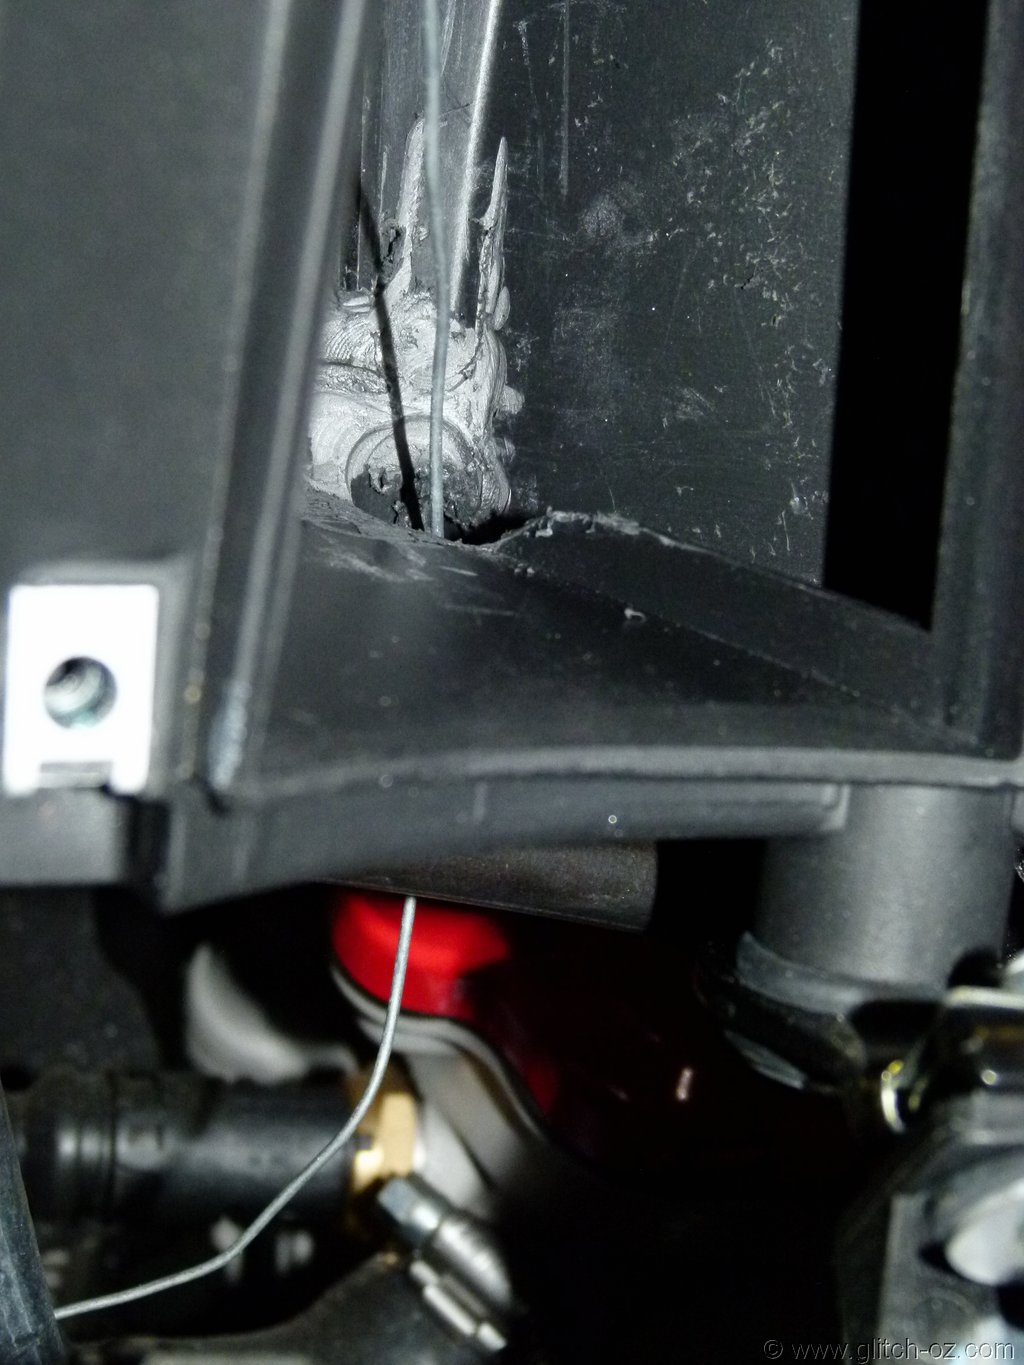
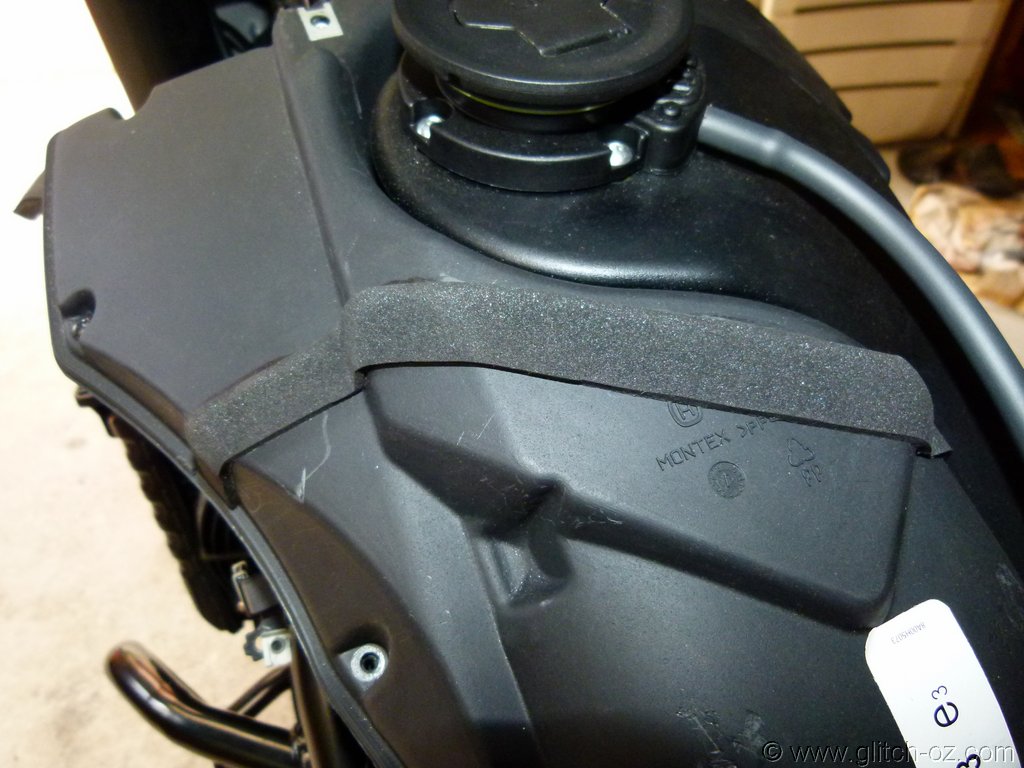
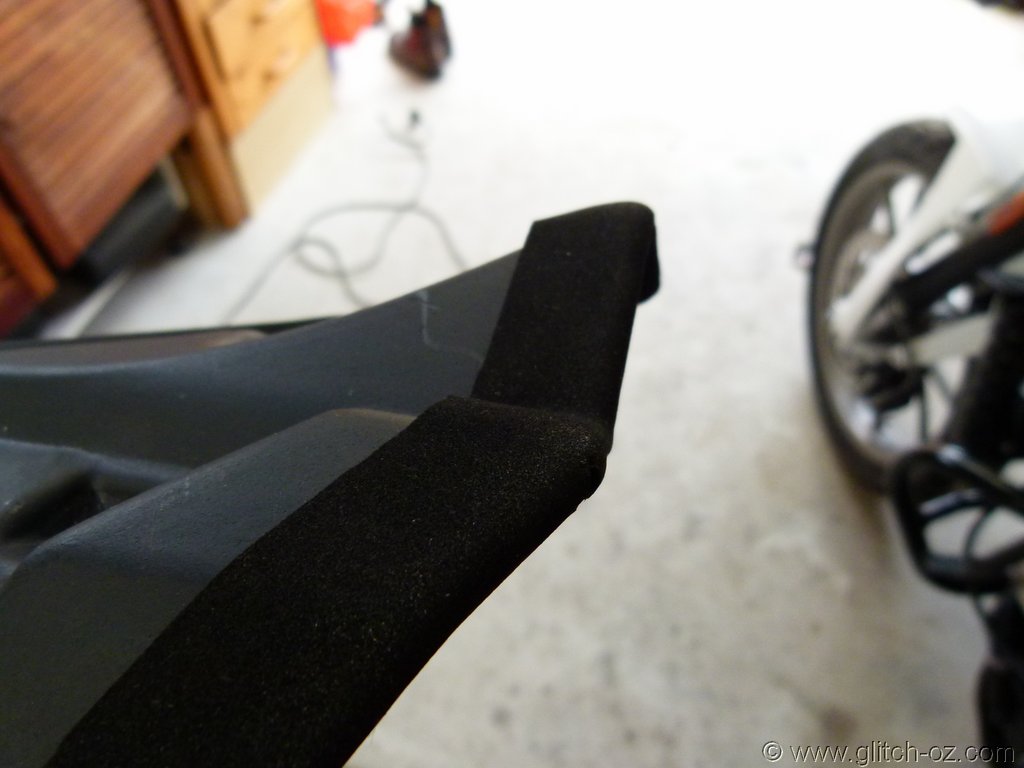
Marking out....deliberately trying to work to straight-ish lines and retaining the top-edge of the airbox....eventually I'll find a soft foam-seal for the gap left by the fine-toothed hacksaw to deal with the increase of induction noise after the "operation".
Shows up the "Eruption" quite neatly, too.
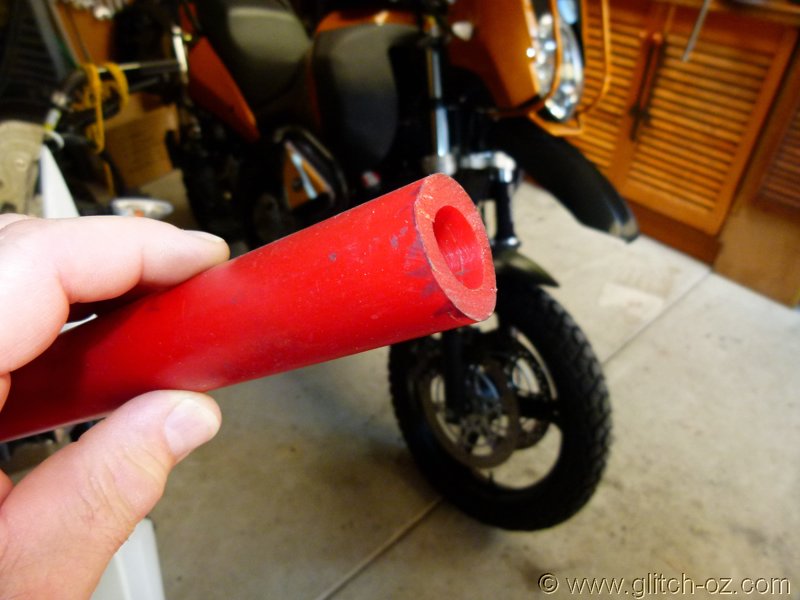
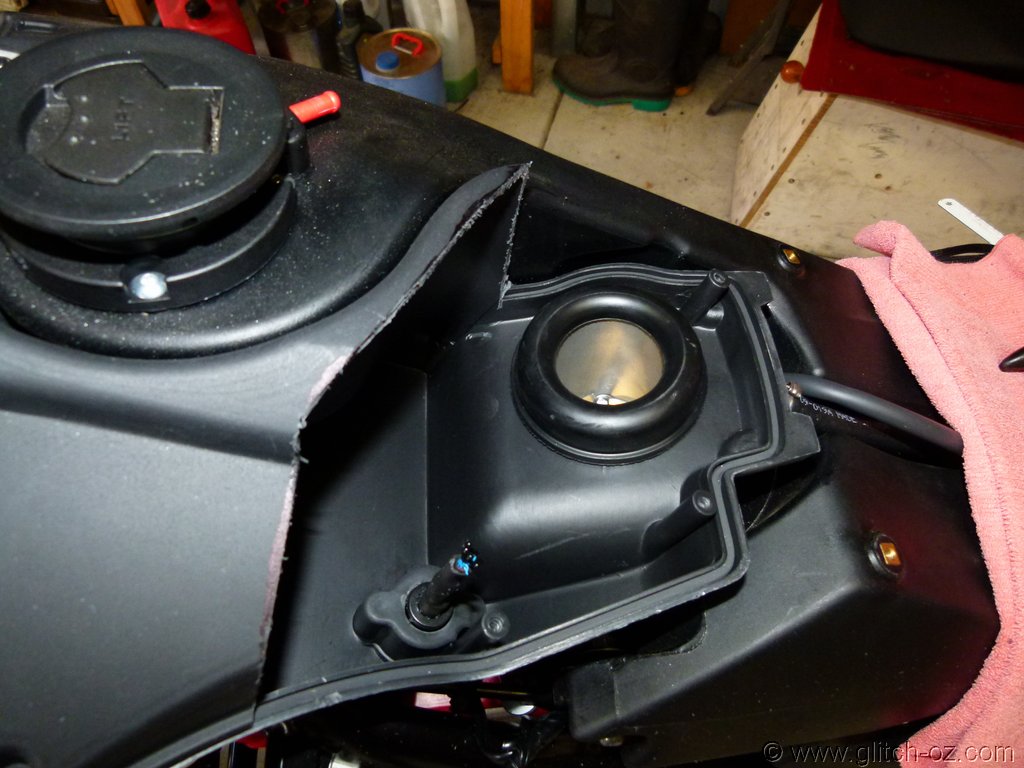
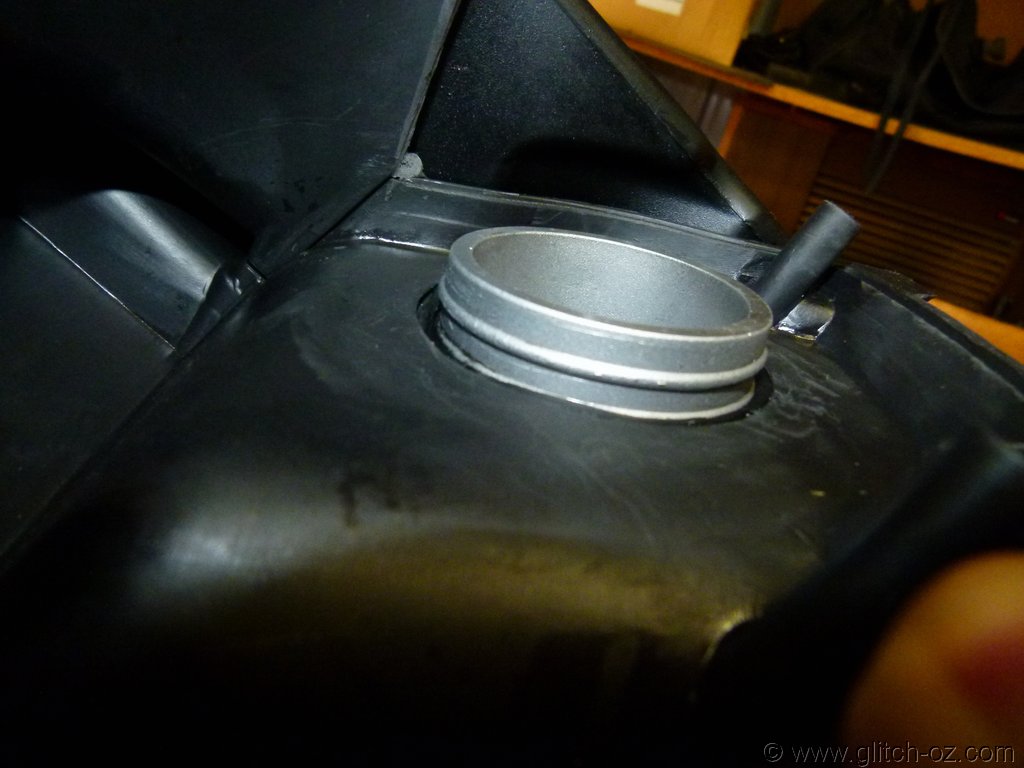
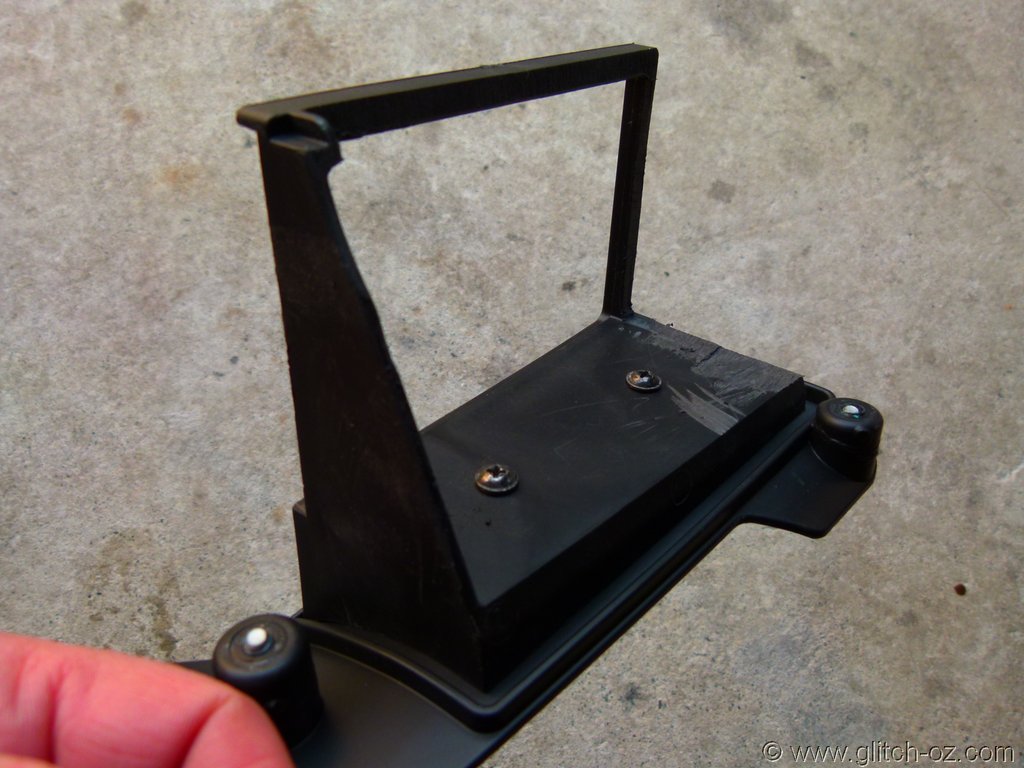
The solid rubber flange/ seat/ seal/ spacer etc etc....all-in-one.
Had some ideas of modding that instead of removing it, but it'll finish up with a too-small-an-attachment-lip for the elbow/ joiner. So I tried to keep the bottom lip of it for a firm seat and hold of the airbox-casing.
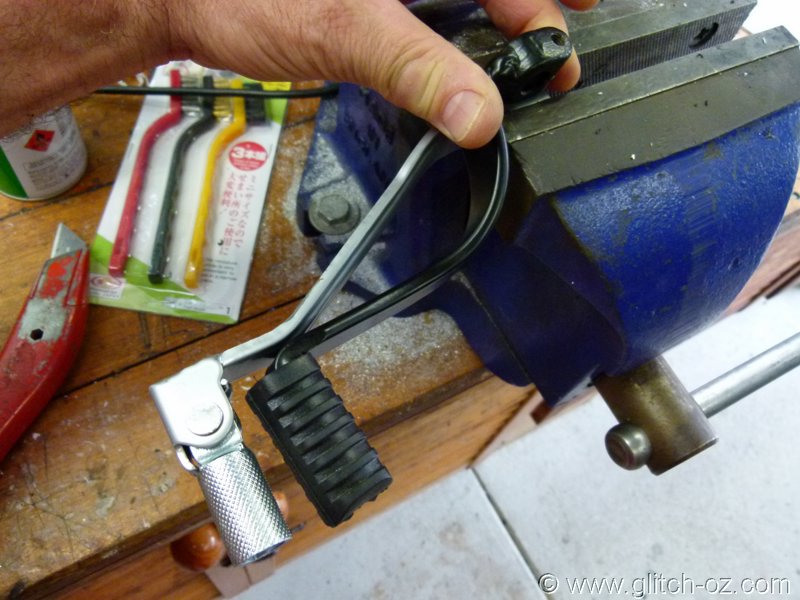
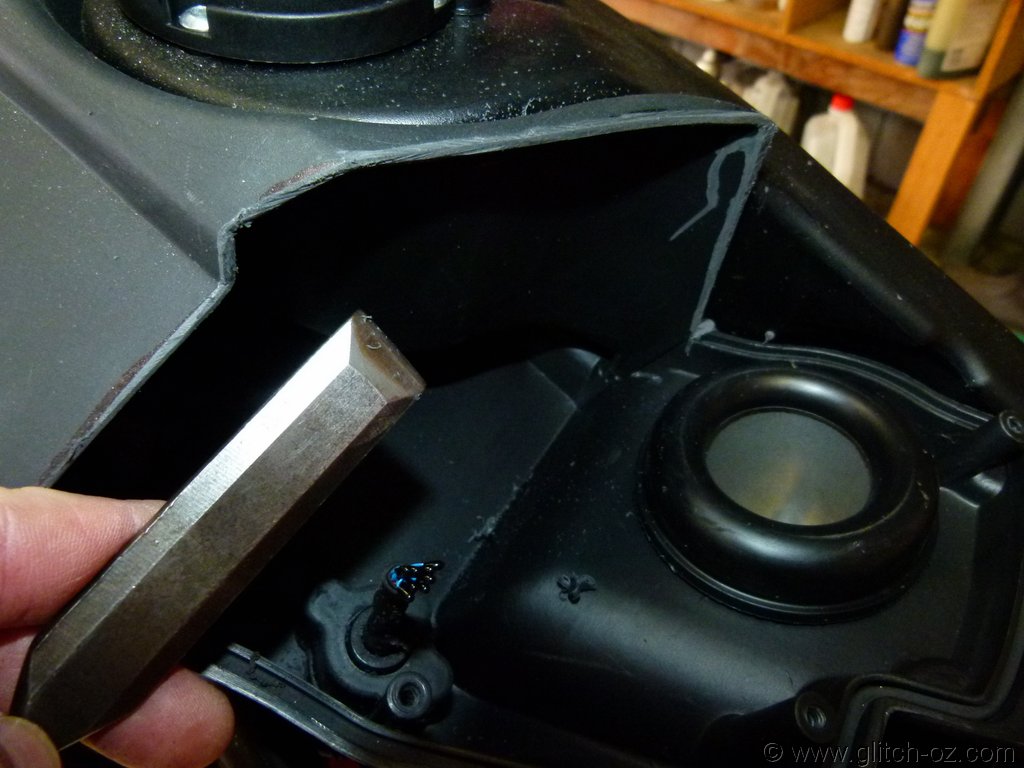
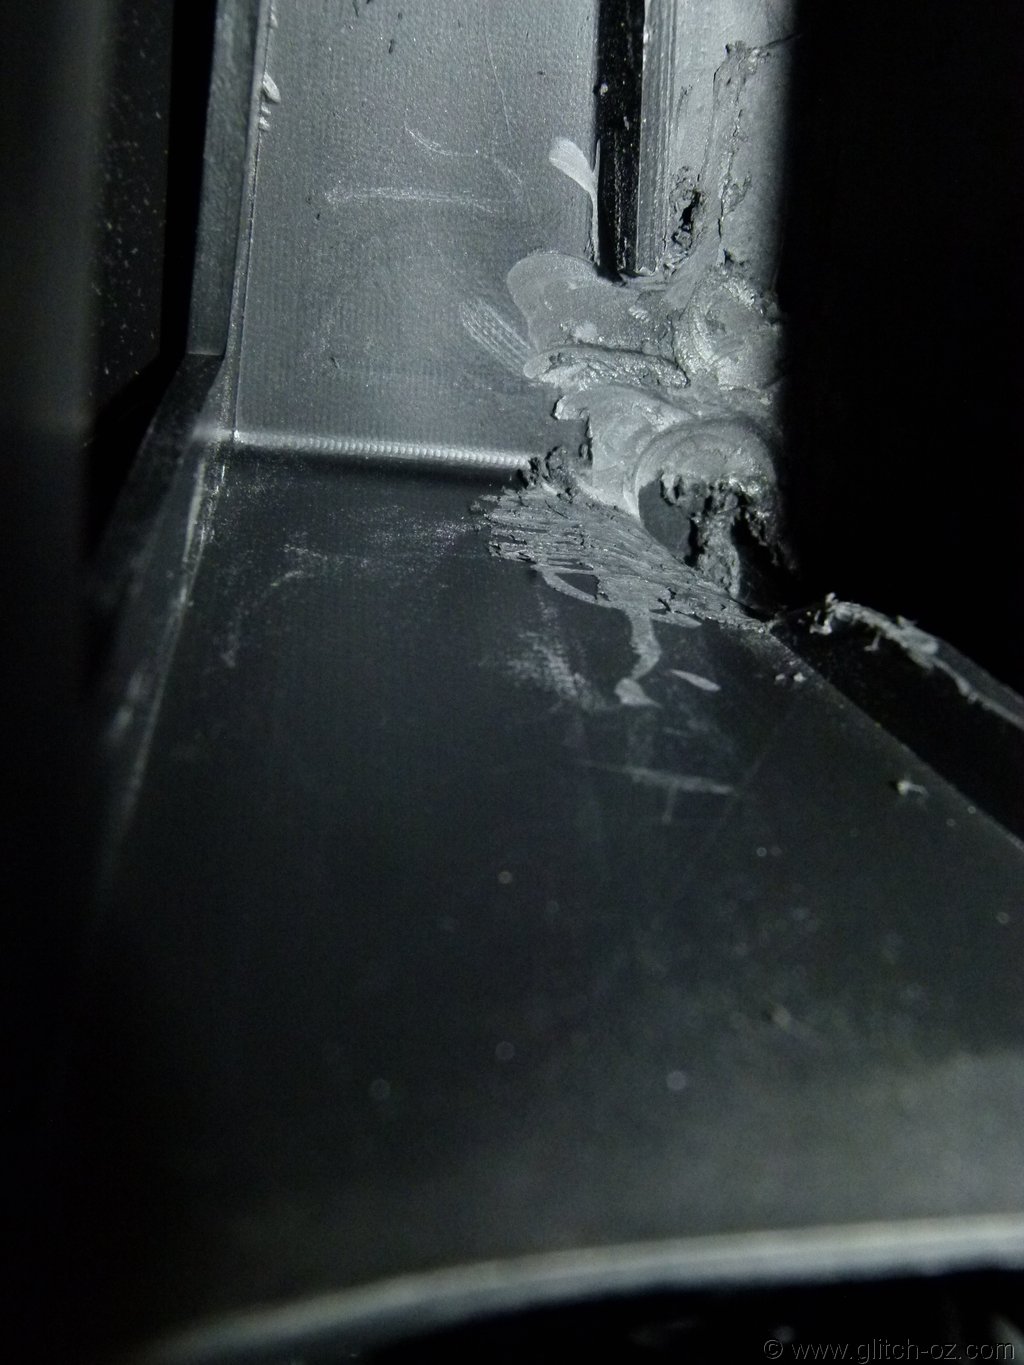
A sharp chisel.
Great de-burring tool and making things easy as a pry-bar when cracking the final bits of the airbox after the hacksaw-job.
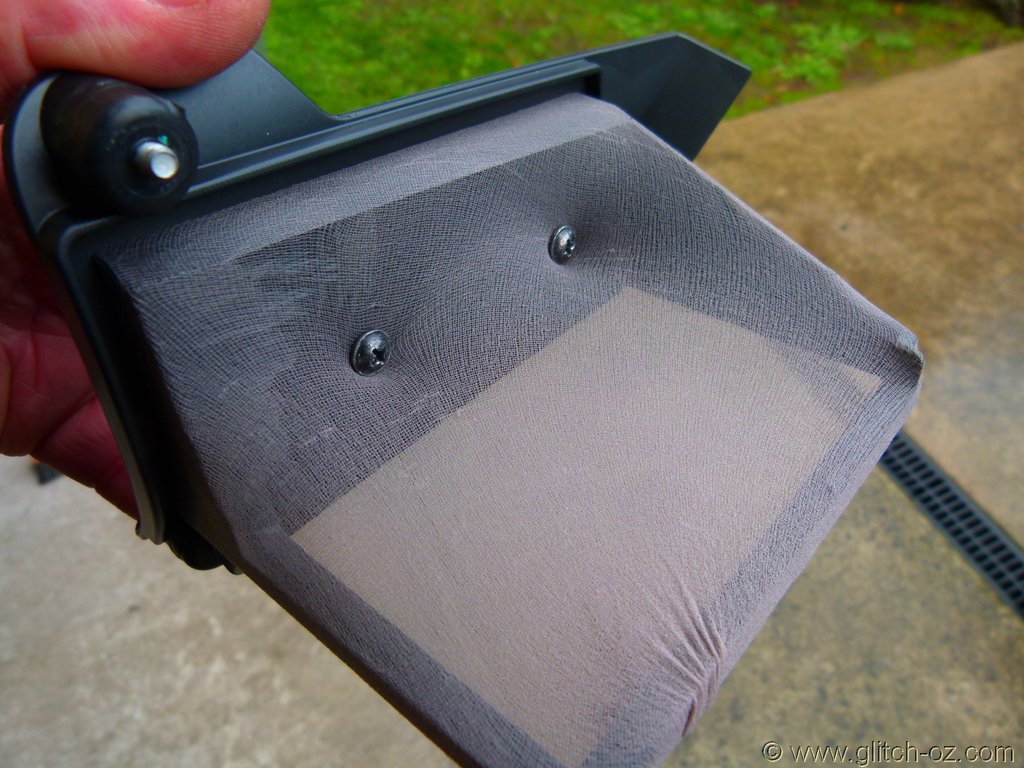
One I prepared earlier....rubber profile to join the 2 airbox halves after the job is done.
All variations failed dismally, material too strong and stiff to comply with all those molded air box-profiles.
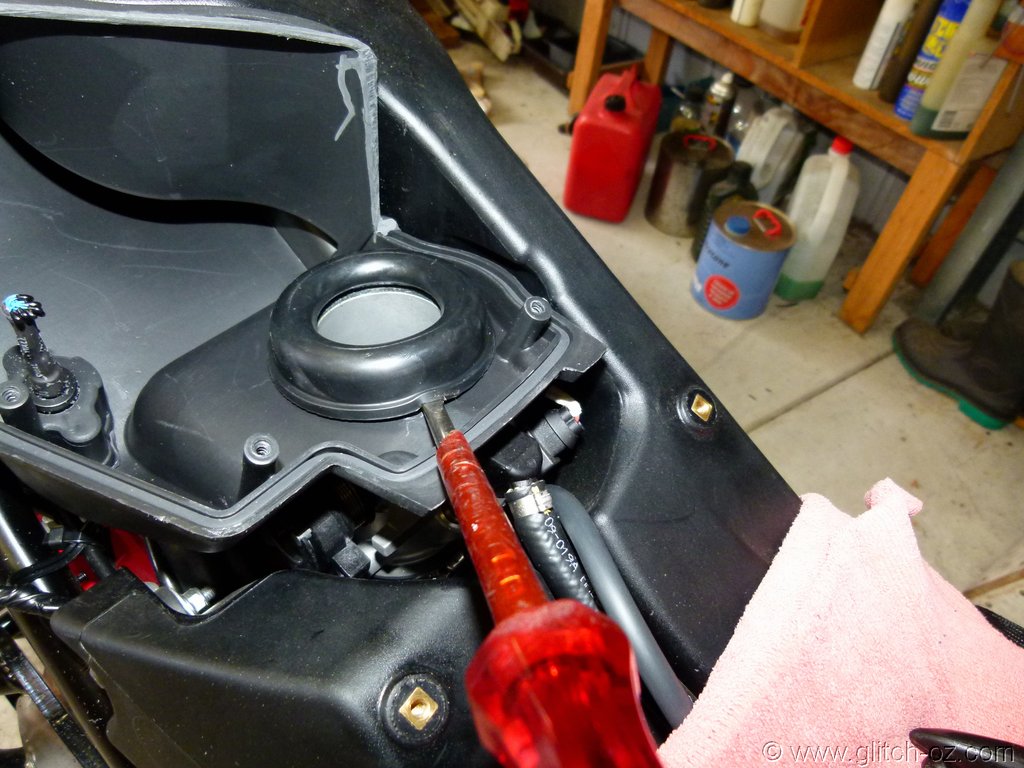
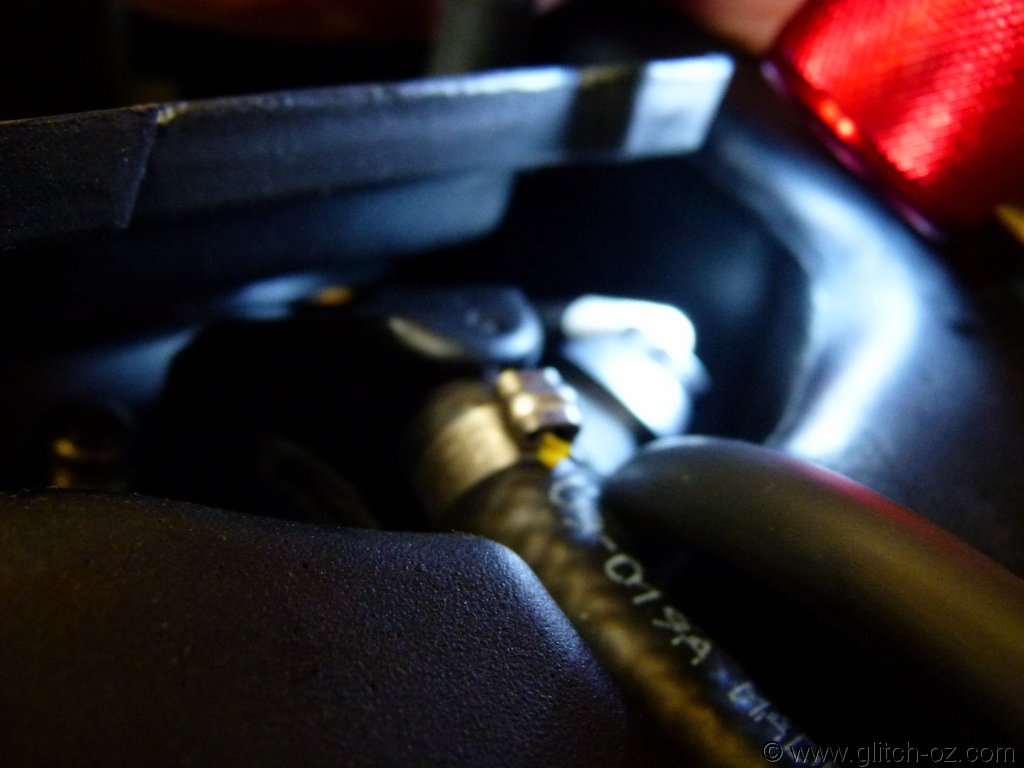
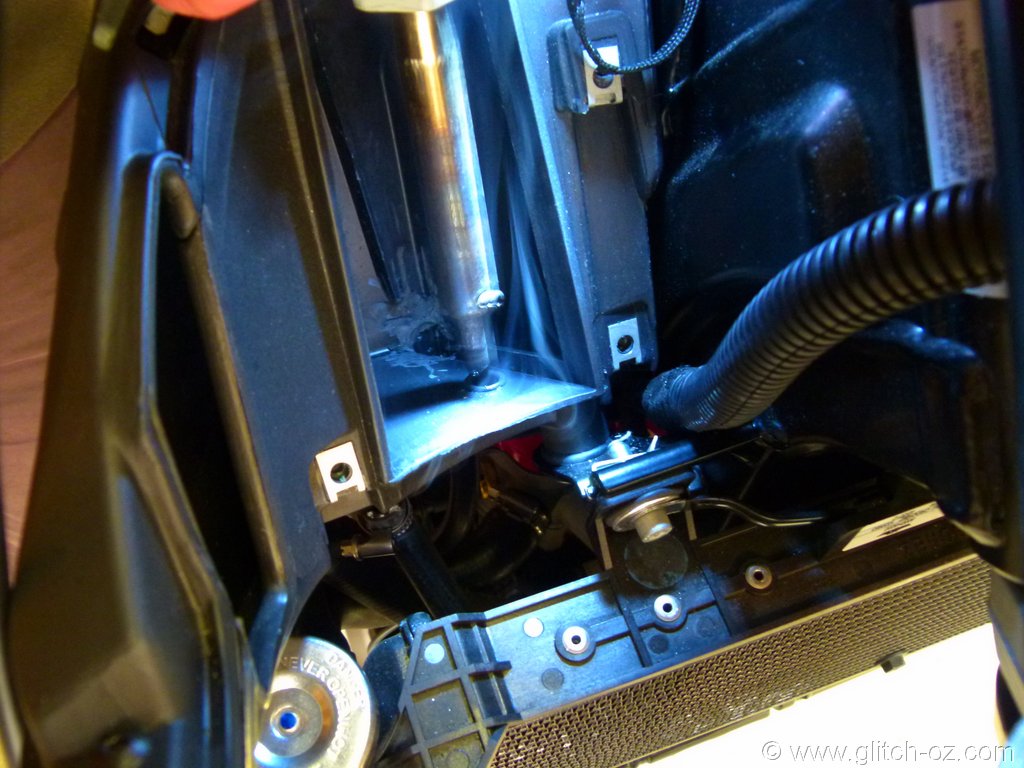
Trying to cut the rubber flange...lift airbox-base off the TB as far as possible, lube the seat of the "doughnut" with WD40 so the whole thing can be rotated on the TB-flange while the bottom of the airbox is off the flange as much as possible (wedge timber strip/ screwdriver-handle between tank and left bottom edge of airbox for best separation).
No chance to lift the whole doughnut out!
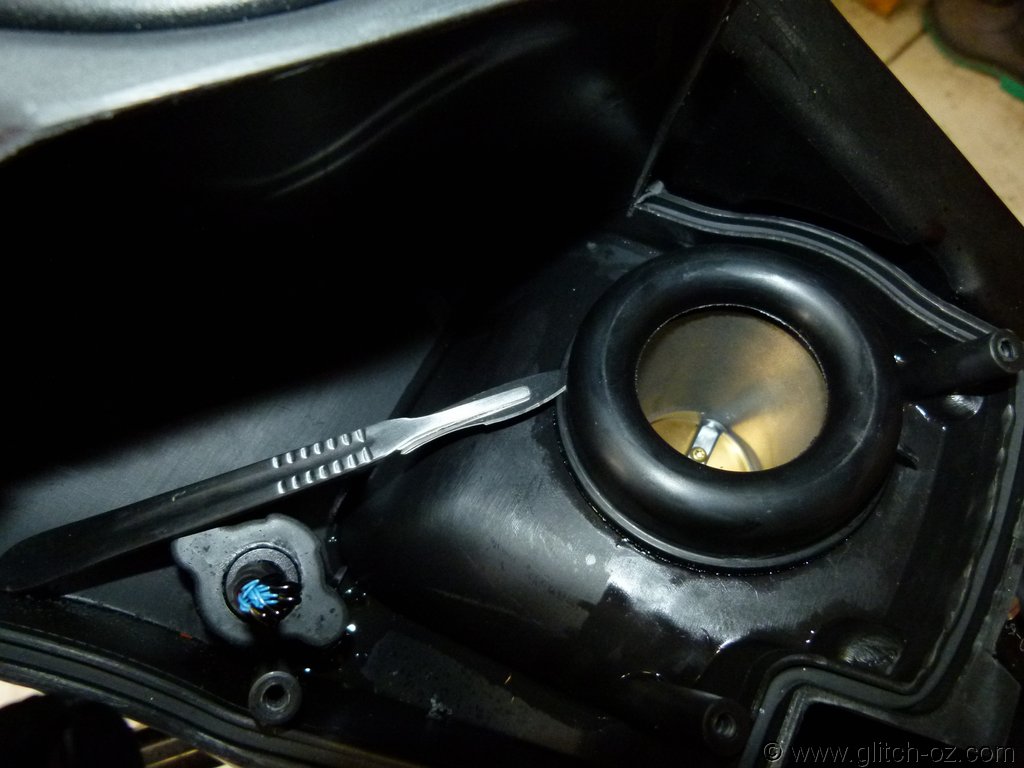
Grab doughnut with rag and rotate while using a scalpell (flat handle!!) to cut the rubber
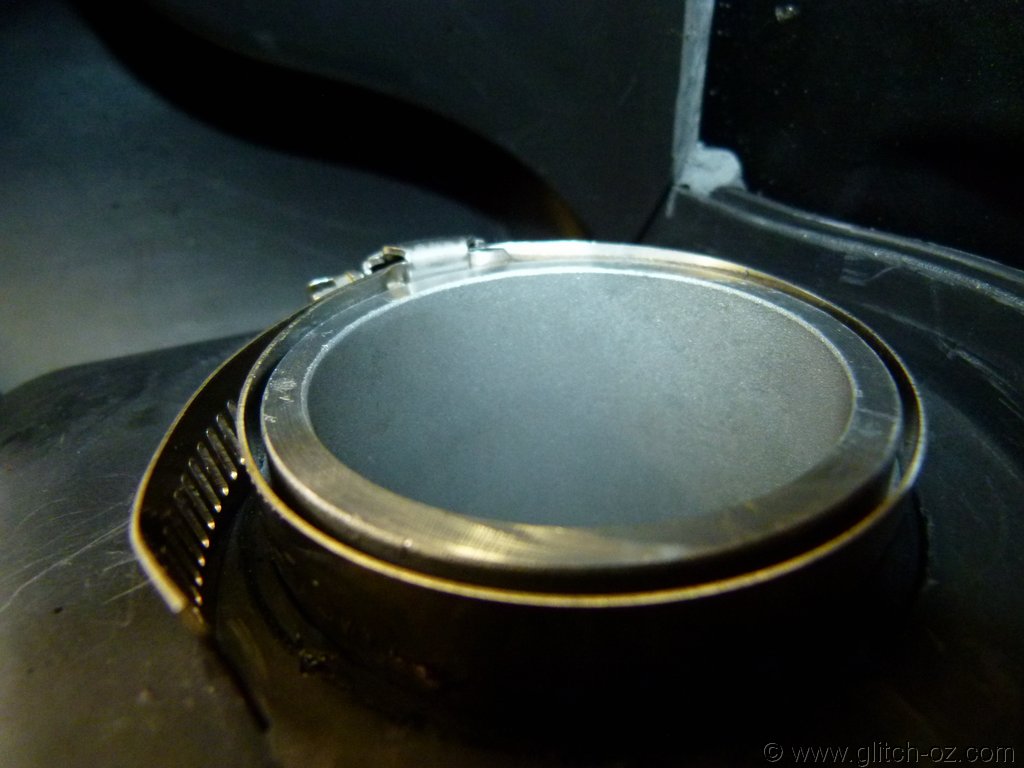
Got the top off, neatly
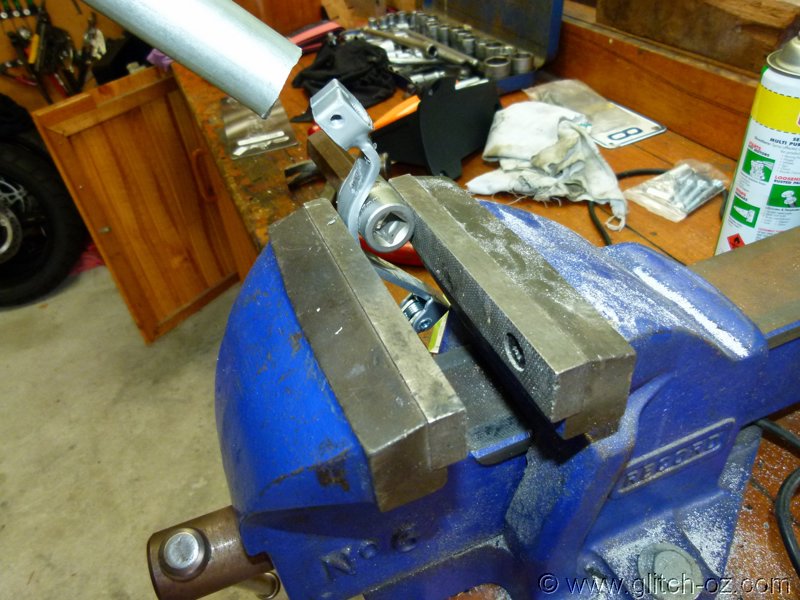
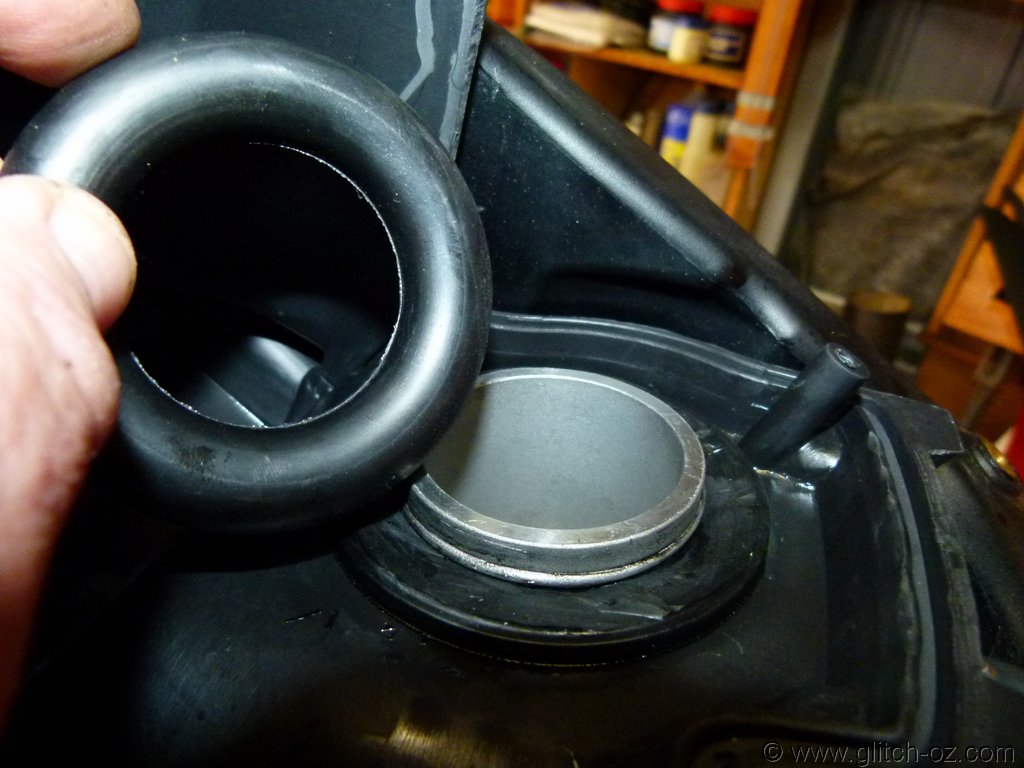
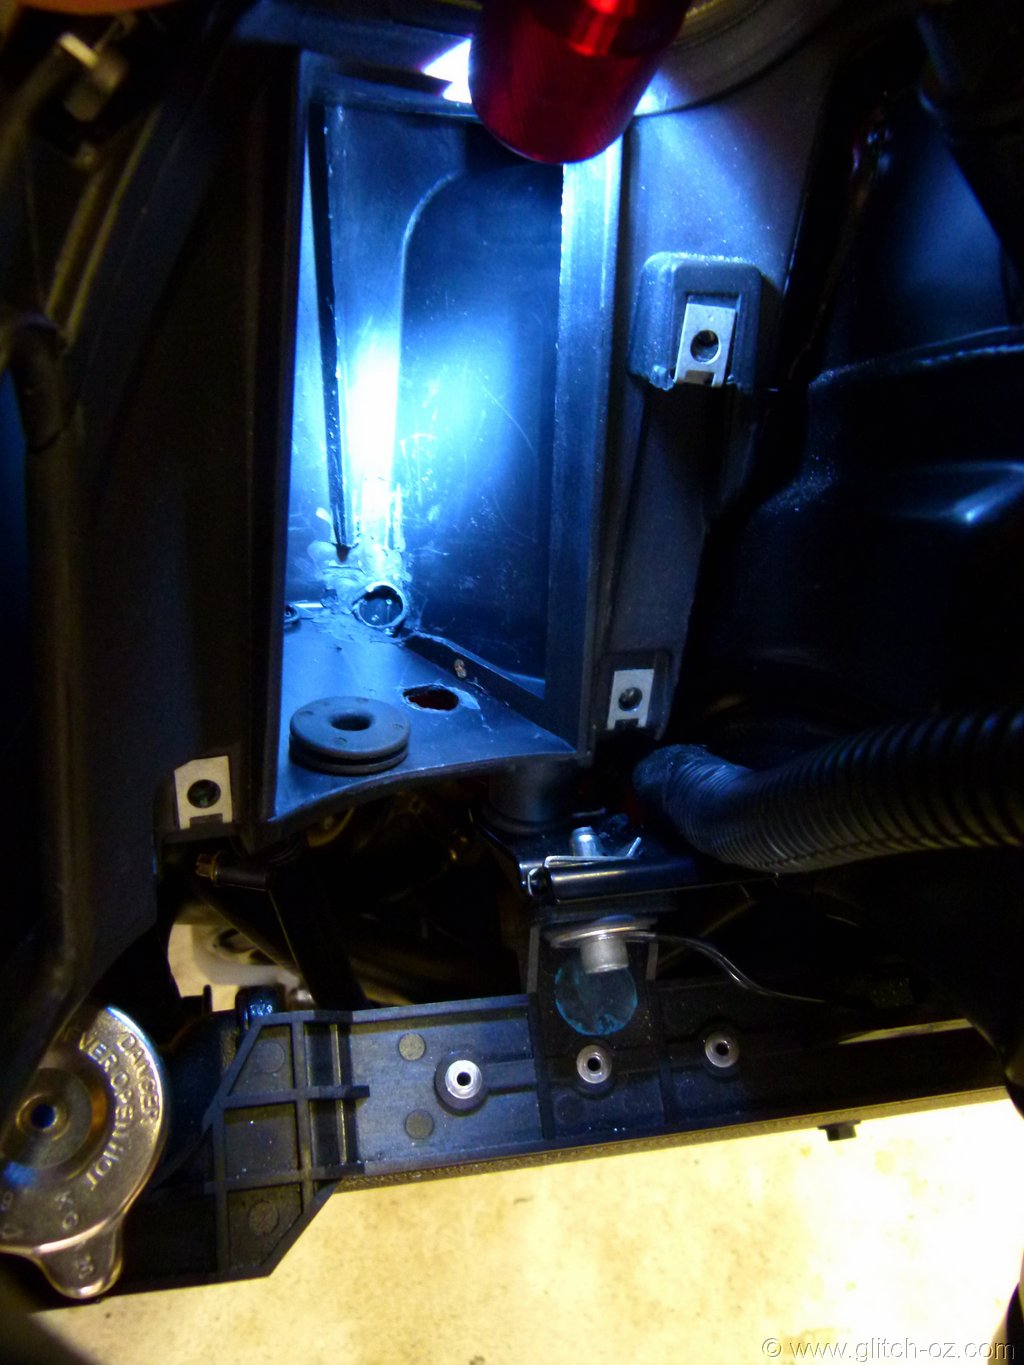
TB-flange isn't tall enough for a clamp....gotta cut the bottom disk off the doughnut as well....more wd40, more rotating (this time with pliers as the material isn't strong enough after removing the top section).
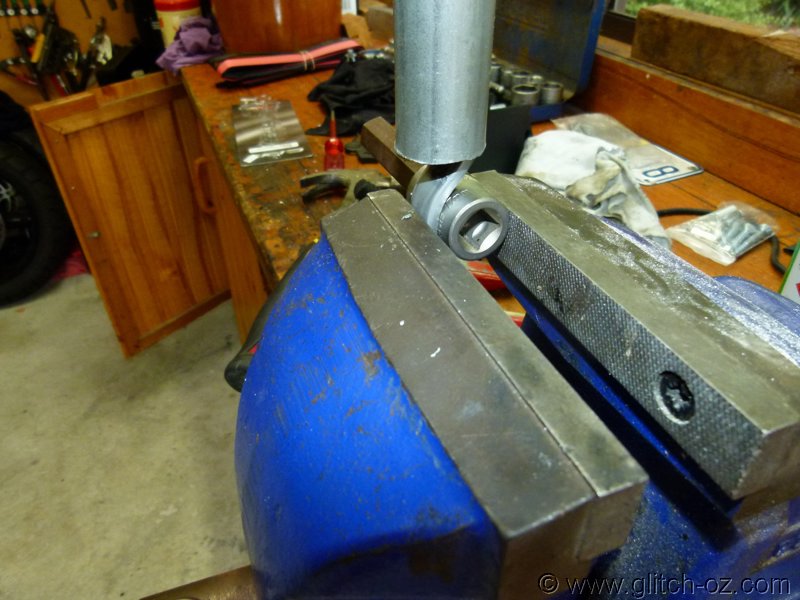
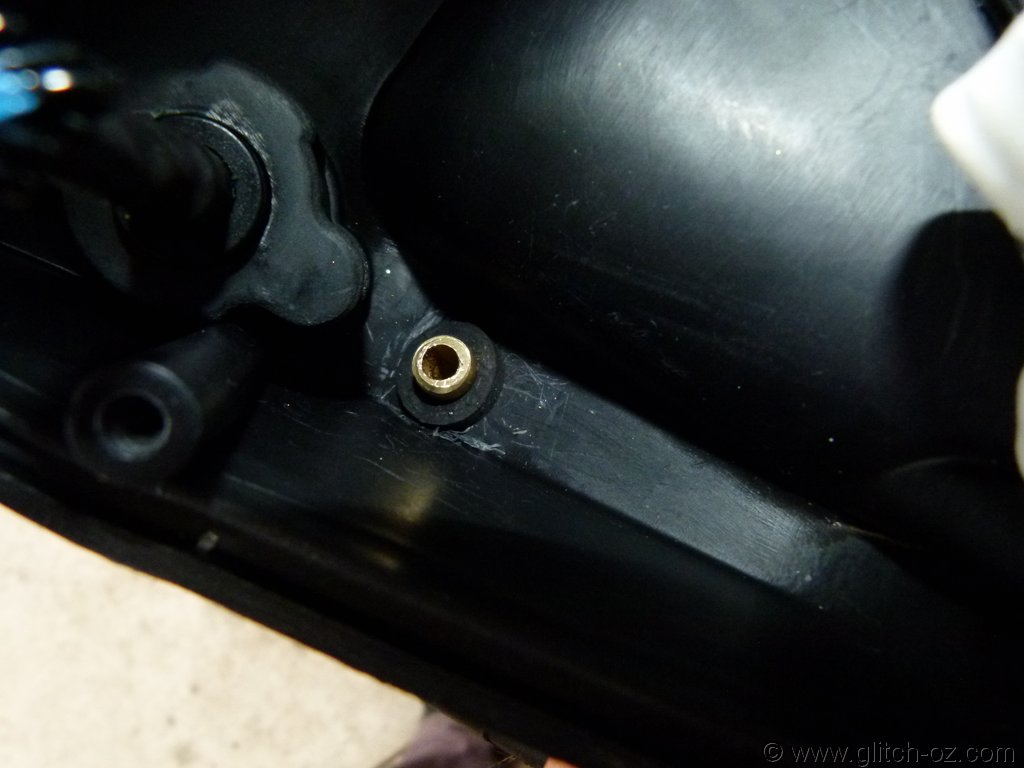
That should be just enough neck-section of the TB to get a clamp over solidly.
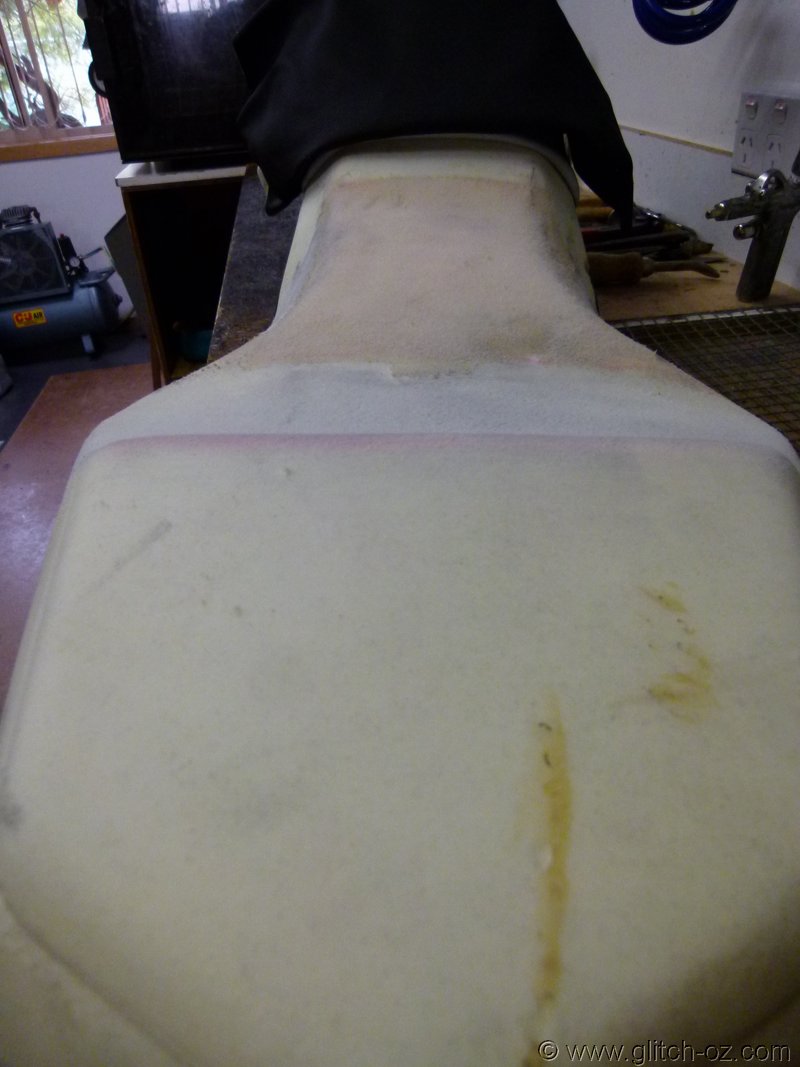
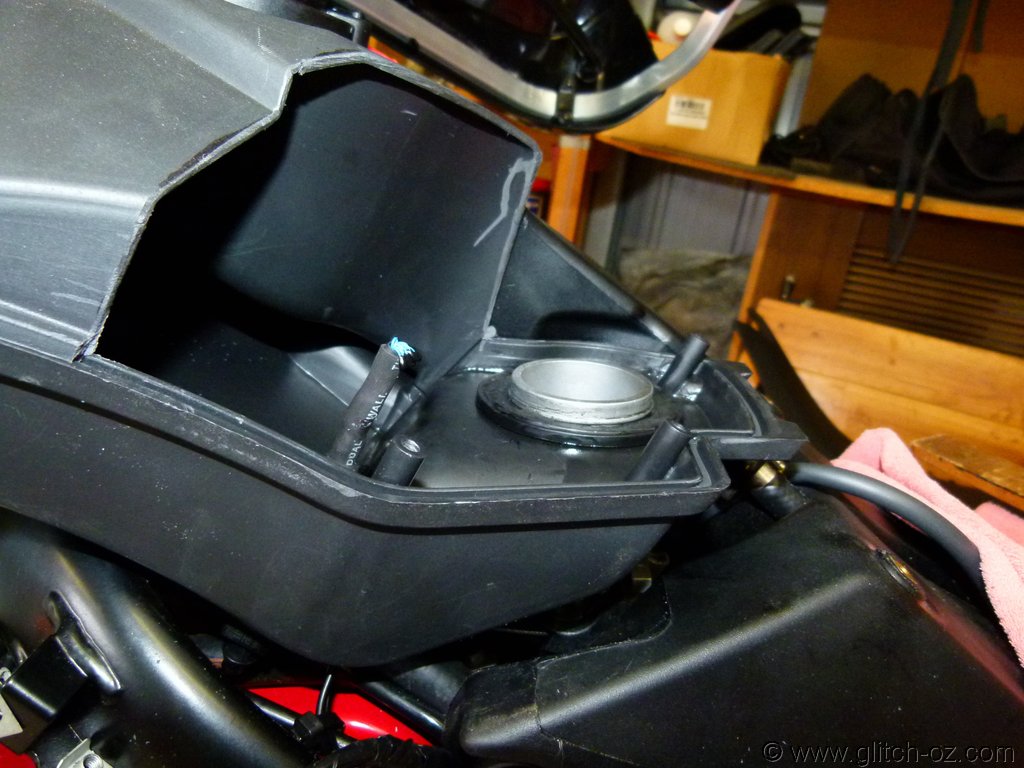
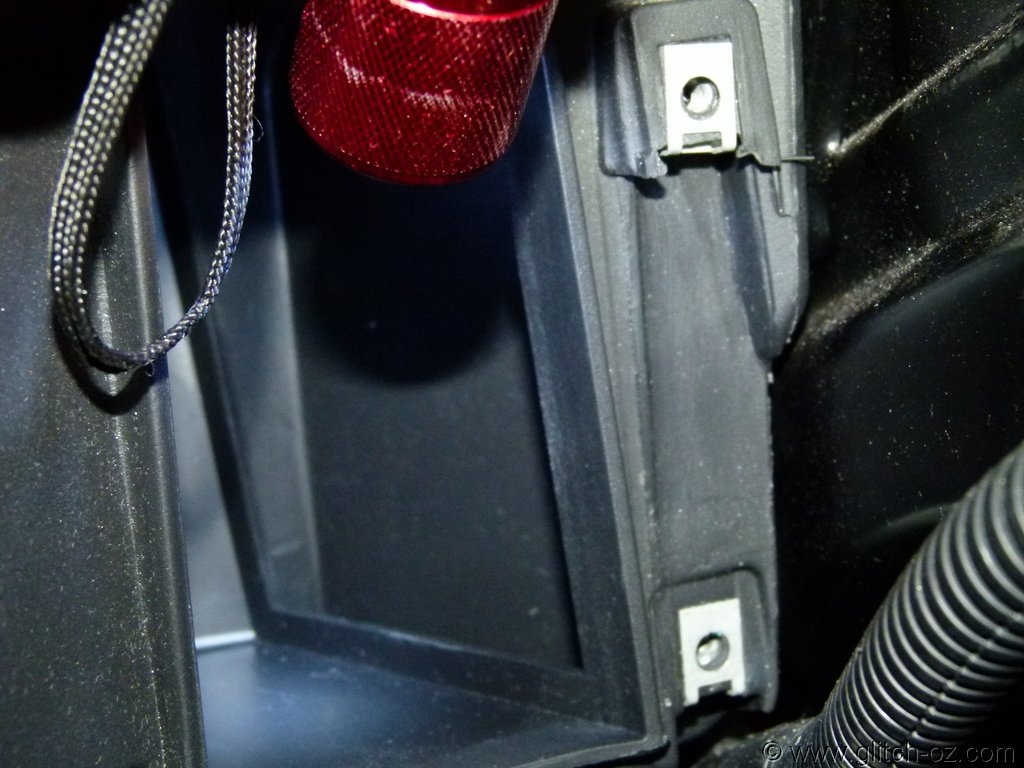
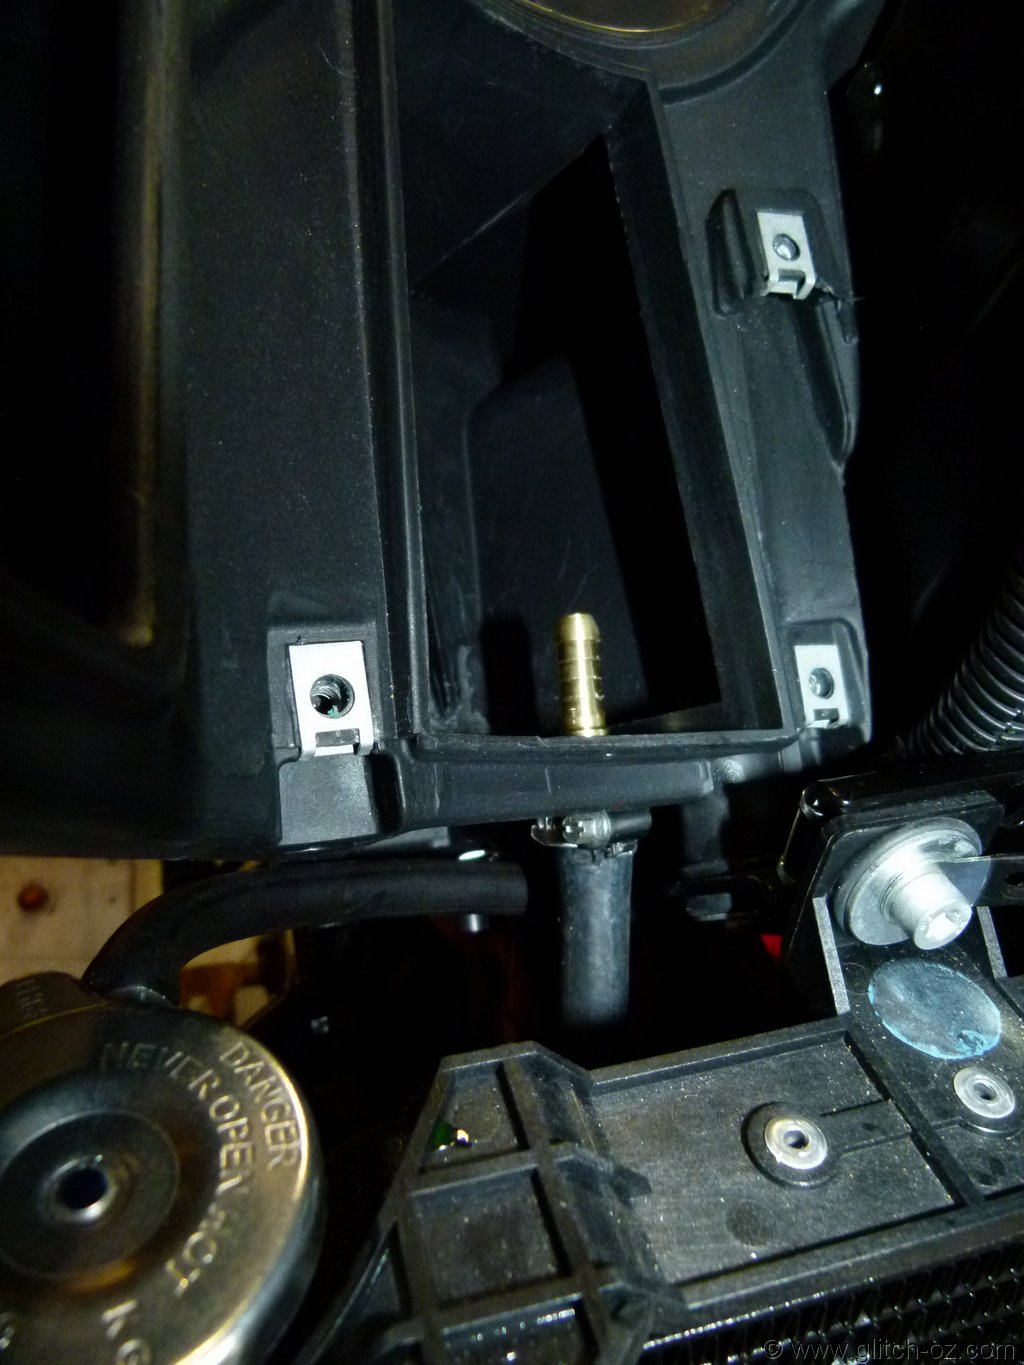
The rubber doughnut's base section is still in place and the airbox seated firmly, without touching the fuel-rail....all's good.
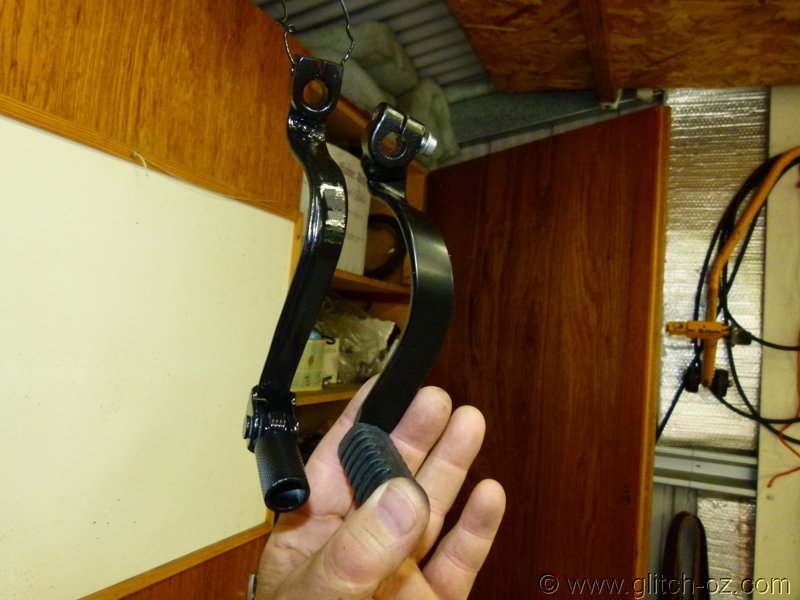
 All good.
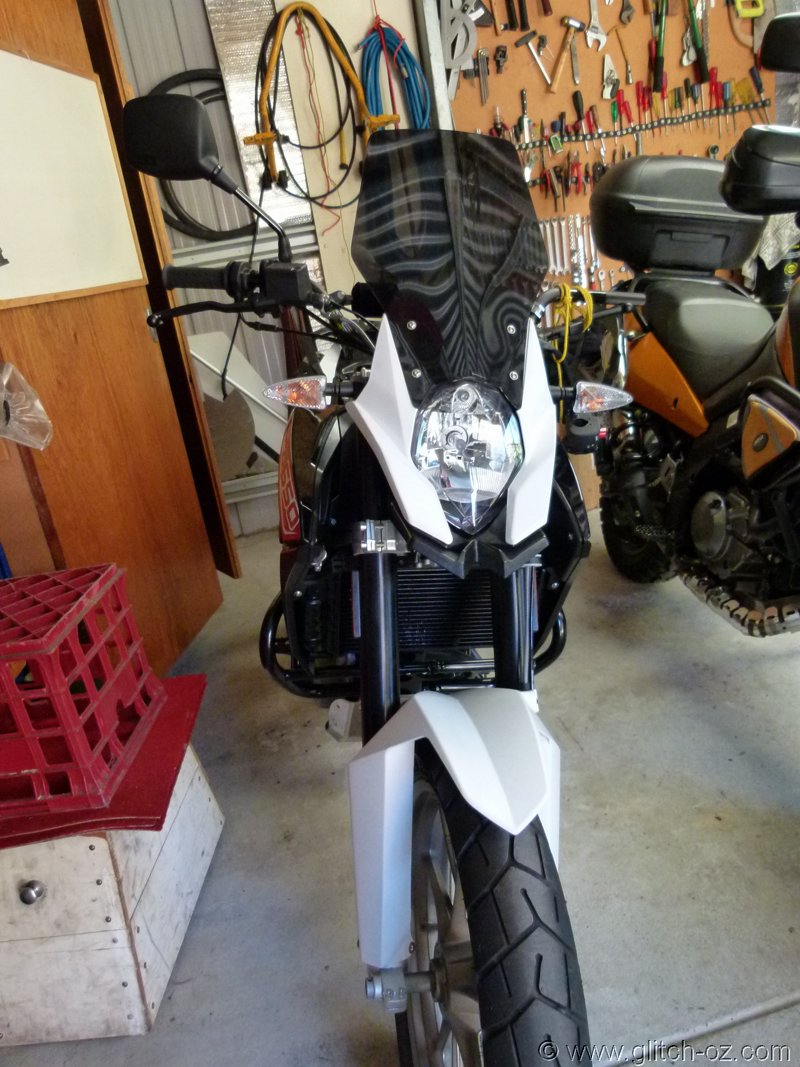


")


")