-
Hi everyone,
As you all know, Coffee (Dean) passed away a couple of years ago. I am Dean's ex-wife's husband and happen to have spent my career in tech. Over the years, I occasionally helped Dean with various tech issues.
When he passed, I worked with his kids to gather the necessary credentials to keep this site running. Since then (and for however long they worked with Coffee), Woodschick and Dirtdame have been maintaining the site and covering the costs. Without their hard work and financial support, CafeHusky would have been lost.
Over the past couple of weeks, I’ve been working to migrate the site to a free cloud compute instance so that Woodschick and Dirtdame no longer have to fund it. At the same time, I’ve updated the site to a current version of XenForo (the discussion software it runs on). The previous version was outdated and no longer supported.
Unfortunately, the new software version doesn’t support importing the old site’s styles, so for now, you’ll see the XenForo default style. This may change over time.
Coffee didn’t document the work he did on the site, so I’ve been digging through the old setup to understand how everything was running. There may still be things I’ve missed. One known issue is that email functionality is not yet working on the new site, but I hope to resolve this over time.
Thanks for your patience and support!
- Husqvarna Motorcycles
- Husqvarna Motorcycles - Sweden
- Vintage/Left Kickers
- Vintage Restoration Projects
You should upgrade or use an alternative browser.
1982 430CR Restoration
- Thread starter MotoFo
- Start date
MotoFo
Husqvarna
AA Class
nice work so far. good to get a bike that's not too far gone. did you replace the engine seals? or are you going with what you had?
Suprize, thanks for your comment. I've been debating since I got the bike what to do with the motor. Admittedly, I have little experience with motor internals/splitting cases. The seals seem to be the most likely component to fail due to inactivity over time. My understanding is that one seal is relatively easy to access and the other requires splitting the cases (??). What are other’s thoughts/experience on seal replacement/failures? Anyone know of a thread that discusses the procedure? (I have yet to find a workshop manual for the 1981/82 bikes).
My thought at this time was to put the bike back together and ride it for a while. The top end has a bit of scoring and will need attention at some time. From my short ride around the block I can tell this bike has way more power than I’ll ever need. Ideally, I would like to get into the motor next summer – non-riding season – when I have a bit more budget and really take care of what’s needed. (dartyppt’s posts on KBS rust seal for magnesium made me think I need to look into that as well).
hva-factory
CH Sponsor
Andy
suprize
Husqvarna
Pro Class
I would wait till your non riding time, strip the motor down to the cases and send it to a good engine man and have it stripped, checked and all seals replaced as well as any mechanically worn parts. send the piston and the barrel as well and he can measure them and let you know if it needs a rebore. at a minimum give it a hone and a new set of rings if the piston is still in serviceable size.
while lots of guys here do there own cases, I prefer to let an experienced hand do the job then I have a back up if there is an issue instead of looking in the mirror and saying "you idiot! you stuffed my cases up!"
enjoy, its a nice bike
MotoFo
Husqvarna
AA Class
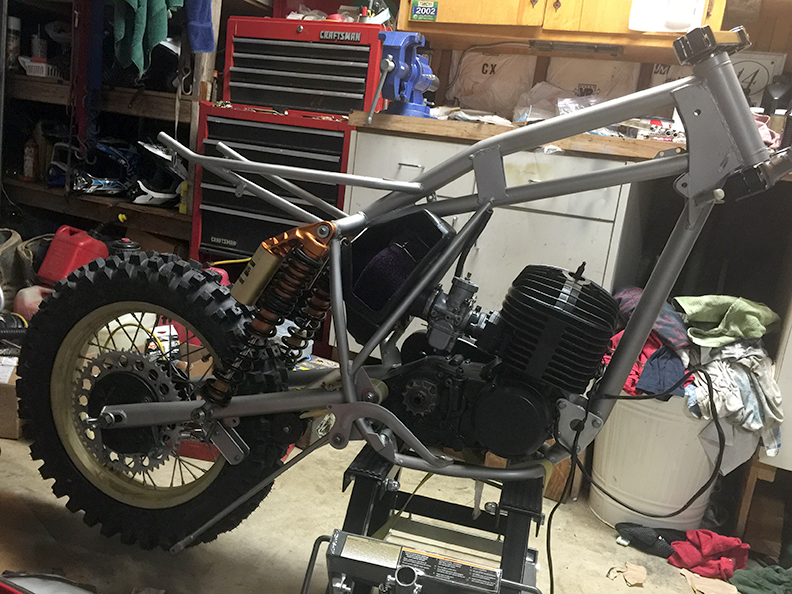
Continuing on with the build, I mounted the air box and the carb. I must say the lower bolt in the air box challenged my patience. It is quite small and lies hidden, deep behind the air filter holder and requires a screwdriver to hold it while the nut is tightened on the outside. Propping up the front of the frame so the bolt sits close to level certainly helped the process. Removing the air filter holder might have been the way to go but I didn’t want to remove the rivets.
Moving on to the rear brake pedal and I’m finding, as with this bolt and nut, that some nyloc nuts need to be left loose so the brake pedal can pivot. Tighten and then loosen until the pedal can move (??) I assume this has to be correct but worries me as a nut not tightened is more likely to back-off. (Same this the chain tensioner nut).
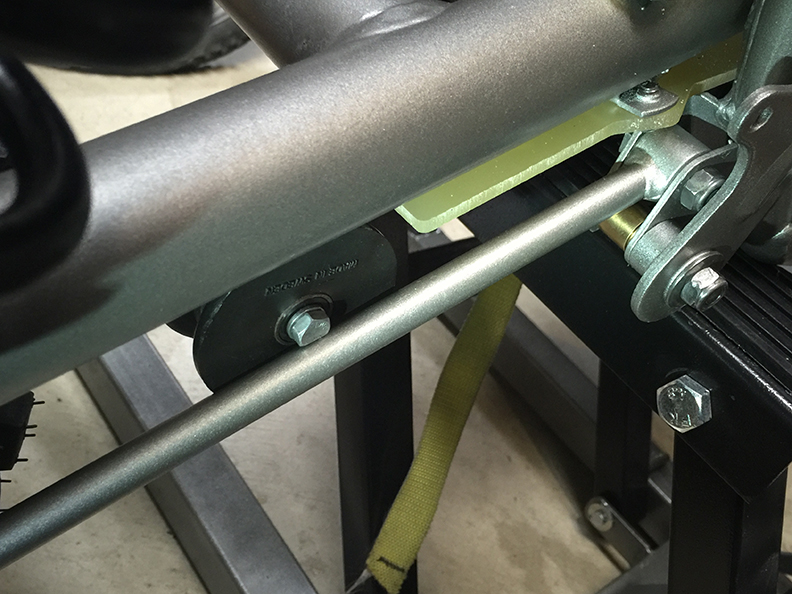
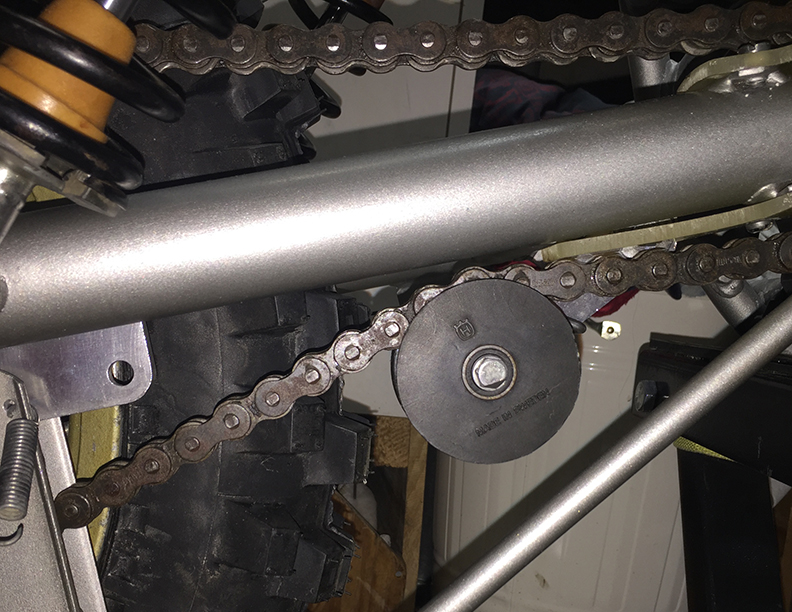
I put the rear wheel on and started to connect the brake arm but I found the brake arm to be binding with the head of the bolt on the chain tensioner. Judging by the wear on the bolt these two were previously in contact – doesn’t seem right to me. Perhaps the spacing is not right on the tensioner. I put a chain around the sprockets to see if the alignment was off but I couldn’t really tell but I think the tensioner should sit more to the middle of the swing arm – not sure how to achieve this (??)
Another issue I see is that the chain tensioner seems to have too much spring and is causing the chain to hit the swing arm. Something is not right here. Anybody have any ideas? Thanks!

suprize
Husqvarna
Pro Class
dartyppyt
Husqvarna
Pro Class
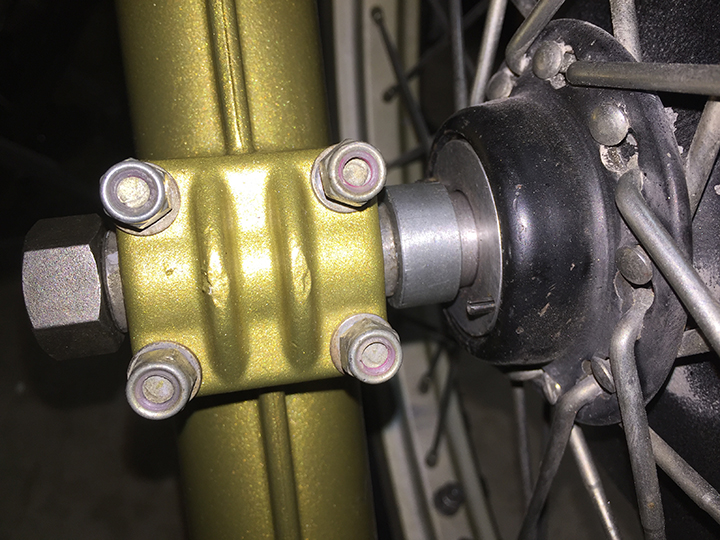
Brass bushing there, not sure if just spacer or does it fit inside brake stay rod?
Is it chamferred for two lil orings. If so goes in rod. Brake stay rod pivots along with pedal. Just tighten nylon lock nuts but enough so things move. Also, man created red loc tite. Prevents 10 mile pushing bikey out of woodsey!
Chain guide can be moved forward one hole. I've seen them both ways. Front hole or rear hole.
Make sure brake pedal adjustment bolt hits nut on swing arm for proper placement.
Also, download parts fische and it pretty good to tell you where everything suppose to go.
Looking good!


MotoFo
Husqvarna
AA Class
dartyppt, there are only two holes – top for the brake arm and bottom for the brake pedal. I'll need to inspect the tensioner. I'm a bit stumped at the moment. It could be that the tensioner mount on the swing arm is slightly bent or was built slightly off (worn bolt head?). If I was able to bend it towards the outside of the swing arm it would push the tensioner back towards the center. It is pretty beefy though. Thanks for the input.
Bengt Husky
Husqvarna
AA Class
GaryM
Husqvarna
AA Class
bushing. For some reason that second washer ( after triming the barrel a bit ) pushs against the bushing and not brake lever and rotates better. Lots of grease to. Or get a small washer less the dia. of bushing and install next to frame in back of lever.
MotoFo
Husqvarna
AA Class
Thanks,
endurodave
Husqvarna
AA Class
Photo of 82 250 XC /

stormer254
Husqvarna
AA Class

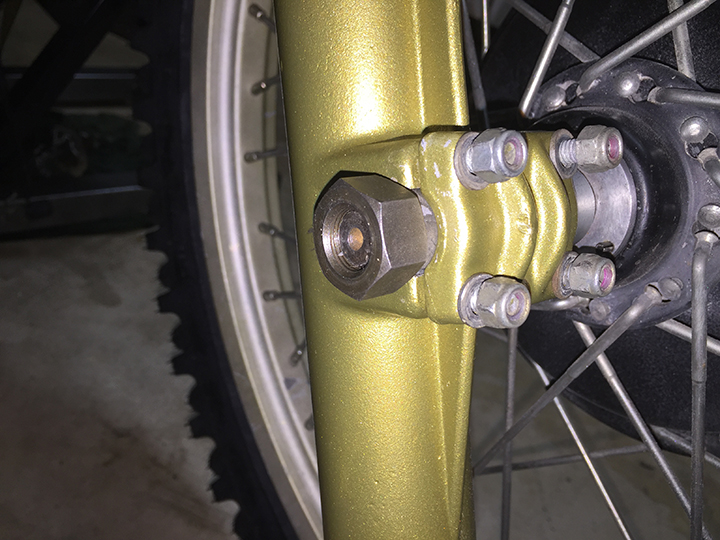
That does not look like the right nut ! I always thought they were a 'half nut'. I which case the length of thread would be correct. Have you got the speedo drive or correct length spacer to go in there ?
As this and this.

84scrambler
Husqvarna
Pro Class
MotoFo
Husqvarna
AA Class
MotoFo
Husqvarna
AA Class
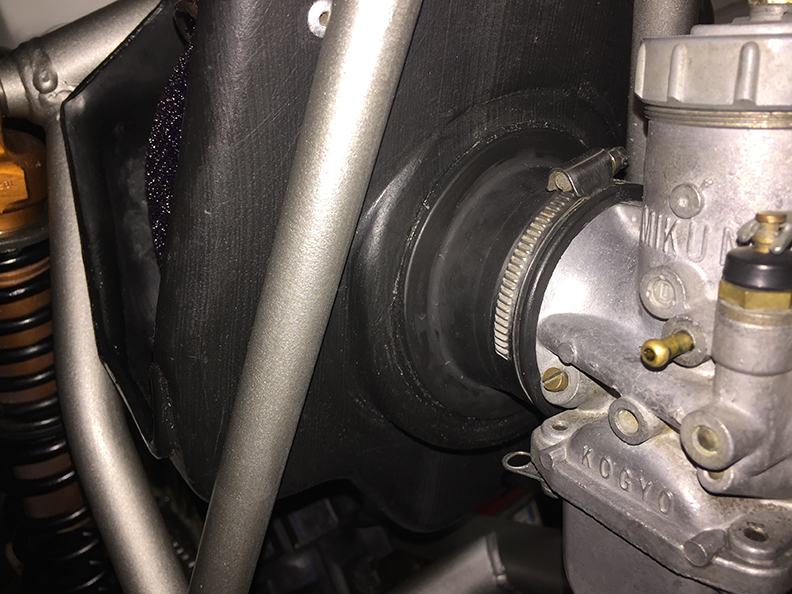
Jumping back a bit, when I got the bike one of the things I noticed was the rubber connector between the air box and the carburetor had become dislodged from the air box. The flange of the connector is supposed to slip into the air box. I used some silicon to seal the connection and I’ll keep my eye on it. I got a little messy with the silicone and when I cleaned up the excess I noticed the weathered, greyish, black plastic had returned to a nice solid black. In one of those what-the-heck moments I decided to coat the air box in silicone. After allowing it to set over night I spent around an hour massaging the excess off. My air box looks 100% better and I’m hoping the residual coating will create a nonstick environment. We’ll see.
The carb, as I mentioned, was really clean when I took it apart. A look at the jetting and it has a 2.0 slide, 450 main, 35 pilot and the 6DH3 needle in the middle position. I believe stock is a 440 main and a 45 pilot. I’ve seen several comments about jetting for these bike here on Café Husky but I don’t know what to make of it yet until I get some time on the bike.