For those that were wondering about the feasibility of a Wig Wag, I'm happy to report that my install is complete, and functioning properly. Here is how to do it.
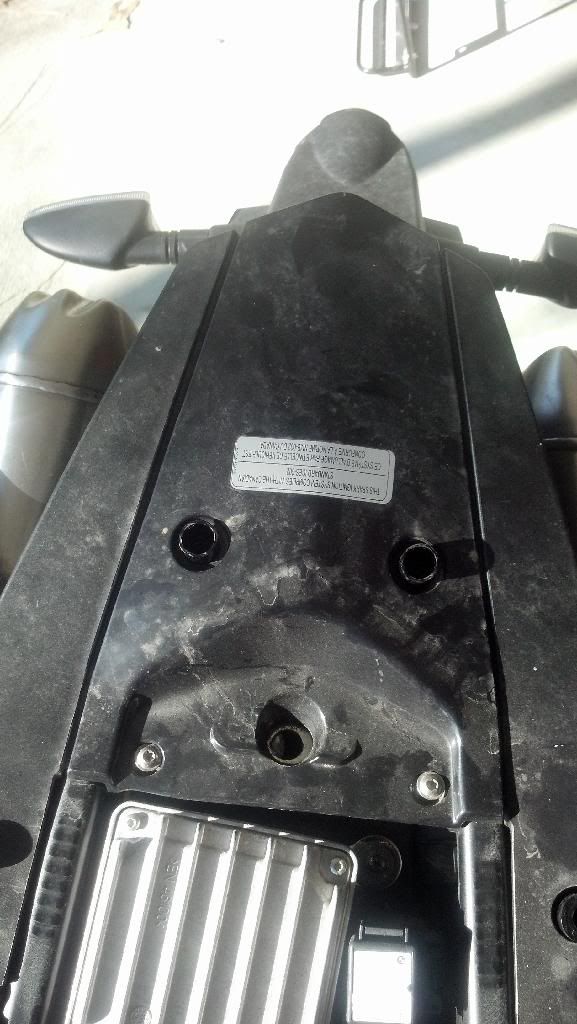
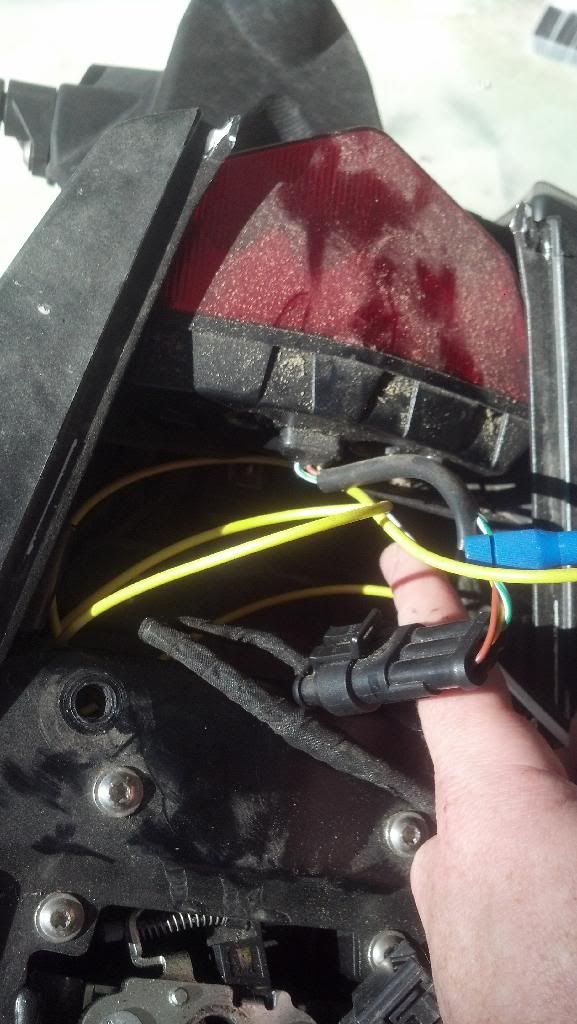
Remove this cover.
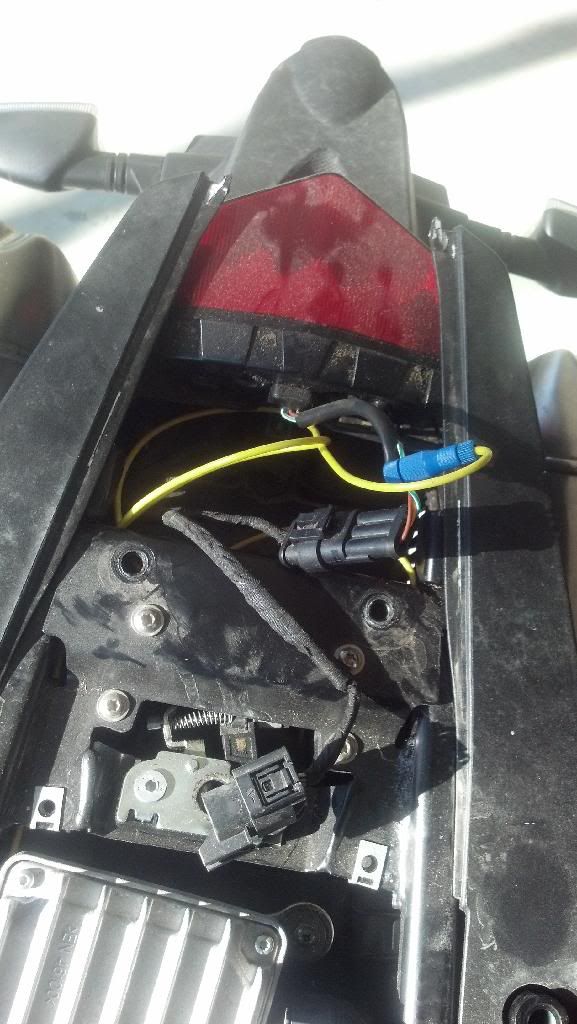
This is where the Wig Wag will go. You'll see my yellow wire from my Fuzeblock tying into the green/white of the tail light. This will get removed for the Wig Wag install, then reinstalled when complete.
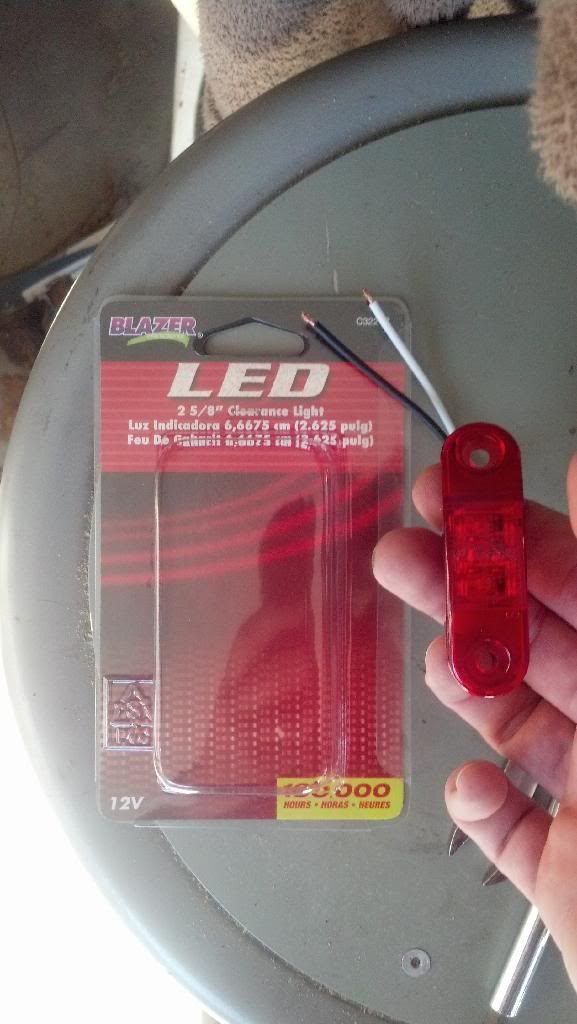
My Wig Wag was for a bike with two brake lights. So I wanted to install a second light to create a bit more visibility. This looks like the perfect place to put it. I decided on using a marker light because it was inexpensive, effective, and the holes match up. These are basic reflector markers that come on the Husky, used for long trailers and such. Most larger trailers require lights instead of reflectors, so the lights are plug and play in the stock location.
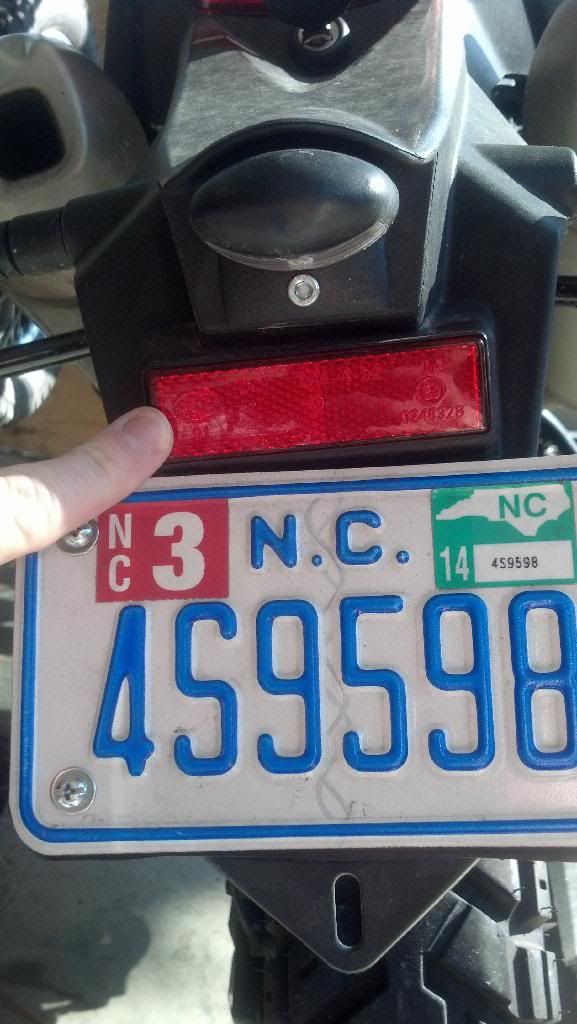
So I found this guy for a whopping $6.
Undo these bolts in the rear fender to drop the reflector.

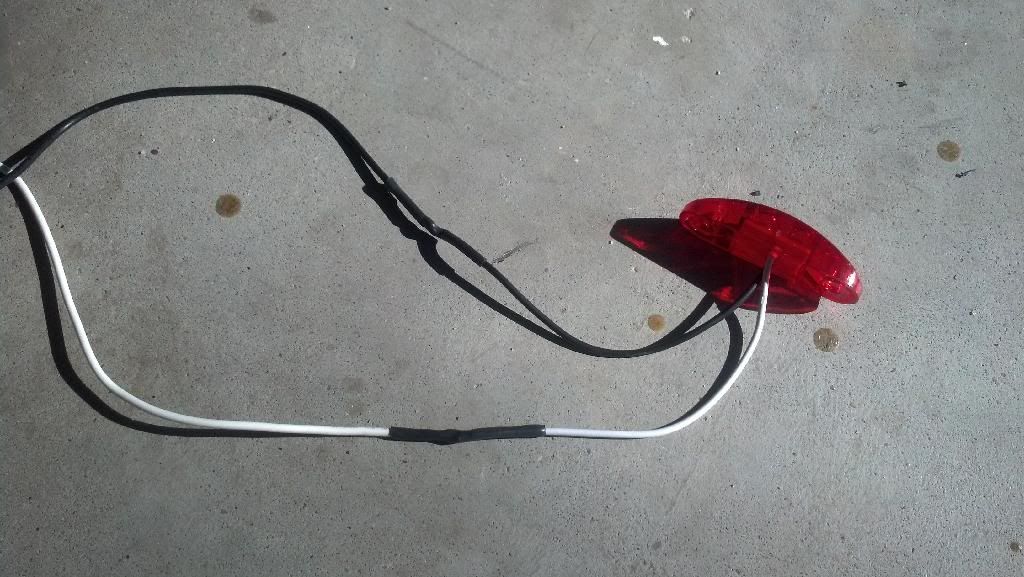
Solder your new light wires before you mount the new light. Nobody likes soldering under a fender.
Run your wire up under the fender through this passage.
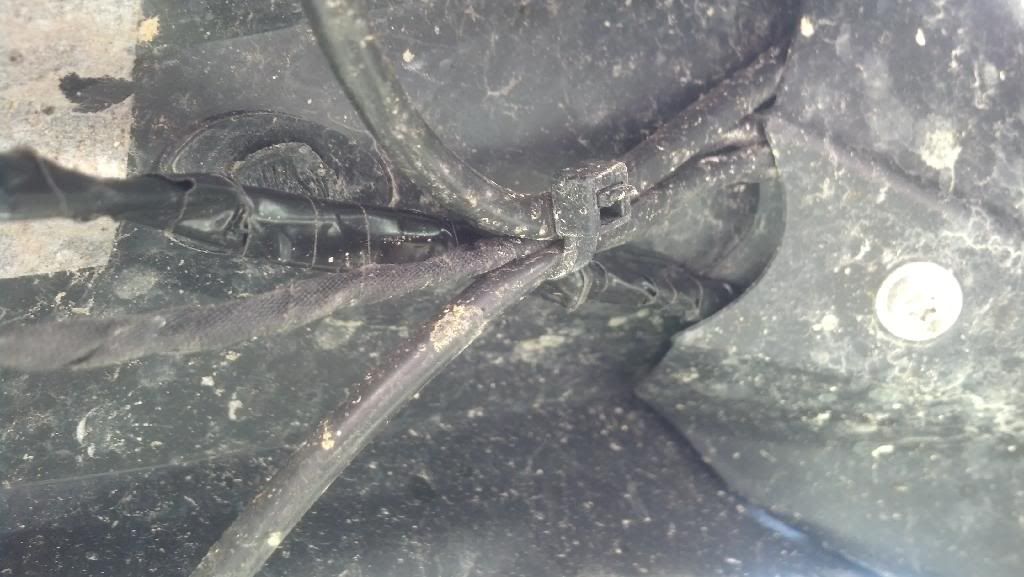
And it will pop out in the intended compartment with all the other tail light wiring.
Now snip your BROWN and YELLOW wires coming from the battery side of the bike. You must break this circuit for the Wig Wag to work.
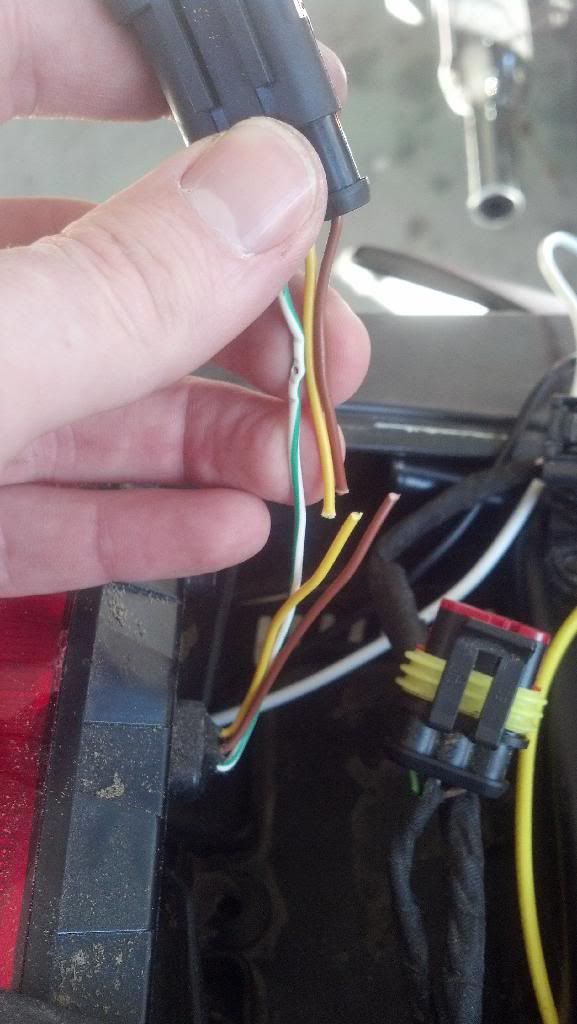
Looks like brown is ground and yellow is your power.
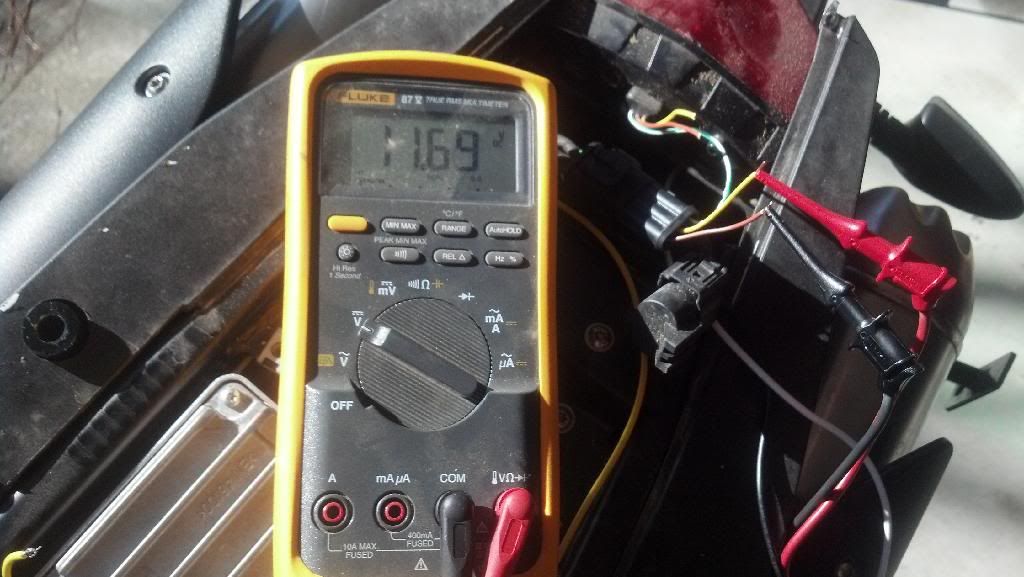
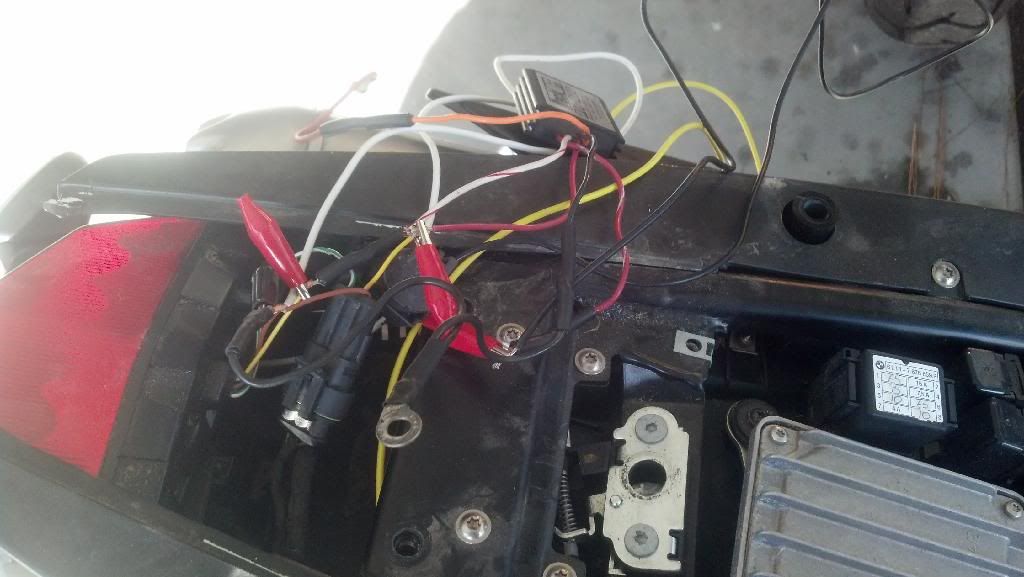
I stripped everything and mocked it up with alligator clips to verify functionality before soldering it. I always recommend doing this, as it keeps you from having to fix mistakes later. It looks a little chaotic, but here is what you're seeing. Red on the Wig Wag goes to Yellow from the bike. Black on Wig Wag goes to Brown from the bike. Red/White and White/Red go to your lights. All the grounds go together. The orange wire isn't used in this application. If you wanted solid brake lights after the initial flash, you would use your orange to power the unit instead of the red wire.
Soldered up, it is much more compact.
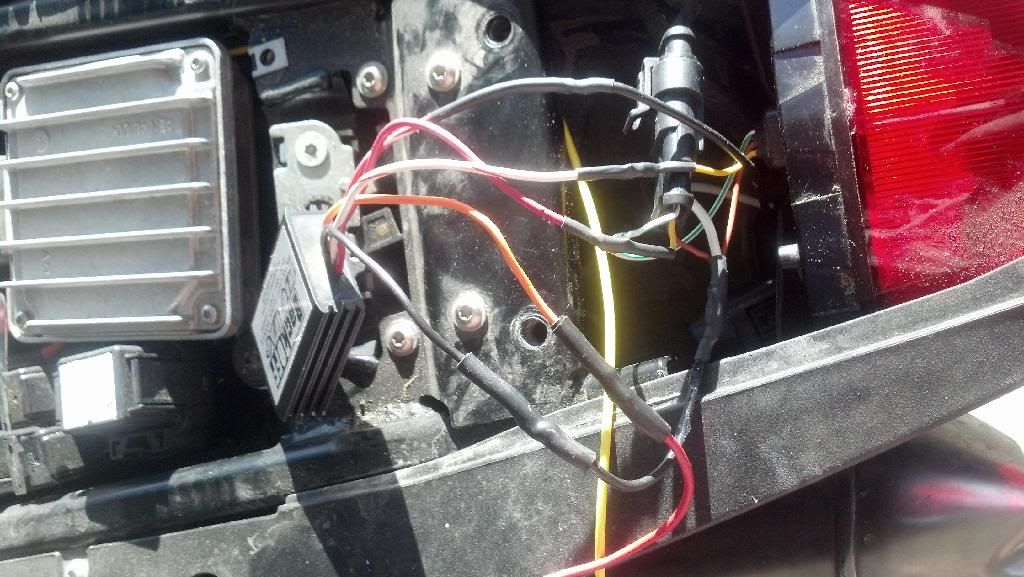
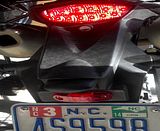
And the final product.