Joliet
Husqvarna
AA Class
Friday I went to install the new IMS tank from Halls. By far the hardest part was pulling the steering apart to get the Motosportz damper off. However while I was in there I greased the steering bearings. They had quite a bit of grease on them from the factory.
When I went to set the tank on initially, it would not fit down on the locator pins in the back. I did some measuring and found the molded holes in the tank were almost 1/4" too far apart.
So I made a simple jig with some 1/2" drill bits and a scrap of wood. Drilled most of the way through the wood and left the drill bits in. I drilled the holes the same distance apart as the locator pins on the bike. In my case 5.78" apart.
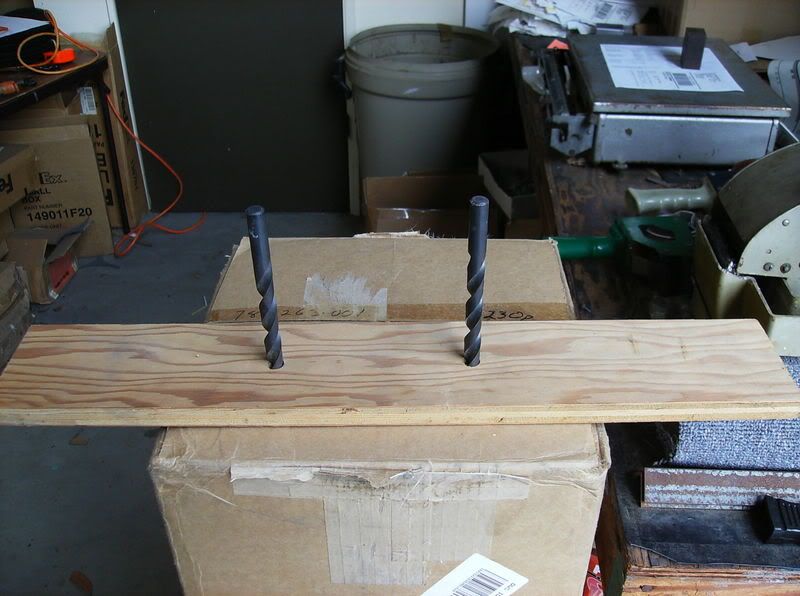
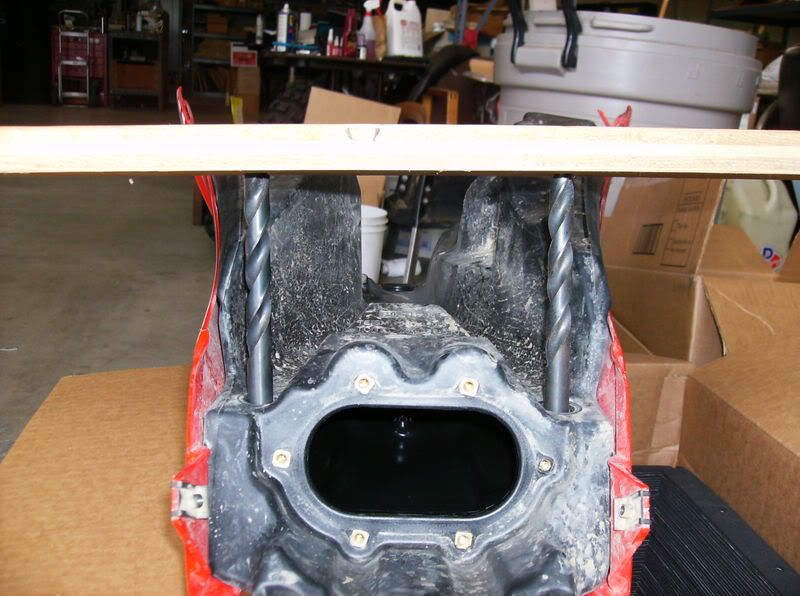
I then put the jig in the holes in the new tank (I am showing pics of the stock tank because I didn't take pics as I was doing the IMS tank)
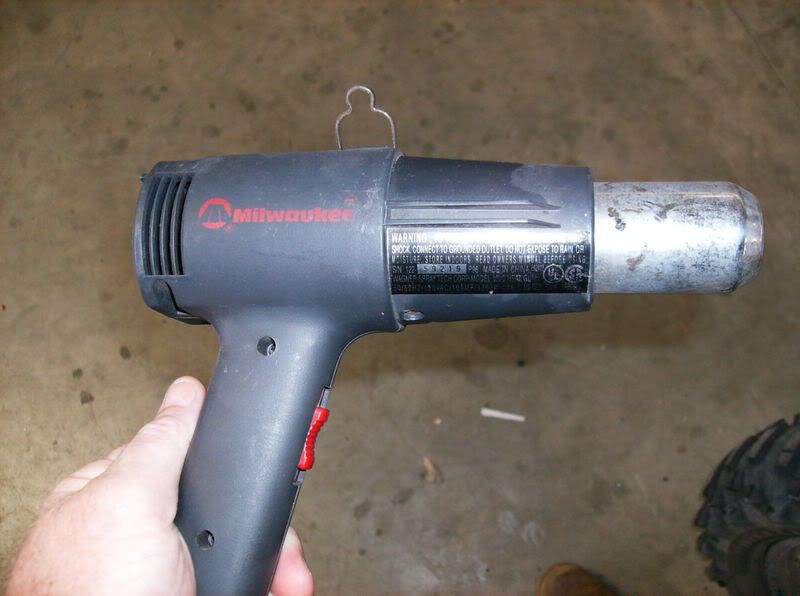
Put a clamp on the drill bits and put some pressure on it. Then I applied some heat with a heat gun to the drill bits and around the holes on the tank.
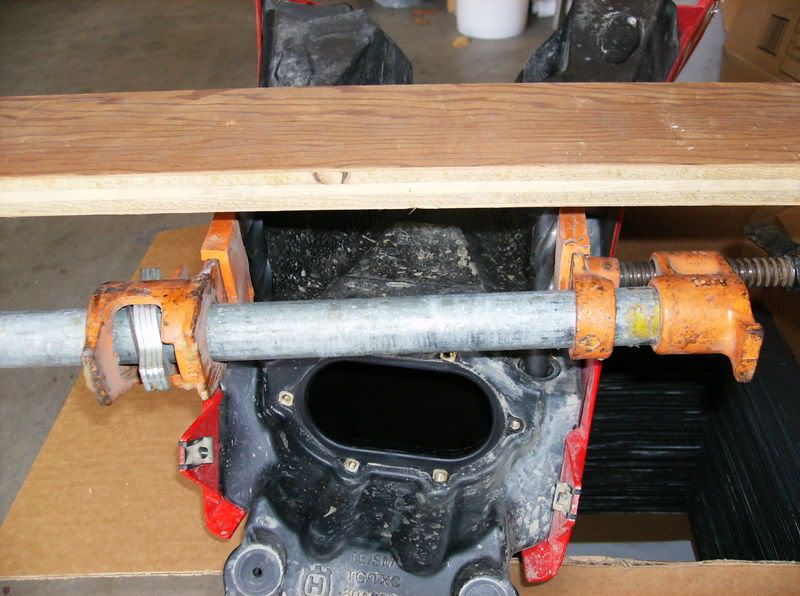
Be careful not to put too much heat on the tank, it is quite close to the fuel pump area. You don't want to distort the seal around the fuel pump. I would just apply some heat and keep tightening the clamp slowly as it moved.
Once I got the jig to the same measurement as the posts on the bike, I let it cool for an hour before removing the clamp and jig.
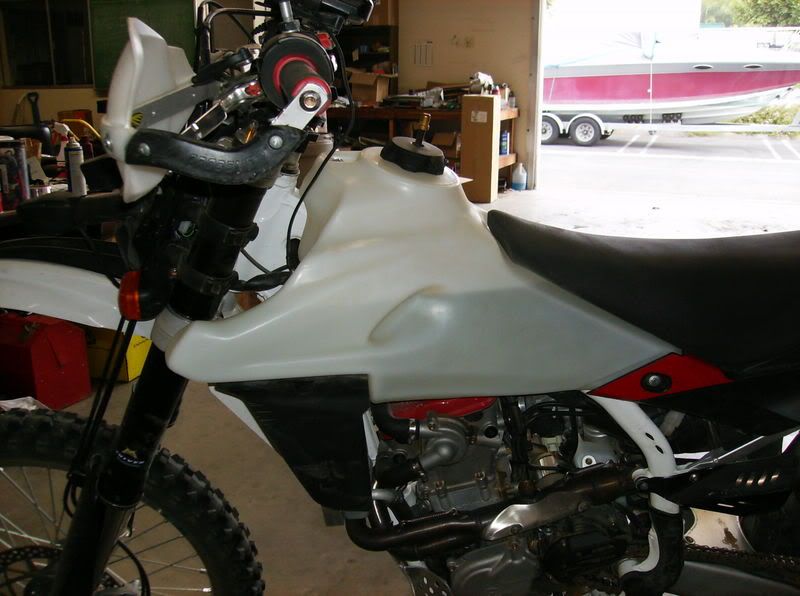
When finished the tank fits very snug with no movement even before the front bolt and seat were installed. So far I really like the tank, I don't notice it being any wider than the old one and the cap area does not stick way up in the air like the older Clark tanks.

Later,") Ken
Ken
When I went to set the tank on initially, it would not fit down on the locator pins in the back. I did some measuring and found the molded holes in the tank were almost 1/4" too far apart.
So I made a simple jig with some 1/2" drill bits and a scrap of wood. Drilled most of the way through the wood and left the drill bits in. I drilled the holes the same distance apart as the locator pins on the bike. In my case 5.78" apart.
I then put the jig in the holes in the new tank (I am showing pics of the stock tank because I didn't take pics as I was doing the IMS tank)
Put a clamp on the drill bits and put some pressure on it. Then I applied some heat with a heat gun to the drill bits and around the holes on the tank.
Be careful not to put too much heat on the tank, it is quite close to the fuel pump area. You don't want to distort the seal around the fuel pump. I would just apply some heat and keep tightening the clamp slowly as it moved.
Once I got the jig to the same measurement as the posts on the bike, I let it cool for an hour before removing the clamp and jig.
When finished the tank fits very snug with no movement even before the front bolt and seat were installed. So far I really like the tank, I don't notice it being any wider than the old one and the cap area does not stick way up in the air like the older Clark tanks.
Later,
Ken