• Husqvarna Motorcycles Made In Sweden - About 1988 and older

  • Hi everyone,

    As you all know, Coffee (Dean) passed away a couple of years ago. I am Dean's ex-wife's husband and happen to have spent my career in tech. Over the years, I occasionally helped Dean with various tech issues.

    When he passed, I worked with his kids to gather the necessary credentials to keep this site running. Since then (and for however long they worked with Coffee), Woodschick and Dirtdame have been maintaining the site and covering the costs. Without their hard work and financial support, CafeHusky would have been lost.

    Over the past couple of weeks, I’ve been working to migrate the site to a free cloud compute instance so that Woodschick and Dirtdame no longer have to fund it. At the same time, I’ve updated the site to a current version of XenForo (the discussion software it runs on). The previous version was outdated and no longer supported.

    Unfortunately, the new software version doesn’t support importing the old site’s styles, so for now, you’ll see the XenForo default style. This may change over time.

    Coffee didn’t document the work he did on the site, so I’ve been digging through the old setup to understand how everything was running. There may still be things I’ve missed. One known issue is that email functionality is not yet working on the new site, but I hope to resolve this over time.

    Thanks for your patience and support!

'86 WR400 rebuild

Eurofreak

Husqvarna
AA Class
I've been working on my '86. It will be a rider not a restore. I want a functional period correct bike (at this point). My goal is function and some aesthetics. Hopefully I can run this at some of the vintage events.
100_5222_zpsbfovv65g.jpg


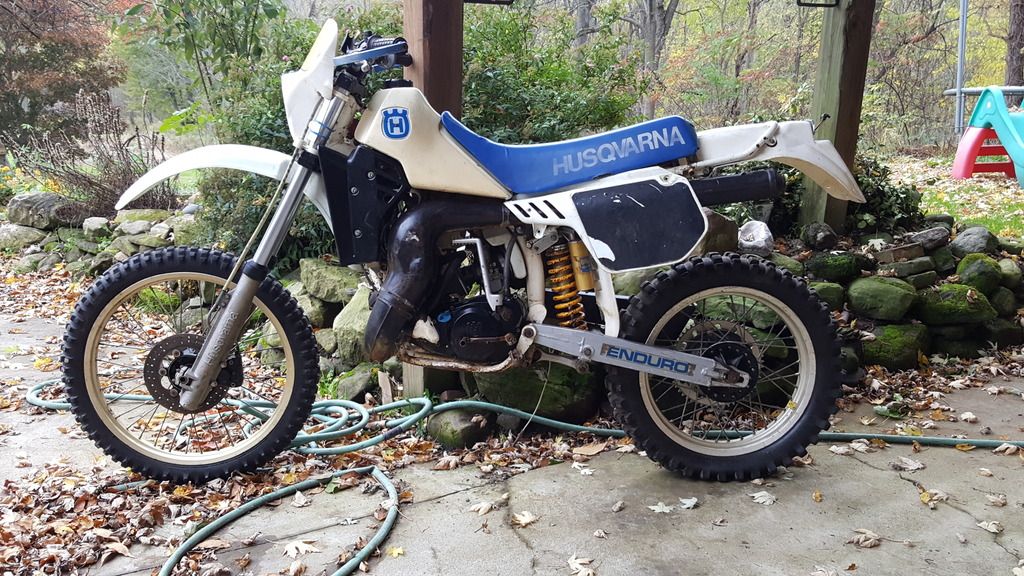
She started like this- a fairly complete low hour bike that had sat for I was told 8-10 years.
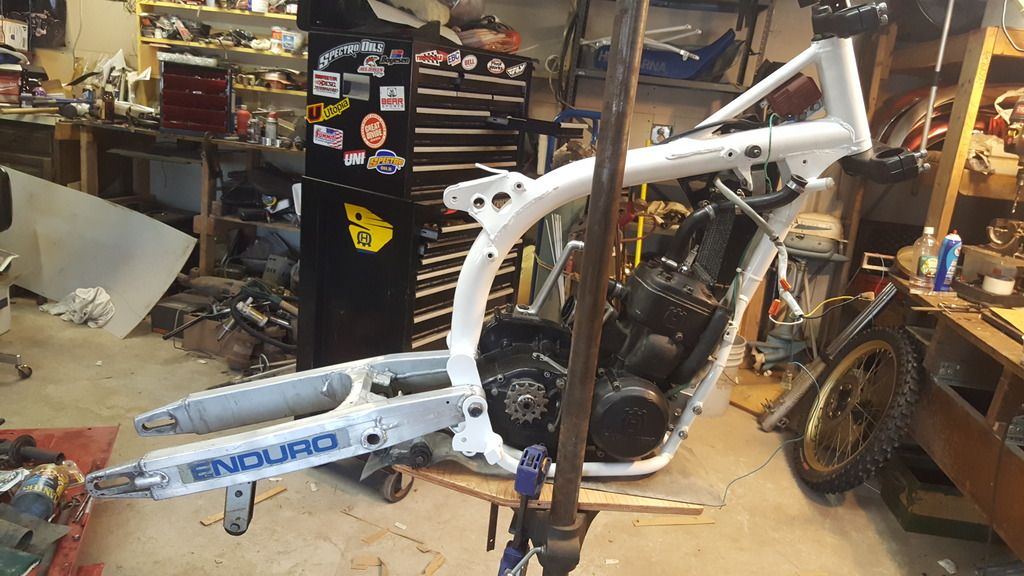
Good compression, no spark. Fixing the ground allowed it to be started and run to check the general workings. I replaced ignition crank seal and reeds at this time. Motor was fine, clutch and tranny fine too. The water pump had corrosion but had not eaten through. this was cleaned and epoxied.
sm%20reed%20valve%202_zps9dp1pzrh.jpg

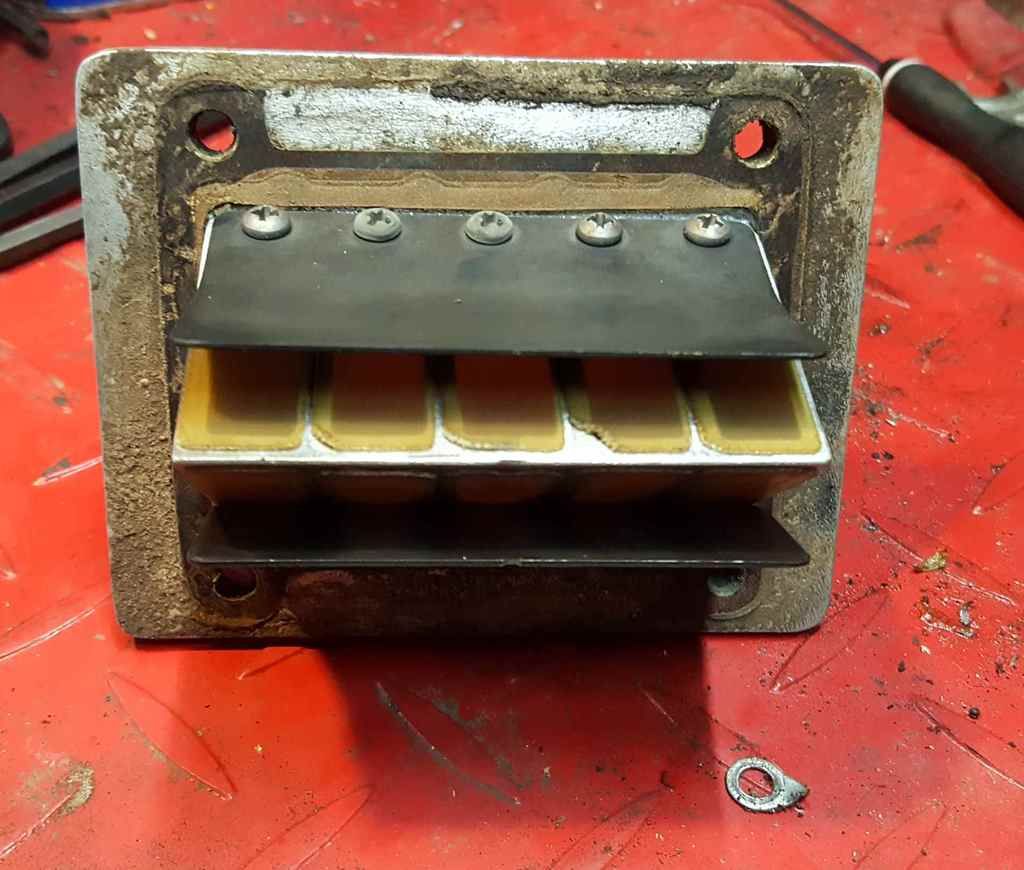
here's a picture of the reed cage and old reeds. It turned out to be a Mossbarger cage.
The info on this site allowed me to find reeds and solve the ignition problem.
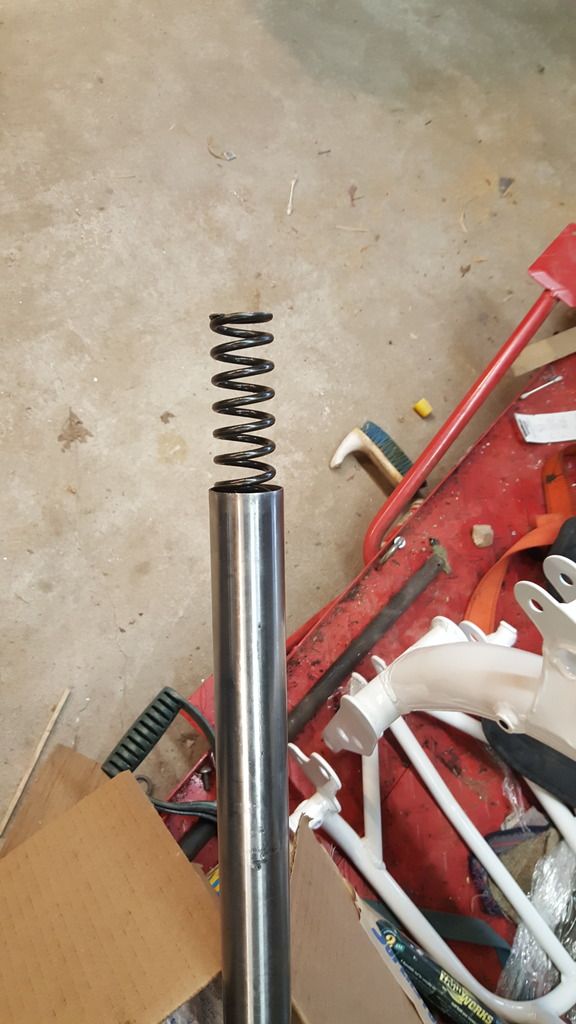
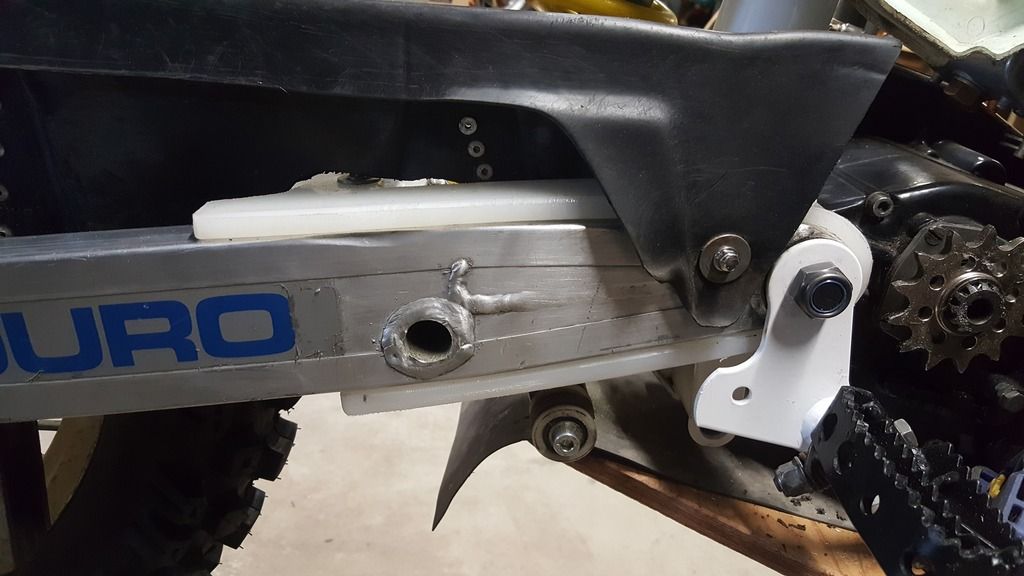
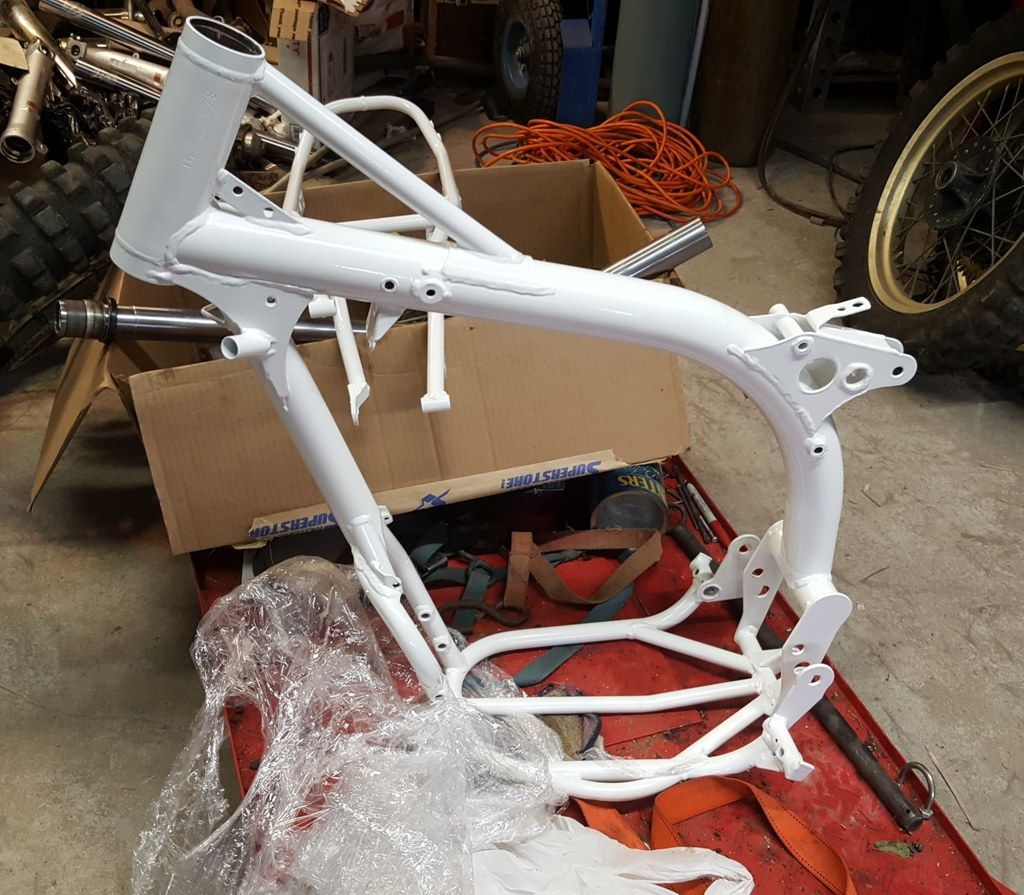
after confirming it would run, I started to order parts and strip the bike down. Powdercoating the frame seemed the best option as rusty as it was. I used a local guy who charged me $125 cash to strip and powdercoat including sealing thread openings and the steering stem.
powdercoated%20frame_zps3f52wmay.jpg

Just back from the shop. Piles of shit everywhere.
 
yeah, bike looked pretty decent to start with! a fresh job on the frame will look great. that white always pops
 
looking at the powder coat, looks good but offers grounding issues for the ignition
run a separate ground wire from the mag to the coil, 18ga. in the wire loom tube when you reassemble
 
Thanks guys-the frame was the most rusty so it needed a lot of attention. My only mistake with the powdercoat was not blocking powder on the engine mount points and coil bracket- a couple of minutes with the Dremel and it was set. I ran a second ground to the coil bracket from the ignition and a ground for the kill switch.

frame%20and%20motor_zpsqjdy6fjn.jpg

Forgive the mess-too many projects. Swingarm installed with new bearings and new linkage. I decided to make the swingarm bare aluminum instead of repainting. I saved the enduro stickers- patina! Repainted the triple clamps, greased the bearings, ready to assemble forks.
Installed the motor- No paint, just a new sprocket and spark plug.
Radiators were soaked with vinegar and rinsed.
Note the bike stand. I was given an old drill press stand with a large metal base. I thought it would make a great stand for rebuilding the Swede.
 
I have enough Harbor Freight bike stands (3) and also 2 motorcycle jacks so I do not have to treat my prize drill press like that. Not that I wouldn't do it if I did not have those stands. Just make sure you get it down onto a stand before it gets too heavy.
 
The nice bit with the drill press stand is it's adjustable and swivels around- very nice to work around.

Here's an odd one-I ordered new cables from Halls. The new Terrycable inner cable was an inch too long. When I called Halls we compared measurements and they were all the same. Raymond looked around and immediately shipped me one with the inner length I needed.
 
I got my father's Craftman drill press that he bought new in 1964 when drill presses and radial arm saws were all cast iron based for rigidity. I inherited all his tools and equipment when he passed away in 1996.

The other nice thing about using the drill press like you did it that the binder on the table allow you to control on lowering if you happen to assemble somewhat heavy/

When I was working on the Cota in my basement, I assembled into a rolling bare chassis but still needed some help getting it out of the basement. Not a walk in :)
 
fork%20spring_zpsni2ouqj4.jpg

Fork springs were a bit long when I disassembled them. I cut them down to recommended length.
chain%20slider_zpsaji5rjfc.jpg


New chain slider made from sheet nylon plastic. Made a cardboard template, used a heat gun and sander to form.
Not a great shot but footpegs were widened too.
 
Cooler than whale spit too
Thanks guys :cool:
When i bought my first KTM- a '93 300, I kept hearing this ratchet-y noise. I asked the old owner about it and repeated the noise for him. He couldn't hear anything wrong. We figured out it was chain slap.
 
The weather has not cooperated yet. Fitting the old plastic. It's decent with no cracks. Joe Chod explained his method of making a tank look new again. I'm worried it may be too pretty to thrash. I may have him make mine pretty but first it needs to roost!

A problem that has come up-the exhaust side panel doesn't fit well. Does anyone have a picture or link of how an 85 side panel is mounted? Specifically the rear upper mounting hole wants to be where the silencer mount is located. I either need a new way mount both items or move the side panel forward.
Sounds like you've got a CR side panel.
119 is WR
59 is CR
0629162046.jpg
 
Yup I do. I see the difference. In the meantime I fabbed some brackets to mount what I have.
I will have to heat gun the top lip to get the seat to fit correctly.
Bastards...
 
Back
Top