• Hi everyone,

    As you all know, Coffee (Dean) passed away a couple of years ago. I am Dean's ex-wife's husband and happen to have spent my career in tech. Over the years, I occasionally helped Dean with various tech issues.

    When he passed, I worked with his kids to gather the necessary credentials to keep this site running. Since then (and for however long they worked with Coffee), Woodschick and Dirtdame have been maintaining the site and covering the costs. Without their hard work and financial support, CafeHusky would have been lost.

    Over the past couple of weeks, I’ve been working to migrate the site to a free cloud compute instance so that Woodschick and Dirtdame no longer have to fund it. At the same time, I’ve updated the site to a current version of XenForo (the discussion software it runs on). The previous version was outdated and no longer supported.

    Unfortunately, the new software version doesn’t support importing the old site’s styles, so for now, you’ll see the XenForo default style. This may change over time.

    Coffee didn’t document the work he did on the site, so I’ve been digging through the old setup to understand how everything was running. There may still be things I’ve missed. One known issue is that email functionality is not yet working on the new site, but I hope to resolve this over time.

    Thanks for your patience and support!

RE's top rack thread

RuggedExposure

Now with more rugged!
I'm sure some of you are tired of seeing me derail threads with updates on my rear rack fabrication process. So I made a thread for those interested, and for the sanity of those who couldn't give a rat's ass.

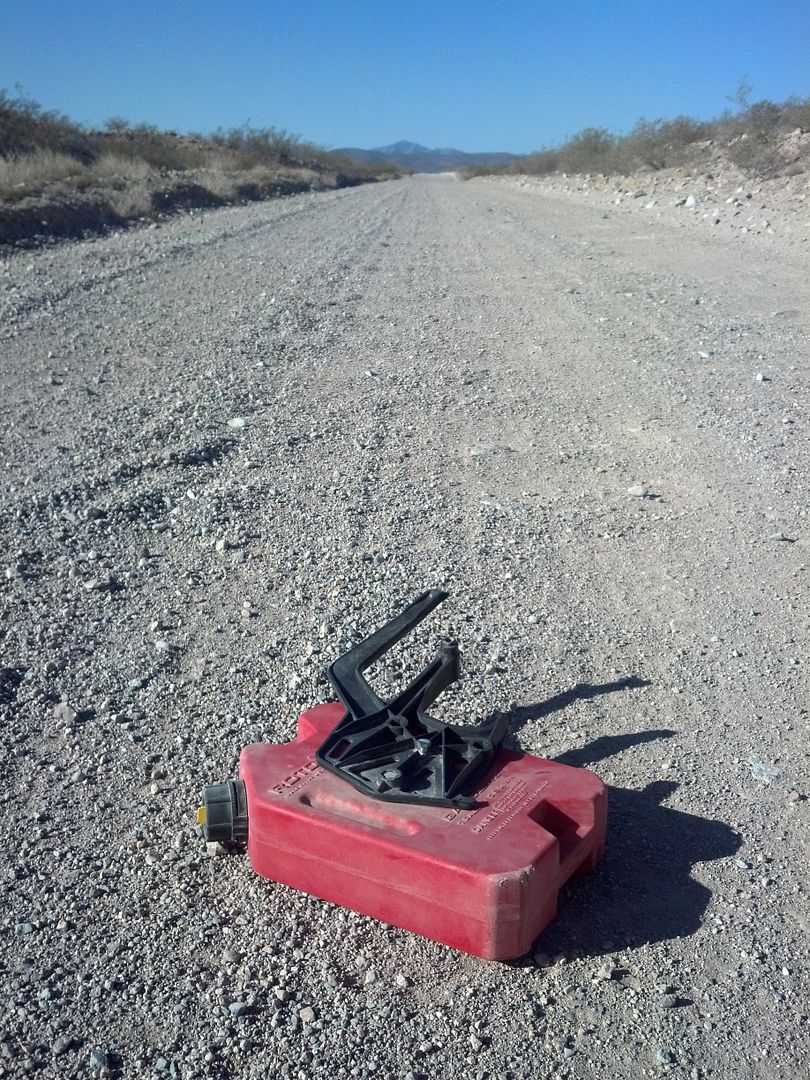
It all started with the craptastic factory rack snapping in half like it was from Kmart:
IMG_20130509_083411_310_zpsf9945143.jpg


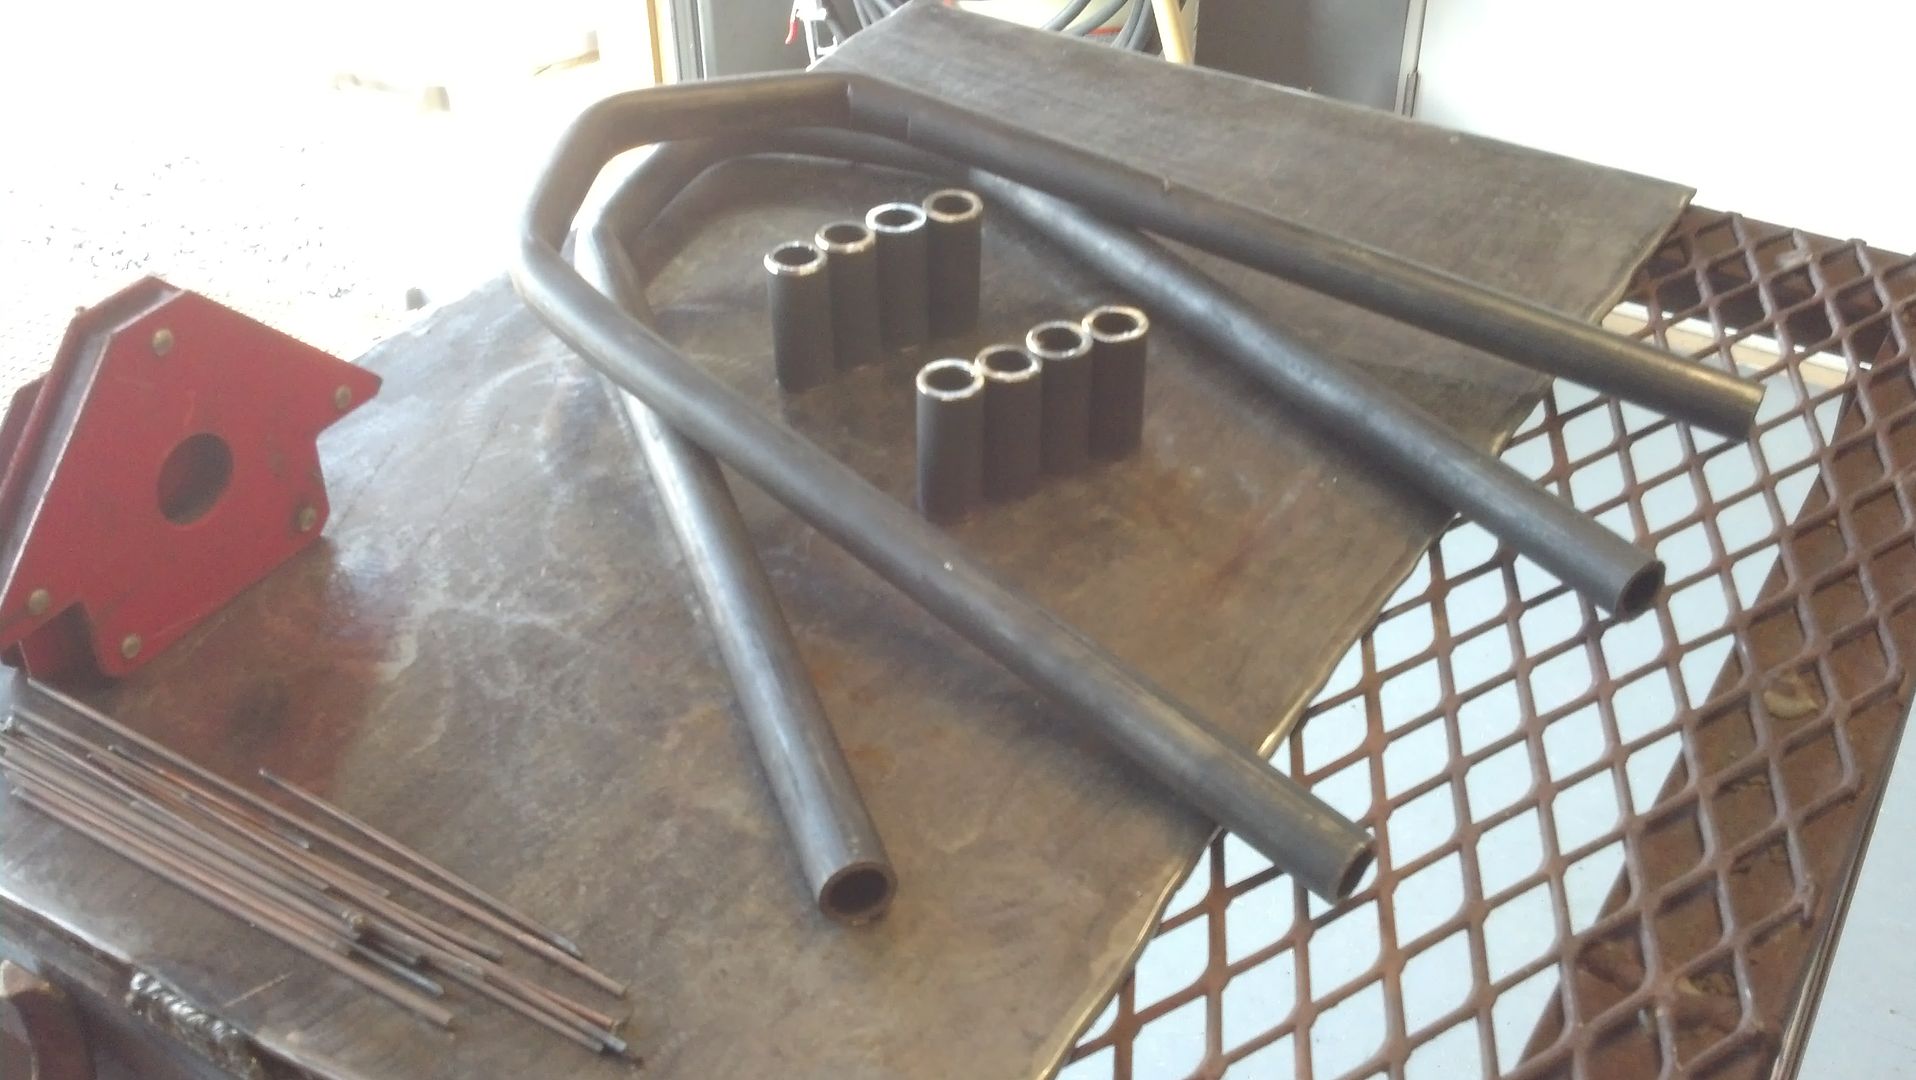
So I got down to working on a design for a heavy duty one in my free time:
rack1_zps9758fc13.jpg


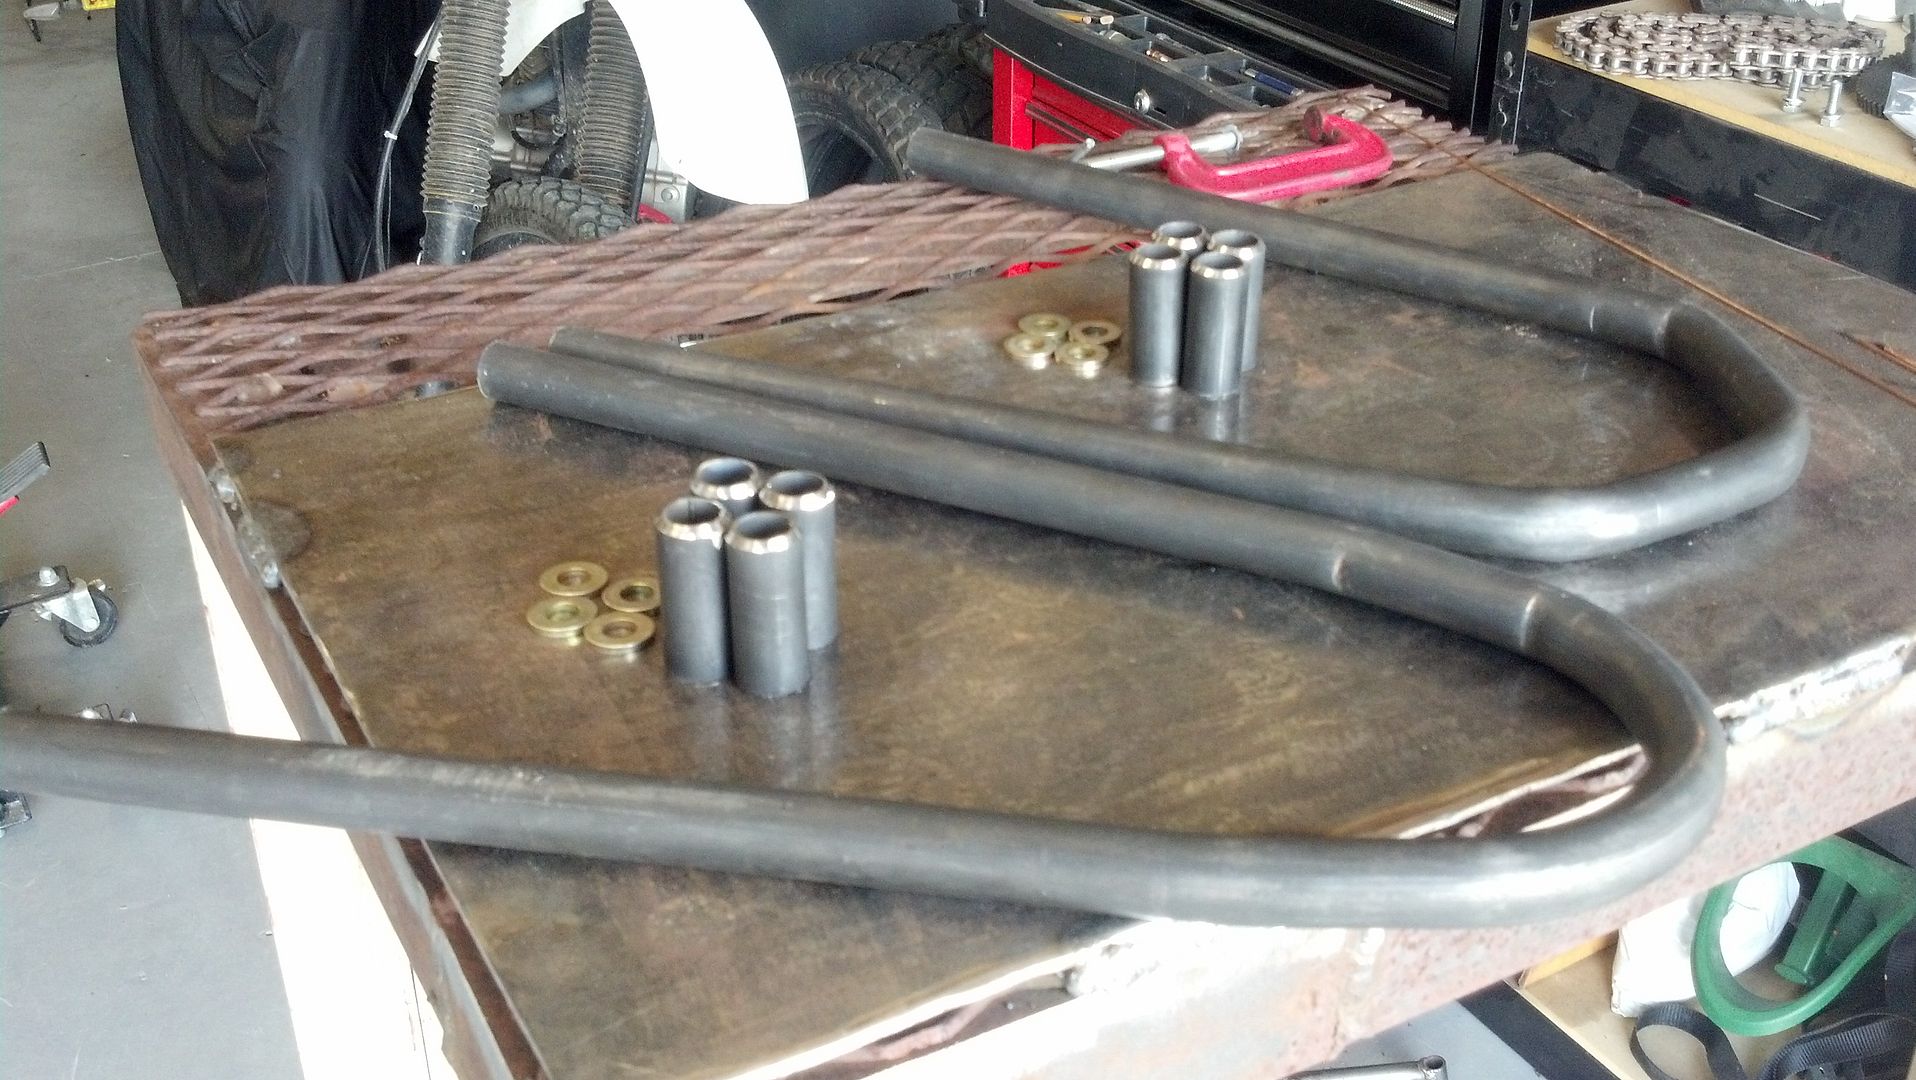
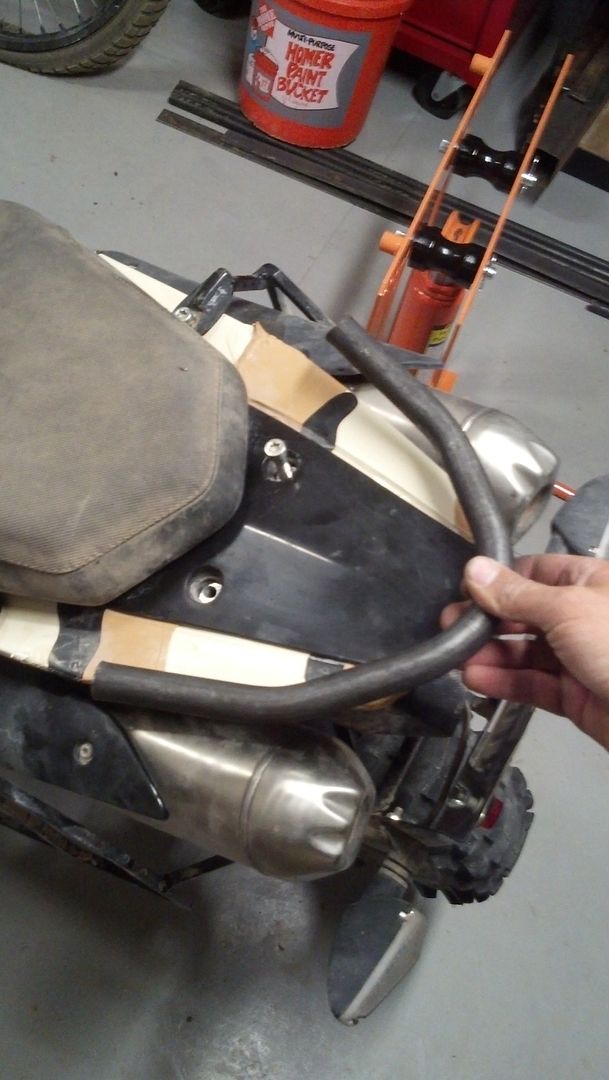
I started with making the bend of the main hoop:
IMG_20130711_203917_801_zps4b730d93.jpg


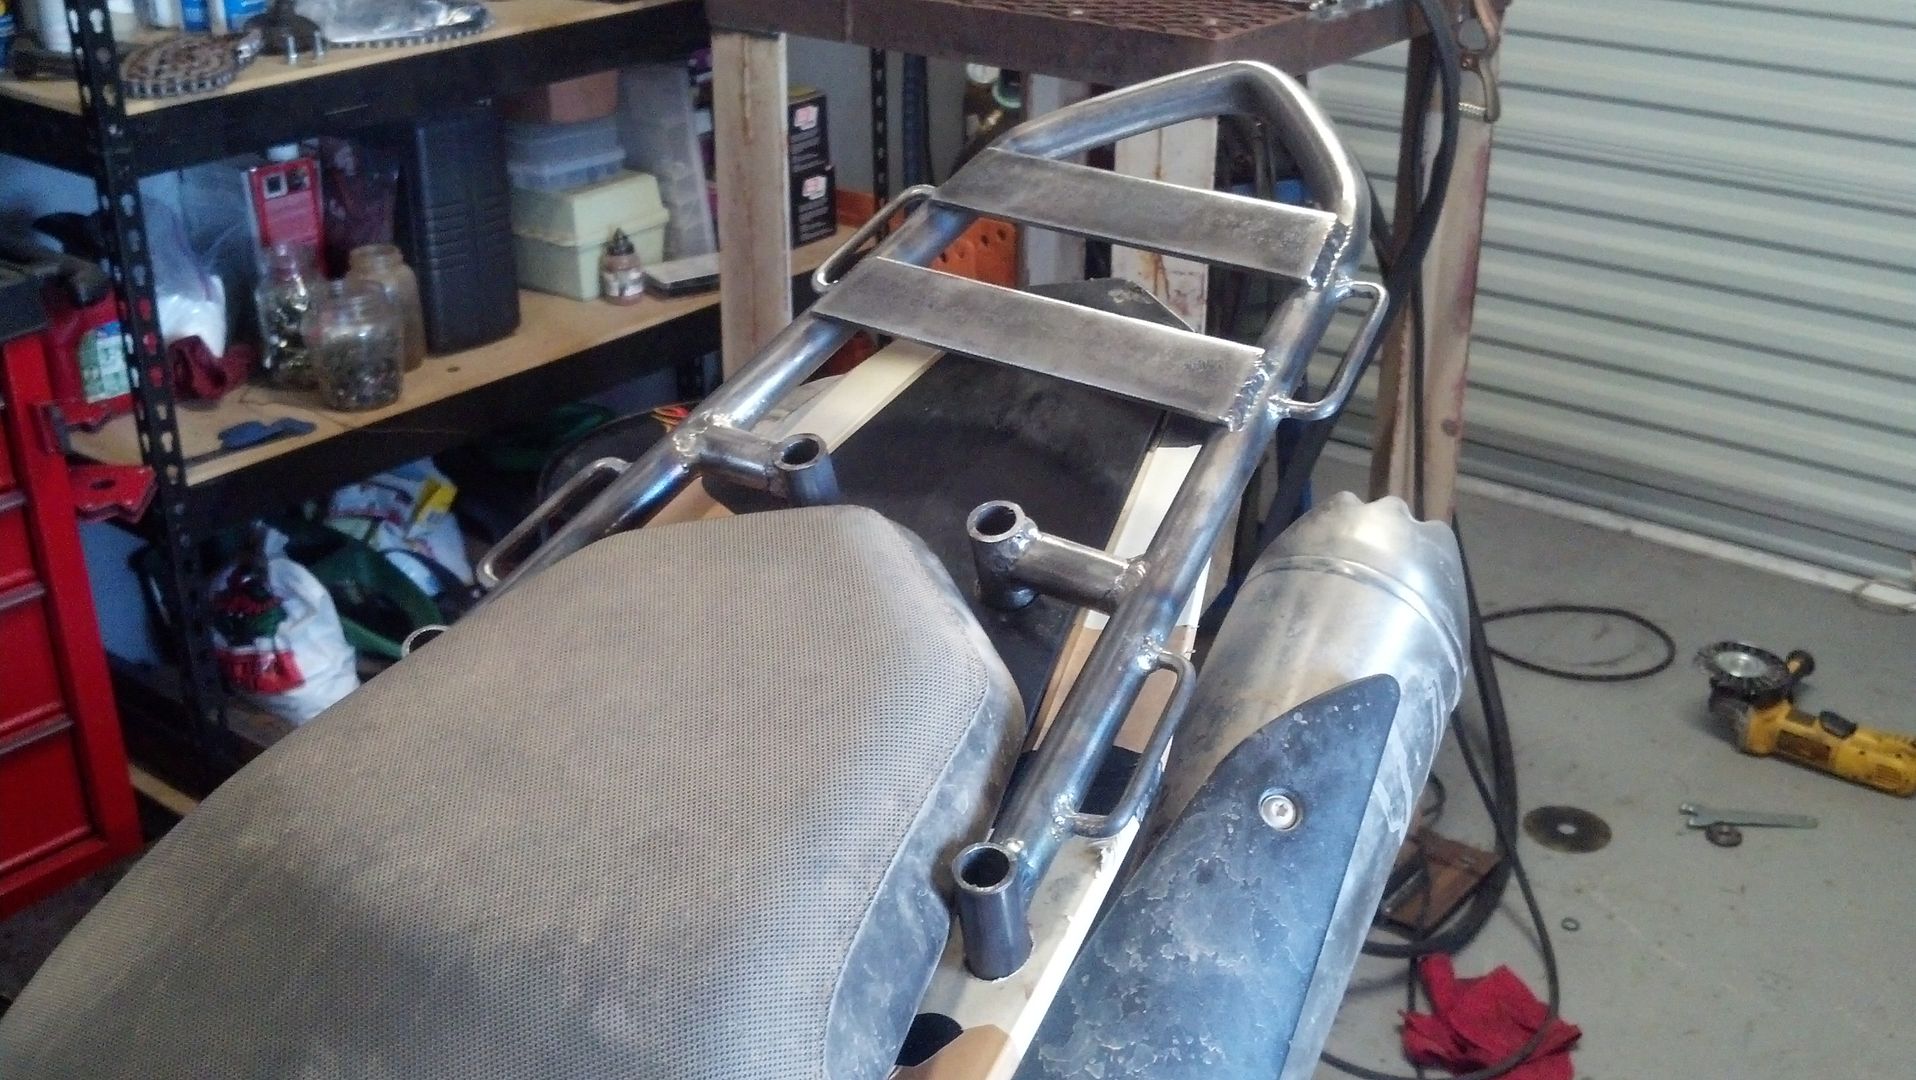
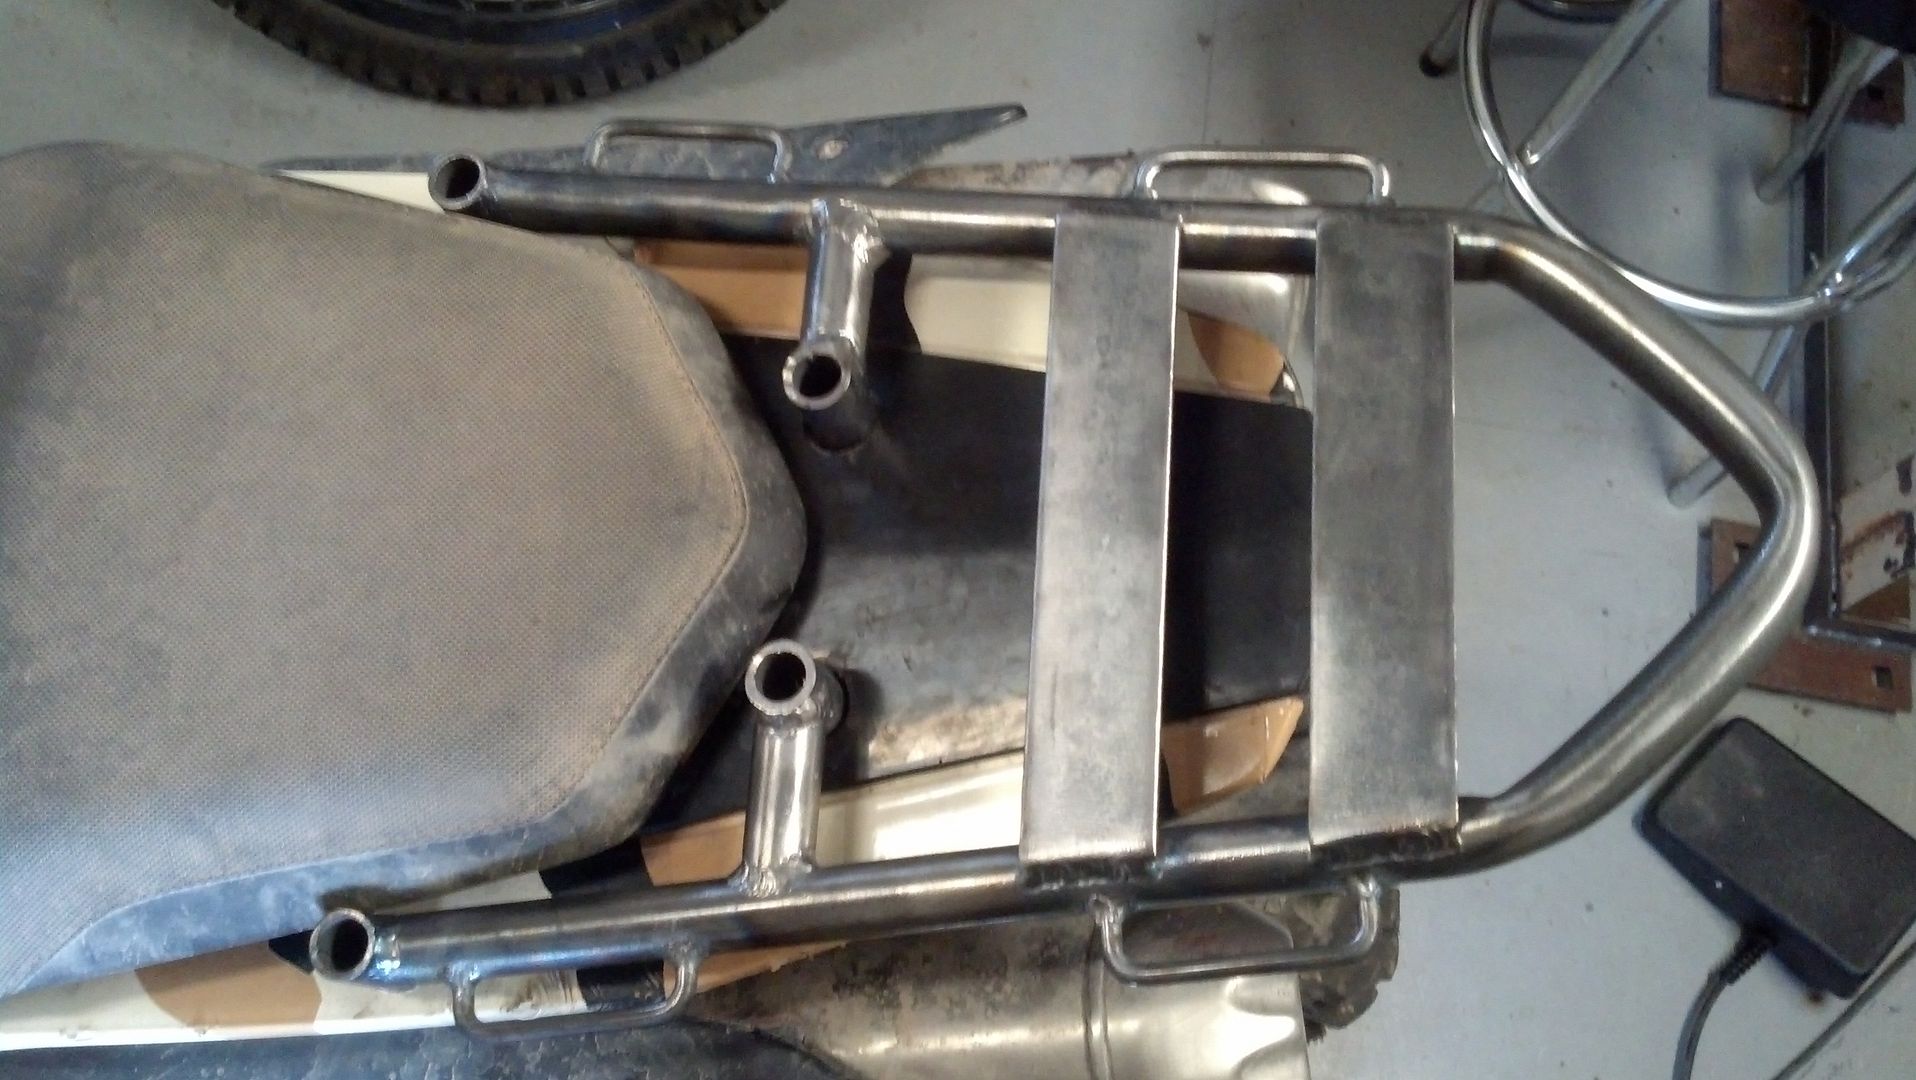
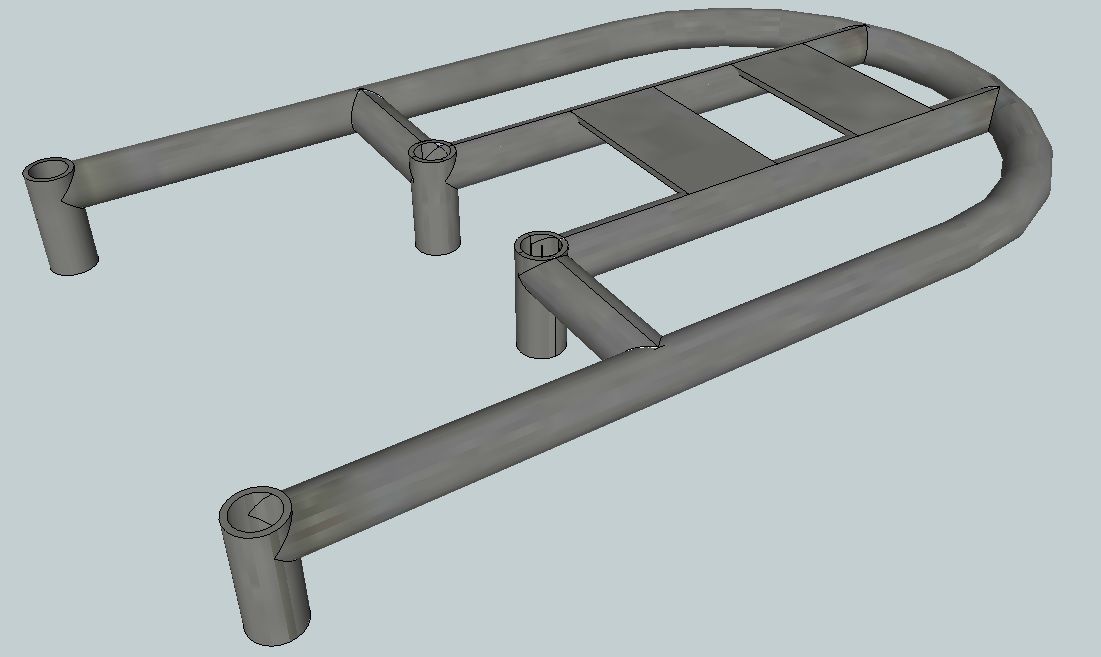
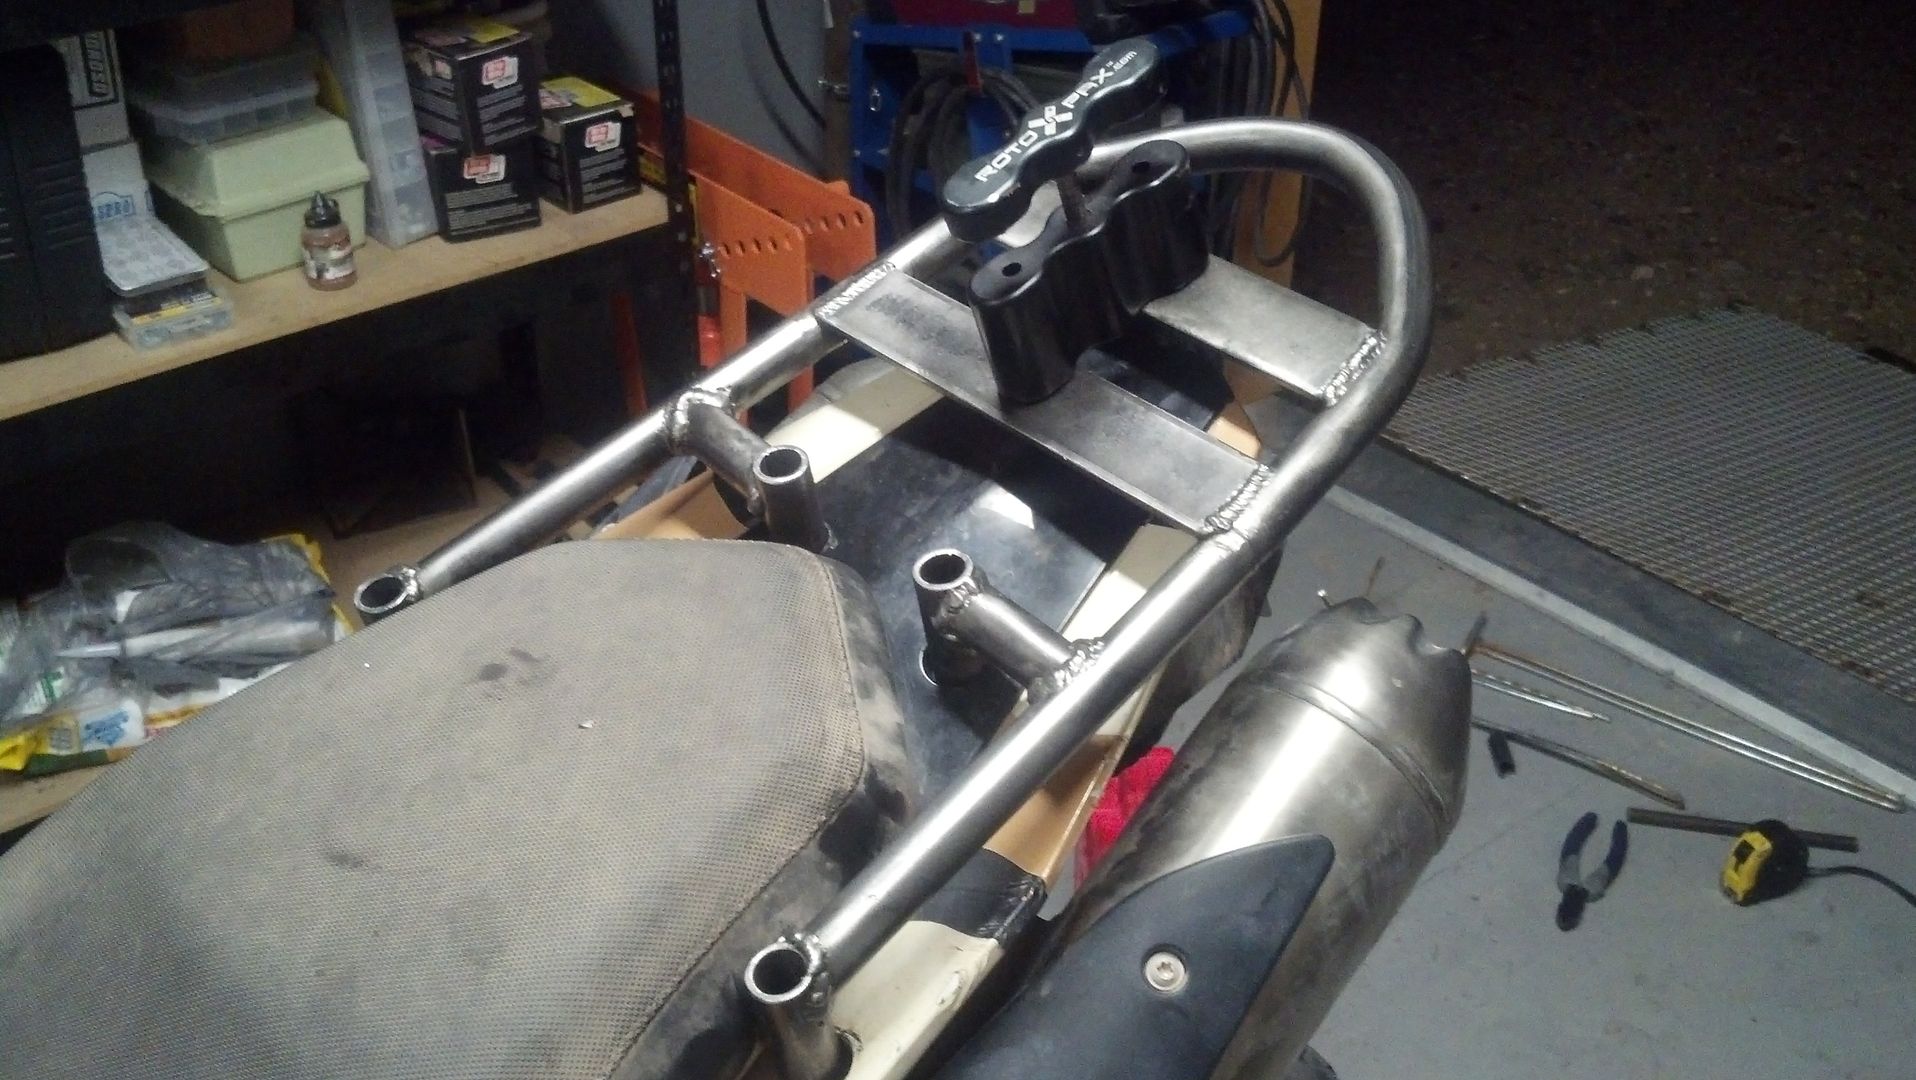
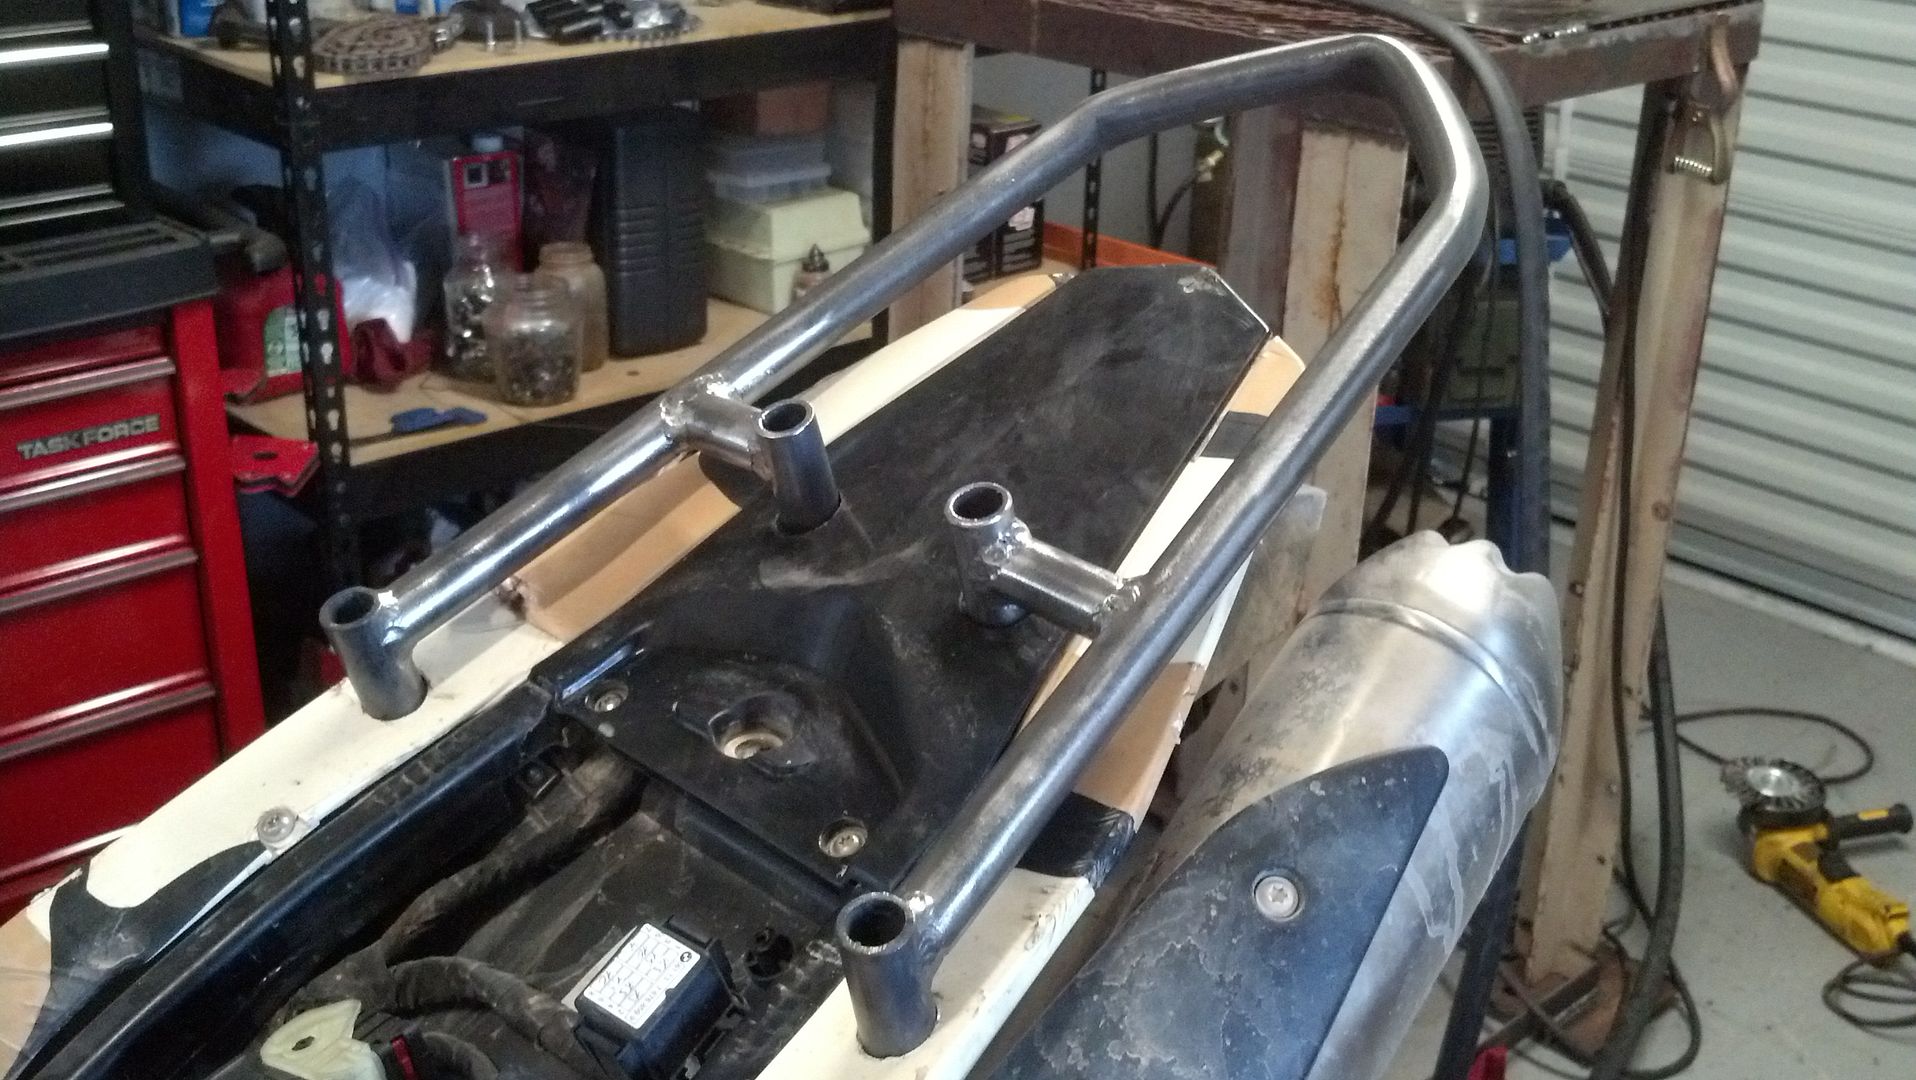
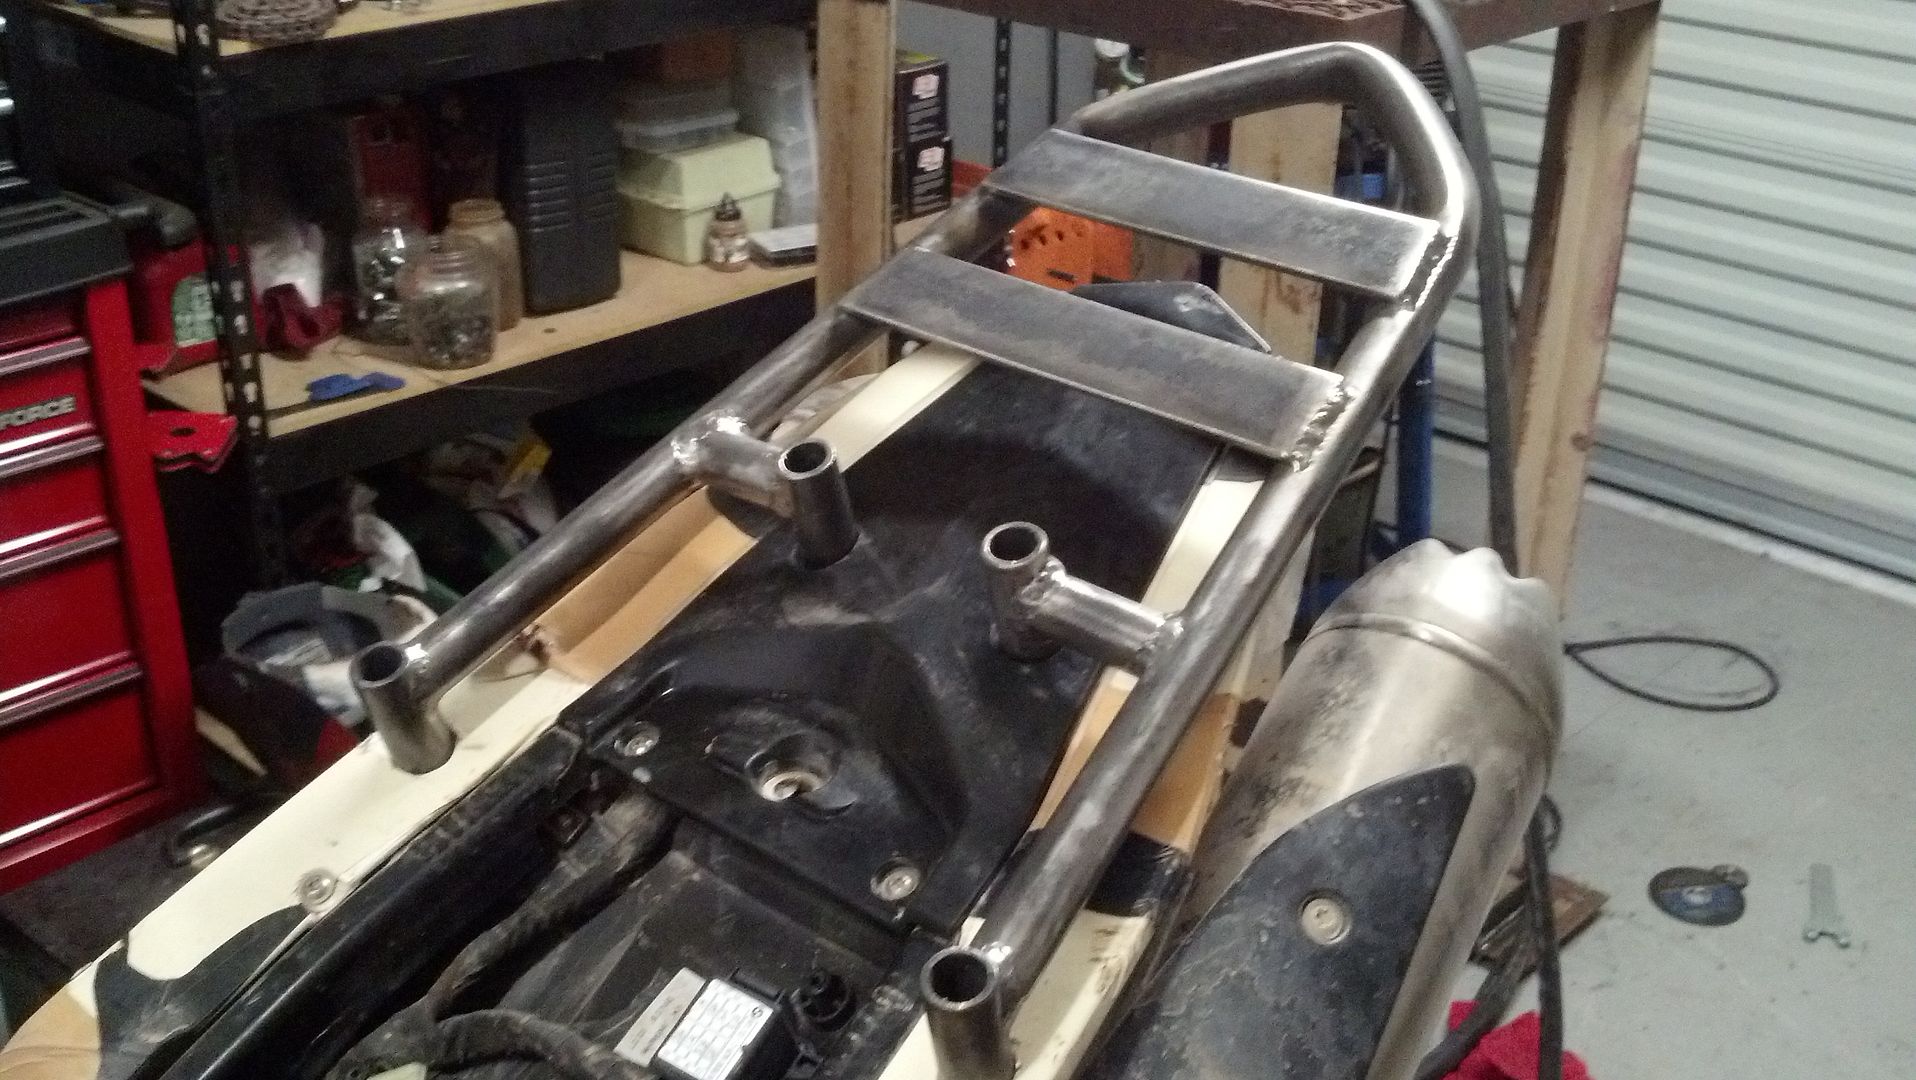
I fiddled around with the design and angles and ended up with this:
IMG_20130711_223424_008_zps4420a55b.jpg


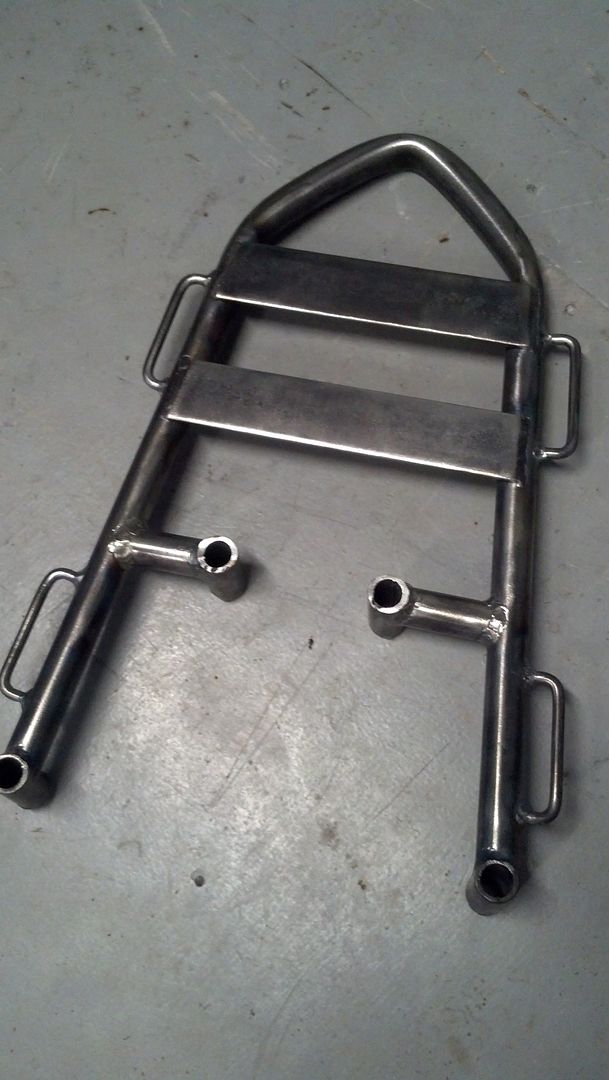
Turns out it was a bad idea having a stressed member be composed of 3 pieces when all I had to do was play around with the tubing bender and come up with something better. But I continued with this and made a template:
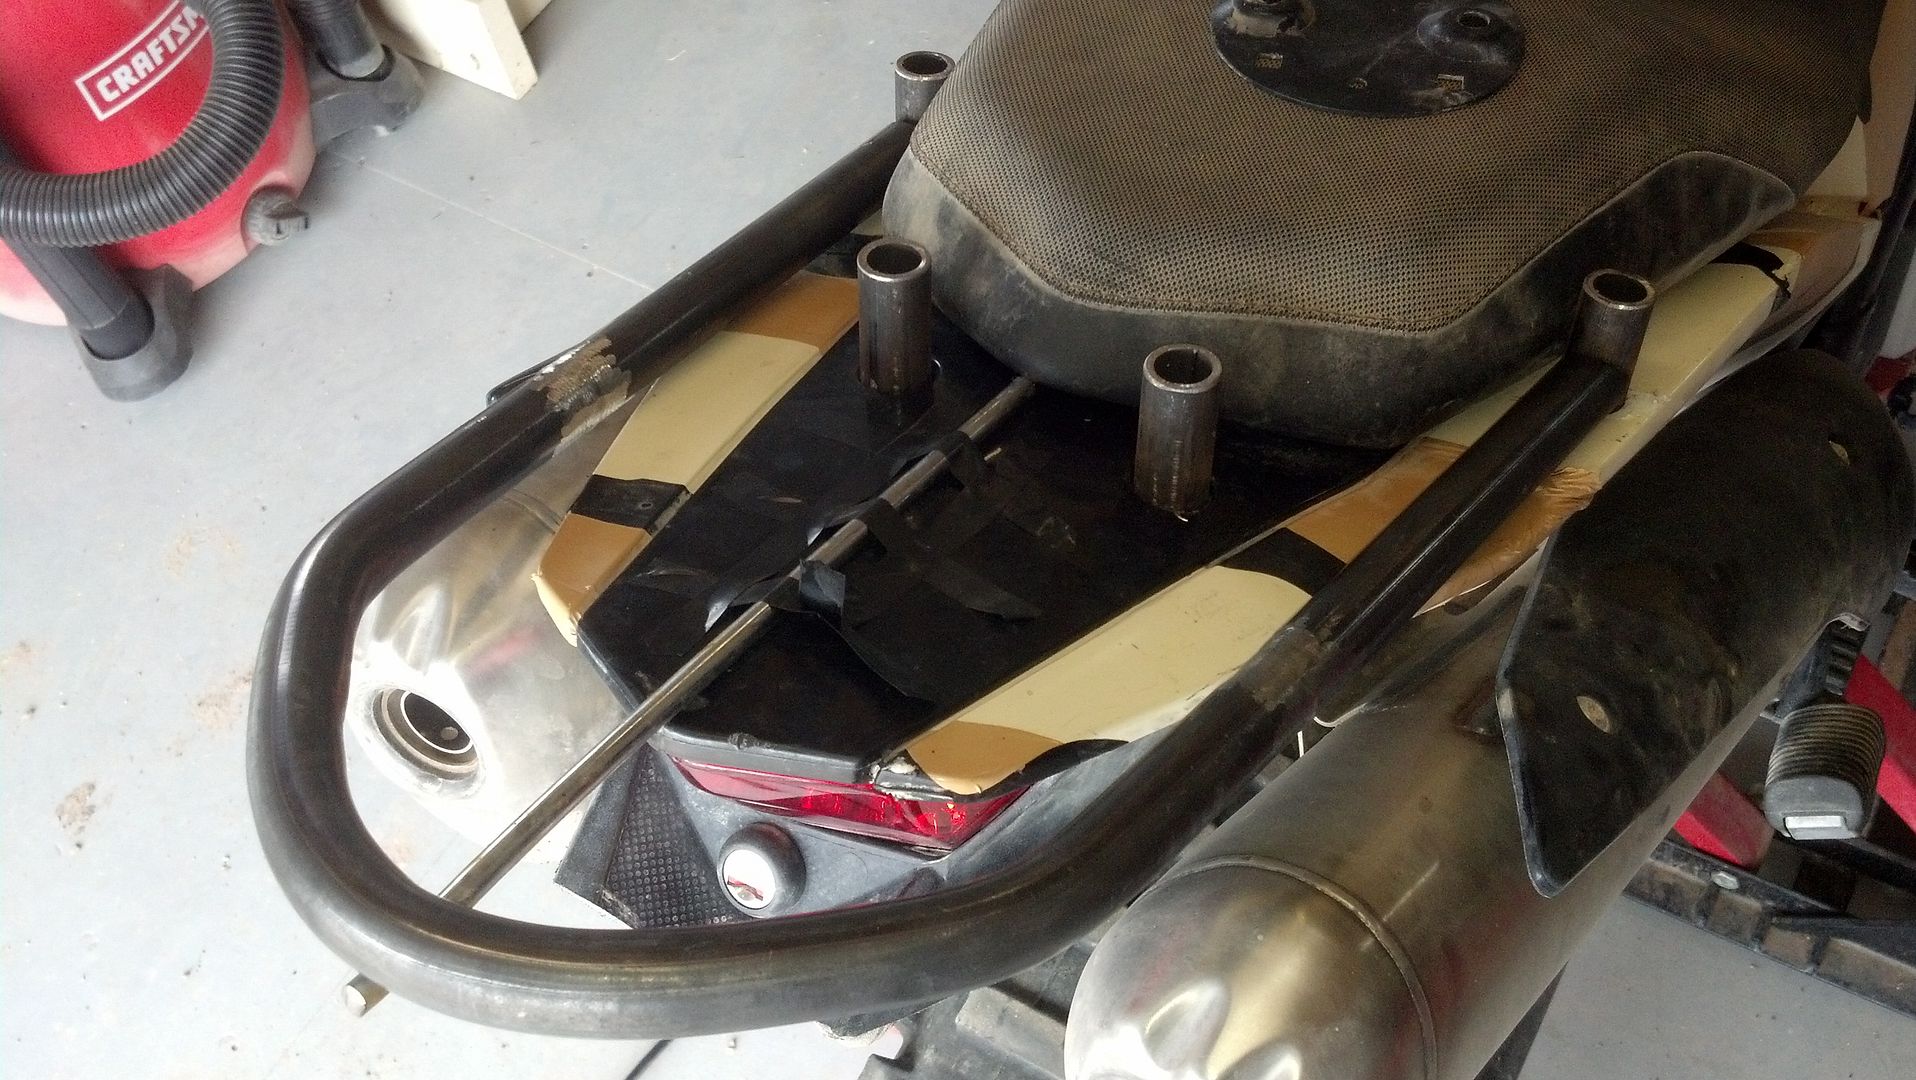
IMG_20130716_145304_541_zpsb760f7bd.jpg
 
Once I started getting all of the mounts tied in to the hoop I decided my CAD design was too bulky and ended up with this:
IMG_20130716_215102_176_zps4db172df.jpg


I then decided MIG was not precise enough to be welding something this size that has to be going through a lot of vibrations and all around hell. So I purchased the TIG setup for my welder. Which meant I had to get an Argon tank. And regulator. And amperage pedal. $$$

I started bending some more hoops:
IMG_20130812_191015_969_zpsf872df49.jpg


and working on perfecting the mount design:
IMG_20130813_171726_159_zps71abd3dc.jpg
IMG_20130813_200042_649_zps03dfd312.jpg
 
Notching the main hoop (that's a level laying across to make sure my notch is at 90*):
IMG_20130818_115032_567_zpseb3ff621.jpg


Clamped to the front mounts for tacking:
IMG_20130818_124040_036_zps627f202f.jpg


This is the most time consuming part of the deal... These little guys have two notches taken at 90* to each other with an 8* offset:
IMG_20130818_174753_301_zps3cce464b.jpg


And welded:
IMG_20130818_182654_296_zpsbcb81283.jpg


Straps welded across the back for mounting a Rotopax or whatever you want:
IMG_20130818_205705_984_zpsc0124327.jpg
 
Looks great, RE. Have you thought about putting a 45* slash cut on the front mounts? Kind of like the ones where the upper engine mounts to the frame? It might carry the Oem look through.

--Chris
 
Looks great! I really need to clean my shop so I can work in there again. Yours looks nice and organized.
 
Looks great, RE. Have you thought about putting a 45* slash cut on the front mounts? Kind of like the ones where the upper engine mounts to the frame? It might carry the Oem look through.

--Chris

I was actually considering doing this to the inside of the rear mounts. But now you have me thinking... hmmm
 
Looks great! I really need to clean my shop so I can work in there again. Yours looks nice and organized.


It serves as motorcycle storage, welding shop, woodworking, reloading, craft room (for the wife), and as a storage unit. I have to try and keep it organized or it would consume everything.
 
Finally, provisions for hooks. Why do others makers overlook this necessity? Have you any plans for the bottom side hooks? I find when I have a larger solid type cargo, I cannot hook to anything, unless I search under the rack, and sometimes have to hook to other parts of the bike, because the rack does not have hooks. A real pita.
 
What do you mean by bottom side hooks? Can you post a pic of what you mean?

I think what he means is if you rotated those rings 90* straight down. That way if you have a larger load or a box on there (heck the rotopax might keep you from getting a good hook onto those) you can still get a bungee hooked easily.
 
Or just put a few vertical posts strategically around the bottom side......a place to hook a bungee when you need to stretch it a little more.

Looking really good there, RE!

HF
 
I think what he means is if you rotated those rings 90* straight down. That way if you have a larger load or a box on there (heck the rotopax might keep you from getting a good hook onto those) you can still get a bungee hooked easily.


Ah, I understand now. There is plenty of room to still hook a bungee to these with the Rotopax or a large box on the top. There should be about 3/8" clearance between the bottom of a box and the hoops. I guess I could also put a ring on the side of the front mount to fasten too as well.
 
Ah, I understand now. There is plenty of room to still hook a bungee to these with the Rotopax or a large box on the top. There should be about 3/8" clearance between the bottom of a box and the hoops. I guess I could also put a ring on the side of the front mount to fasten too as well.

Nice, I couldn't tell how close those were to flush with the top of the rack. One thing we can all bet on is that an RE approved rack is gonna be more rugged and more versatile than anything else. It's looking dang good.

Not sure if this was in one of the other threads, but are you planning on making new side racks to fit with this? I don't recall how you had yours fit before, but I thought you were using those bolts.
 
Even something like on this rack. Or Hooks. If you use like you have already, a nice strap would fish through and cinch well. These work well for the bungee hooks.

honda90rack.jpg


This photo is from a CL ad in Tucson. $375 for the honda 90.
 
Back
Top