• 2 Stroke Husqvarna Motorcycles Made In Italy - About 1989 to 2014
    WR = 2st Enduro & CR = 2st Cross

  • Hi everyone,

    As you all know, Coffee (Dean) passed away a couple of years ago. I am Dean's ex-wife's husband and happen to have spent my career in tech. Over the years, I occasionally helped Dean with various tech issues.

    When he passed, I worked with his kids to gather the necessary credentials to keep this site running. Since then (and for however long they worked with Coffee), Woodschick and Dirtdame have been maintaining the site and covering the costs. Without their hard work and financial support, CafeHusky would have been lost.

    Over the past couple of weeks, I’ve been working to migrate the site to a free cloud compute instance so that Woodschick and Dirtdame no longer have to fund it. At the same time, I’ve updated the site to a current version of XenForo (the discussion software it runs on). The previous version was outdated and no longer supported.

    Unfortunately, the new software version doesn’t support importing the old site’s styles, so for now, you’ll see the XenForo default style. This may change over time.

    Coffee didn’t document the work he did on the site, so I’ve been digging through the old setup to understand how everything was running. There may still be things I’ve missed. One known issue is that email functionality is not yet working on the new site, but I hope to resolve this over time.

    Thanks for your patience and support!

125-200cc "NEW" 2010 WR144

huskybear

Husqvarna
Pro Class
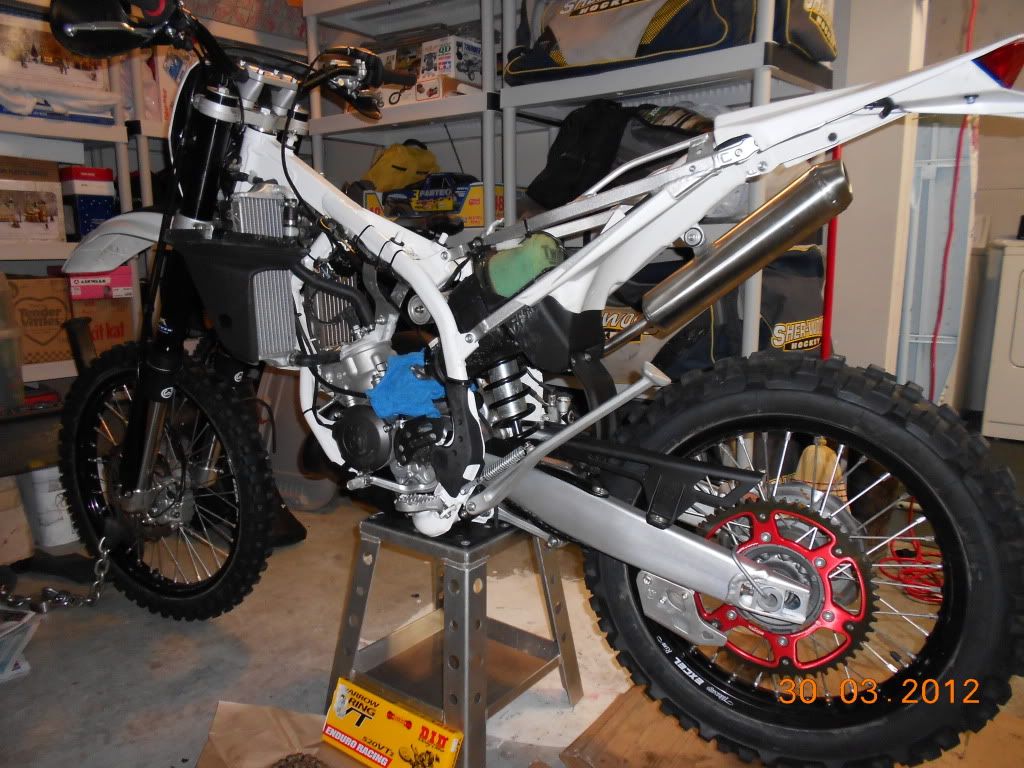
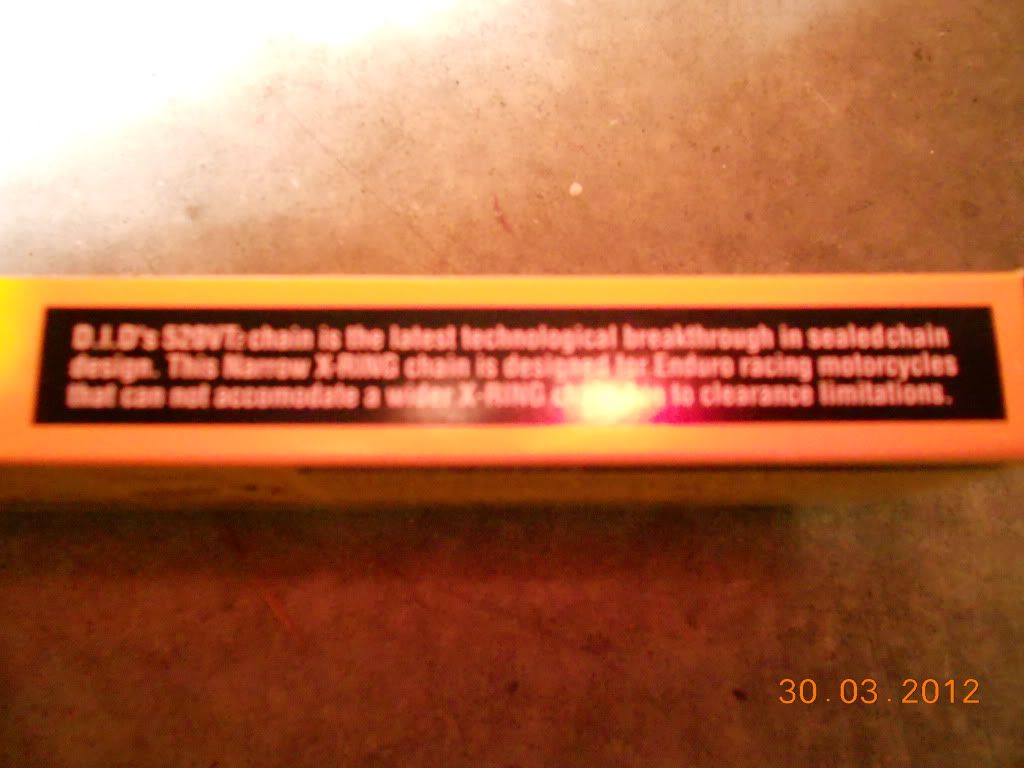
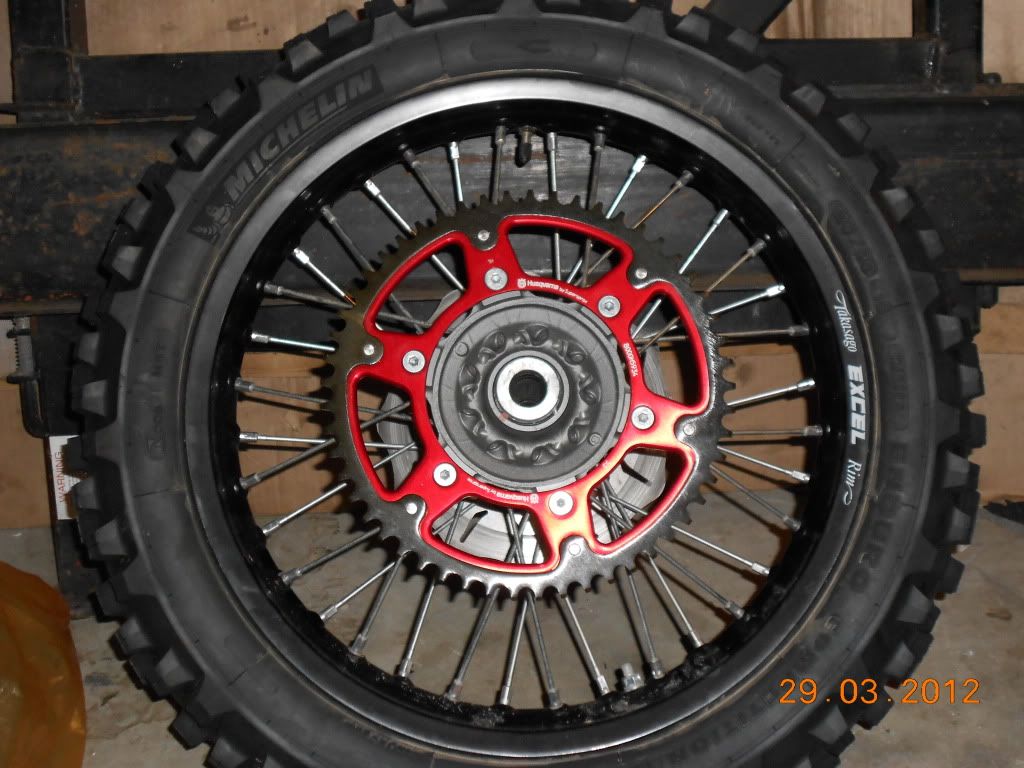
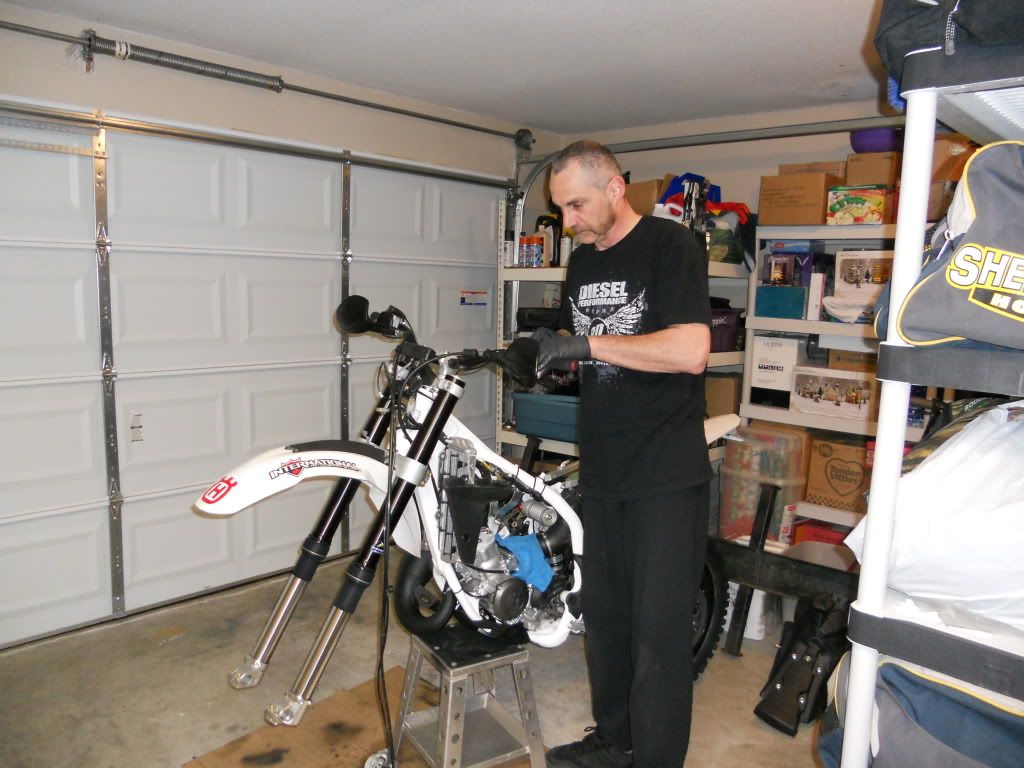
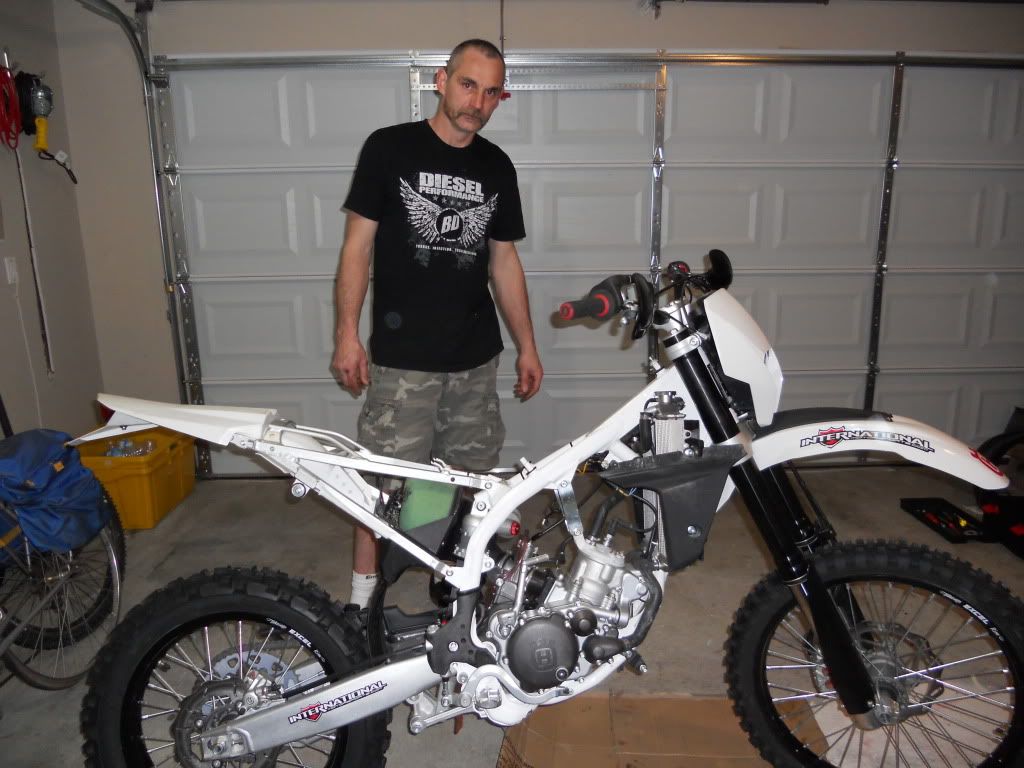
Hello everyone, after waiting several weeks for my 2012 cr 125 to show up and it still being delayed,I pulled the trigger on a very low hour wr144! It had a little bog in the mid-range and lots of spooge from the exhaust but I am confident I can remedy these problems based on all the good info in this forum. I am in the process of dis-assembling the bike and going over every-thing.I found the o-ring on the exhaust pipe at the cylinder was missing and causing spooge to leak all over the front of the cylinder, the power-valve linkage was not adjusted properly(big surprise) and the jetting is 45 pilot, 6dey15-74 needle 2nd clip from top,4.0 slide and 470 main jet. I am going to try a 30 pilot and see how it goes from there.Any thoughts on a smaller main jet? Temps 12-20 degrees celsius,elevation 1000-3500 feet.Mostly single-track riding.The float level is at 8mm,stock mikuni tmx.I am also going to install a 53 tooth rear sprocket.Thanks in advance for any and all opinions every-one and I will post more info as the project continues!:cheers:
 
Congrats on your WR. I can't help with the jetting I have the 08 CR WB165 but I know the guys will chime in with help.
 
2012 WR125 Mikuni TMXX - needle (6CHY16 - 62) in the middle position, a 5.0 slide, 460 mainjet and a 30 pilot. I also highly recommend sending your carb off to RB Designs and have him install a divider plate and the low speed jetting modification he does. It makes the bike pull much harder off the bottom.
 
Congrats on your bike!
Thanks! I have been working on it every night. I have completely dis-assembled everything and am in the process of putting it back together. So far I have greased the steering head bearings,repacked the front wheel bearings,installed front fork seal savers(they were fun to get on those 50mm forks!) lubed all the cables and lever pivots,foot-peg pins,kick-starter pivot and loc-tited and anti-seized things along the way. I also installed a super-sprox stealth 53 tooth rear sprocket and will be installing a d.i.d. vt2 gold narrow enduro o-ring chain when the back of the bike goes back together. I still have to service the swing-arm and suspension linkage.I will also be changing the jetting to a #5 slide,35 pilot,6chy16-62 needle and 460 main jet. Good thing I removed the rear chain adjusters as they were already almost seized! I use a mixture of water-proof grease and anti-seize on the chain adjusters to keep them from seizing. I will post more as it gets done and hopefully have some pictures when I figure out my camera!:thinking: Take care every-one!:cheers:
 
Ok, great, they are good bikes. Make sure you get Walts spring kit as well to slow the powervalve from dumping too fast. You should use your stock/silver spring out of his kit. Then adjust it about 3/4 way up. Some husky dealers have the 5 slide laying around for about 50 bux. Down the road, you might want RB to divide carb and low circuit mods. That particular TMXX carb that husky uses is set for more mid/upper and that is your fix.
 
Ok, great, they are good bikes. Make sure you get Walts spring kit as well to slow the powervalve from dumping too fast. You should use your stock/silver spring out of his kit. Then adjust it about 3/4 way up. Some husky dealers have the 5 slide laying around for about 50 bux. Down the road, you might want RB to divide carb and low circuit mods. That particular TMXX carb that husky uses is set for more mid/upper and that is your fix.
Thanks for the advice:thumbsup:!
 
Thanks for the advice:thumbsup:!

And great advice Darty has! I have the exact jetting you list in your response that you are going to. I do have the plate and low end mod on my tmxx and also bored to 39mm with #5 slide which RB did with the mods. I have wally's spring kit running stock and silver. Adjusted PV lever. Did my first enduro last weekend with the 144 and had a BLAST! This little buzzer will sh!t and git. I couldn't get the grin off my face. Trust me, until you jet to those( or anything close that works in your area) specs don't even try to evaluate if you like the 144 or not, it won't be fair to you. BTW, I went to a 52 rear also.
Wait till you see how it handles:thumbsup:
I only rode the bike once and I will not be riding it again until I get it jetted to the specs I mentioned.I also adjusted the power valve as well.can't wait to get out and ride!
 
Just finished another night in the garage. I used a hole saw and cut a 2" hole in the plastic skid plate just underneath the trans drain plug so I don't have to remove it to drain the trans oil. I am going to find a magnetic drain plug as well. I didn't care for the automatic kick-stand shin-cracker so I just cut off the end of the kick-stand pivot bolt that the kick-stand spring lever rests against when the kick-stand is down and now it functions as it should and stays down until you want it up. To-morrow night is rear linkage and swing-arm pivot servicing. It's starting to look like a bike again! Damn it's sexy!:thumbsup:
 
Just finished another night in the garage. I used a hole saw and cut a 2" hole in the plastic skid plate just underneath the trans drain plug so I don't have to remove it to drain the trans oil. I am going to find a magnetic drain plug as well. I didn't care for the automatic kick-stand shin-cracker so I just cut off the end of the kick-stand pivot bolt that the kick-stand spring lever rests against when the kick-stand is down and now it functions as it should and stays down until you want it up. To-morrow night is rear linkage and swing-arm pivot servicing. It's starting to look like a bike again! Damn it's sexy!:thumbsup:

So where are the pics?????:thumbsup:
 
DSCN0013.jpg
[/IMG]
Some pics of the new bike! I hope this works!
DSCN0013.jpg

seal savers installed
DSCN0015.jpg

provision for another petcock this would make it easier to use all the fuel
DSCN0014.jpg

disassembly in progress
DSCN0012.jpg

suspension linkage lubed and ready for install
DSCN0011.jpg

new sprocket installed
DSCN0352.jpg

work in progress
DSCN0351.jpg

halfway there
DSCN0350.jpg

during disassembly
 
I'm glad I was able to post the pictures for everybody, it took me and my two kids to figure it out!:lol: 
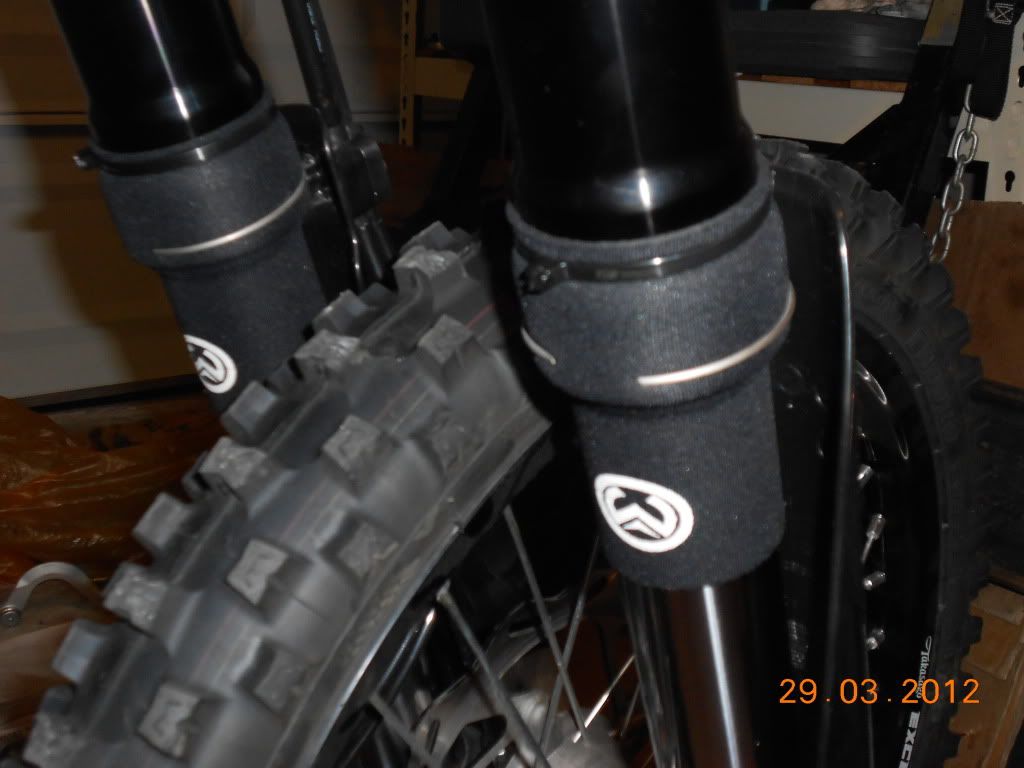
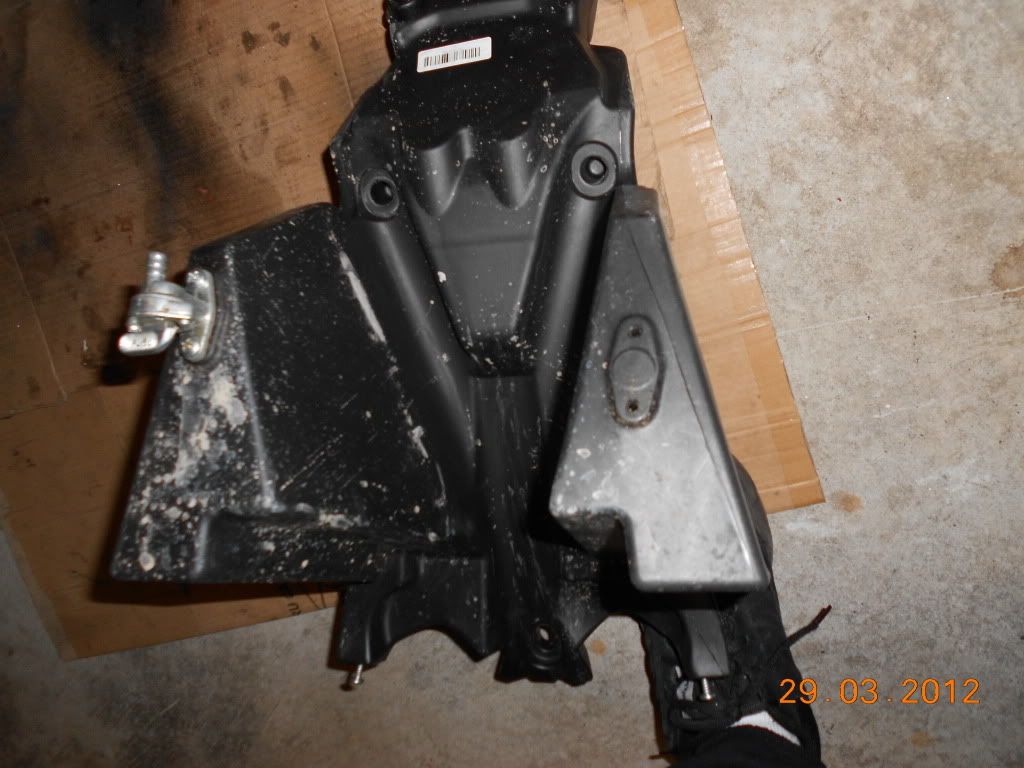
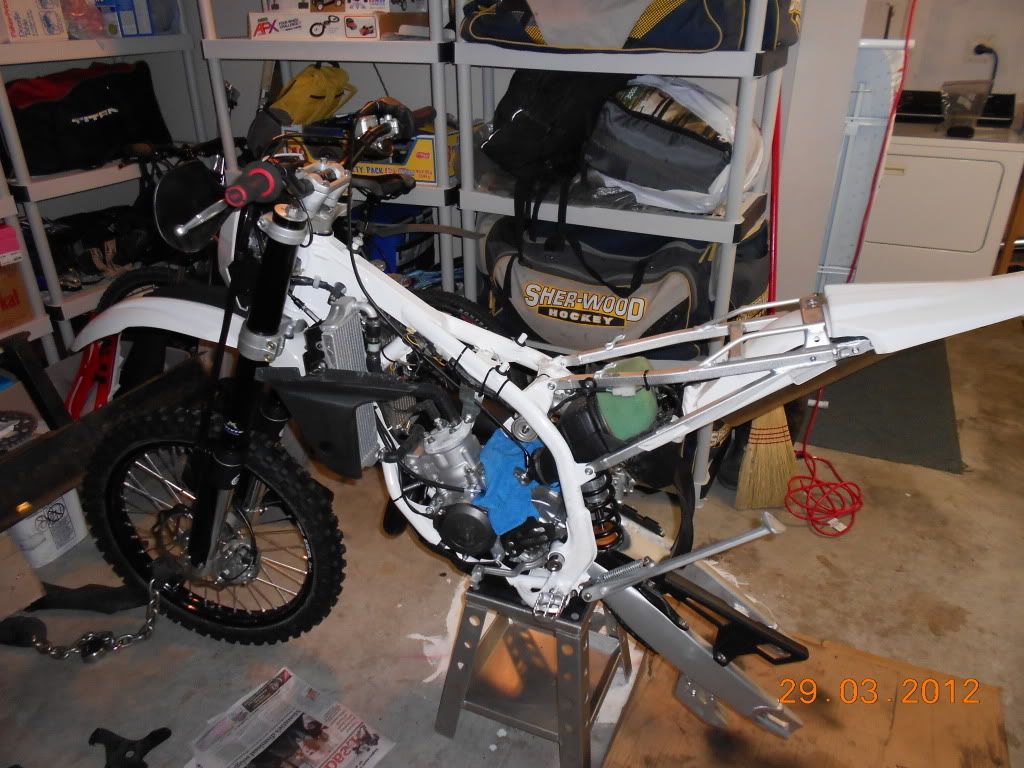
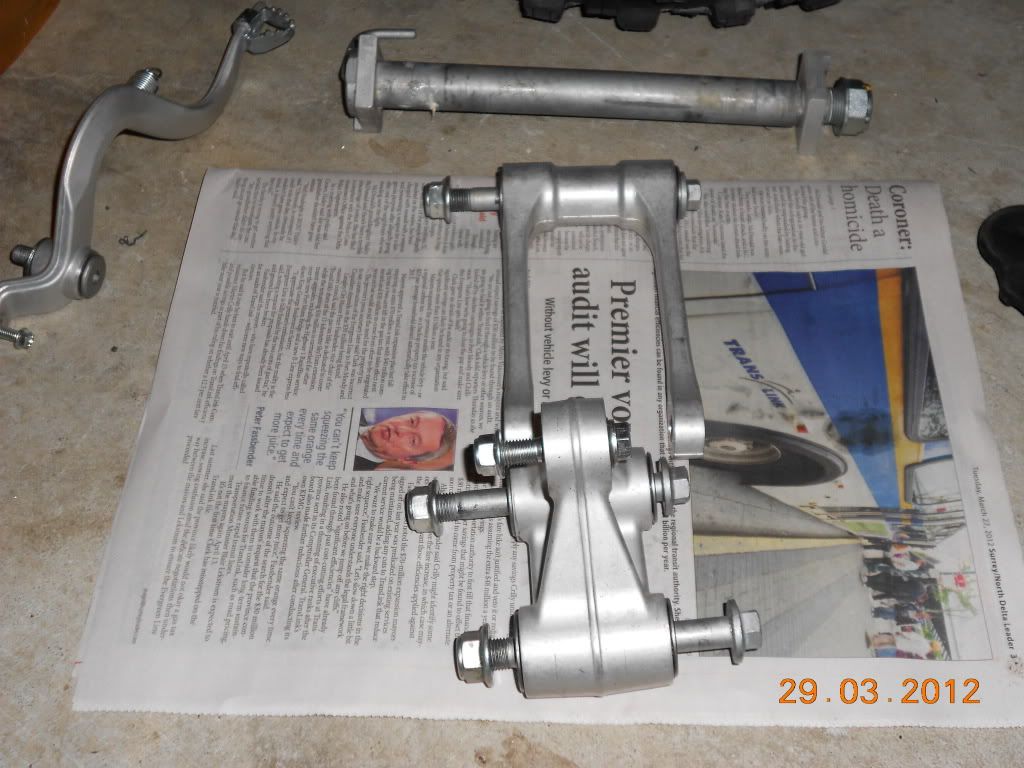
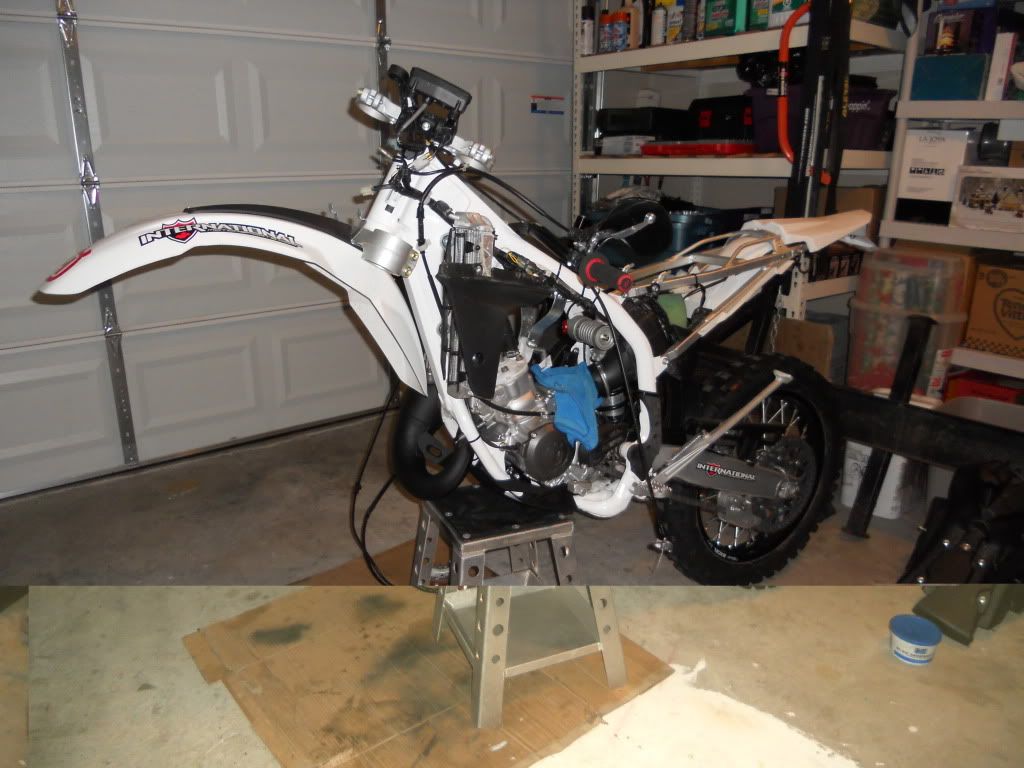
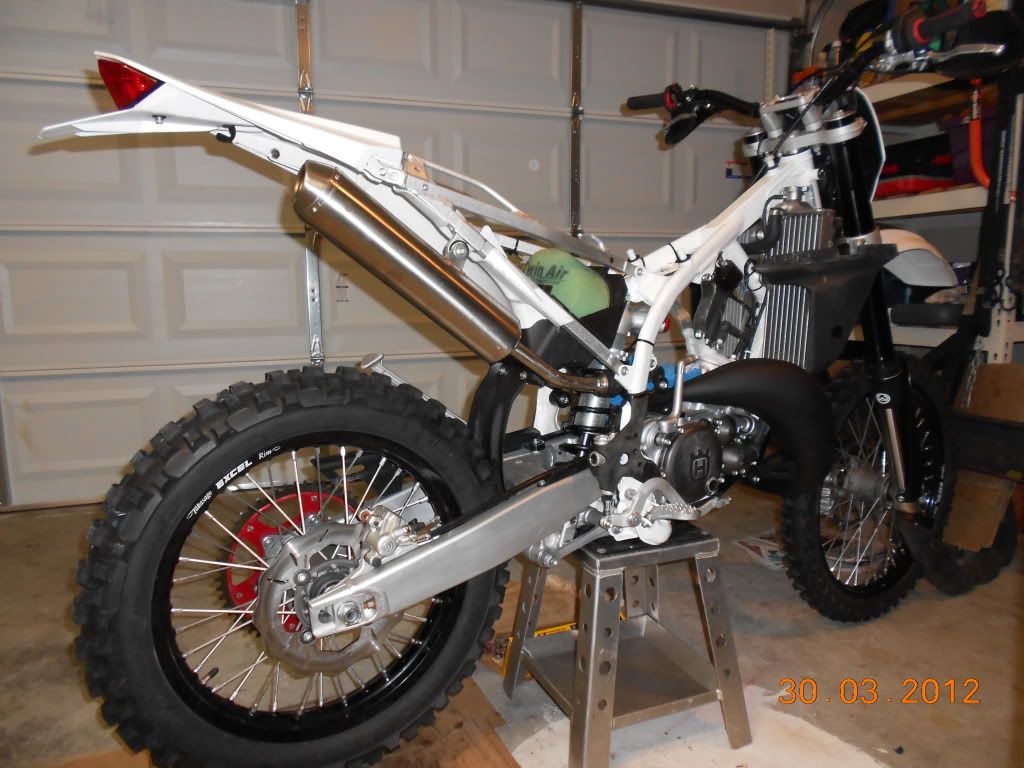
The bike is almost back together now and if anybody buys a new husky or any other bike for that matter, I strongly recommend doing what I did. The steering head,swing-arm pivot and suspension linkage bearings were basically dry and would have worn out prematurely for sure if they were not packed with grease. Just waiting for my carb pieces to come in.I decided to go with a 45 pilot,#5 slide,6ch16-62 needle(3rd clip position),460 main. I read on this forum that the wr likes a little more fuel down low to get the heavier fly-wheel turning compared to the cr (35 pilot). More pics to come (if I remember how!) Take care everybody:cheers:
 
Yes, start with the 45 pilot on the WR ignition and you can always drop. Pics look good and I don't blame you for putting that log chain and lock around the front wheel! #1 keeps the kids/ Wallybean off it! Looks sweet! :thumbsup:
 
Yes, start with the 45 pilot on the WR ignition and you can always drop. Pics look good and I don't blame you for putting that log chain and lock around the front wheel! #1 keeps the kids/ Wallybean off it! Looks sweet! :thumbsup:

Hey! I resemble that remark.
 
DSCN0017-1.jpg

DSCN0018.jpg

DSCN0016.jpg

The new chain, it is narrower and lighter than other o-ring chains and will cause less wear and drag on the chain guide,looks good too!
DSCN0019.jpg

DSCN0022.jpg
 
Back
Top