Seahorse
Husqvarna
AA Class
Discussion thread here:
http://www.cafehusky.com/forums/showthread.php?t=2499
Everyone has their own opinion on how to do this simple job. Or indeed whether in fact it is actually necessary to regrease new bearings before fitting them to our bikes.
Personally I feel it it worth the effort. From years of experience I have found that even reputable bearing manufacturers tend to skimp on the quality/quantity of the grease they add to new bearings.
My method follows................
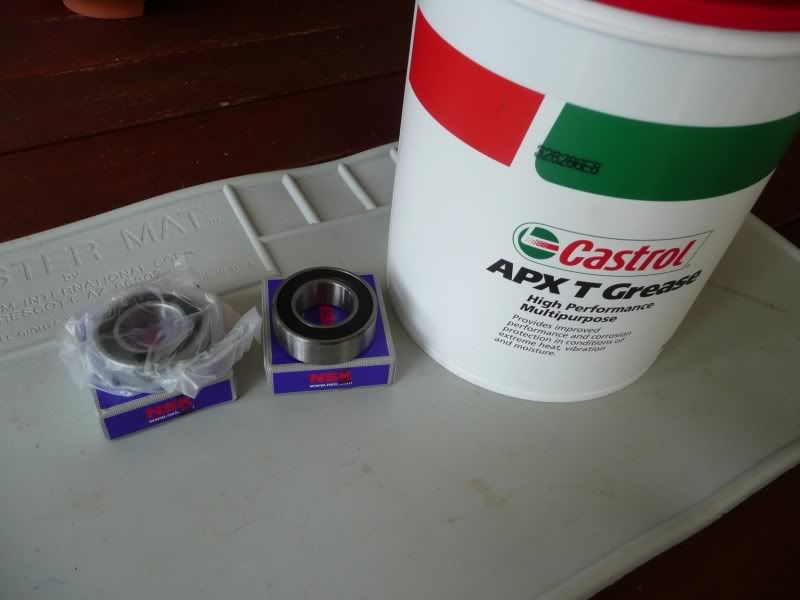
Items required:
Good quality waterproof grease. I prefer to use Castrol APX T, others prefer Belray waterproof-grease. It is up to you
A needle/pin
Kerosene
Small brush
Contact Cleaner
Gloves
Clean rags (it is a messy job!!)
Find yourself a clean well ventilated area to work. Set out all the items you need
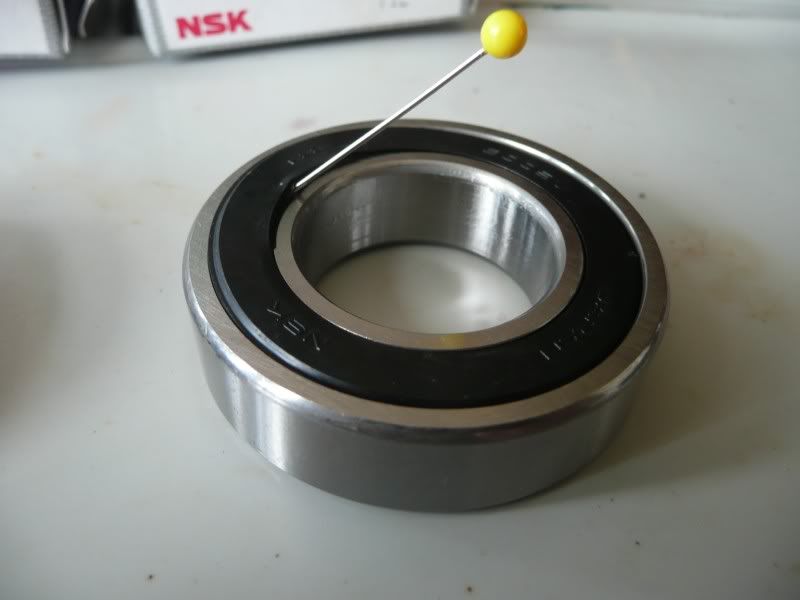
Gently prise out the seals from the bearing. I prefer to pick it out from the inner part of the race. (If you are using a variety of different brands of bearings make sure you do not mix up the seals as they may be slightly different sizes.)
Also, be very careful when you insert the needle/pin, that you do not damage the lip of the seal.
Place the seals in a safe place
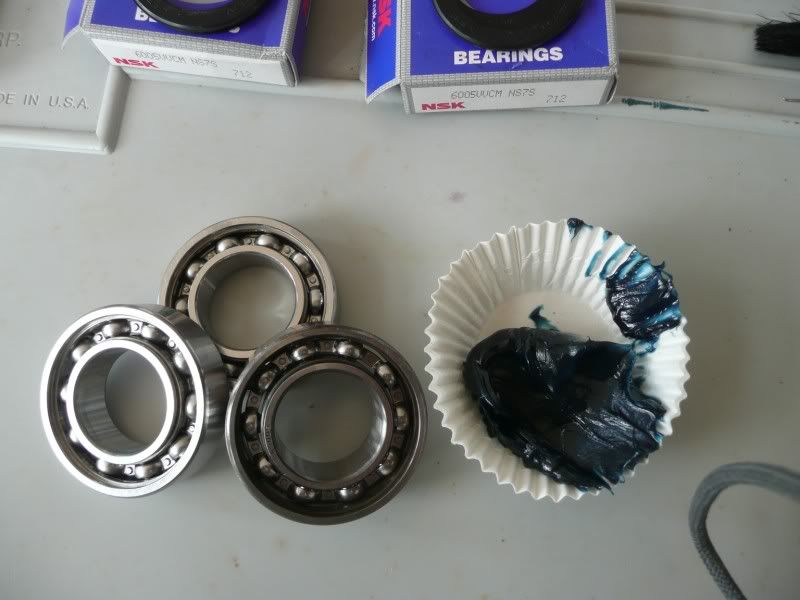
The picture below shows the quantity and type of grease installed in this bearing. Looks like "petroleum jelly" to me..!!
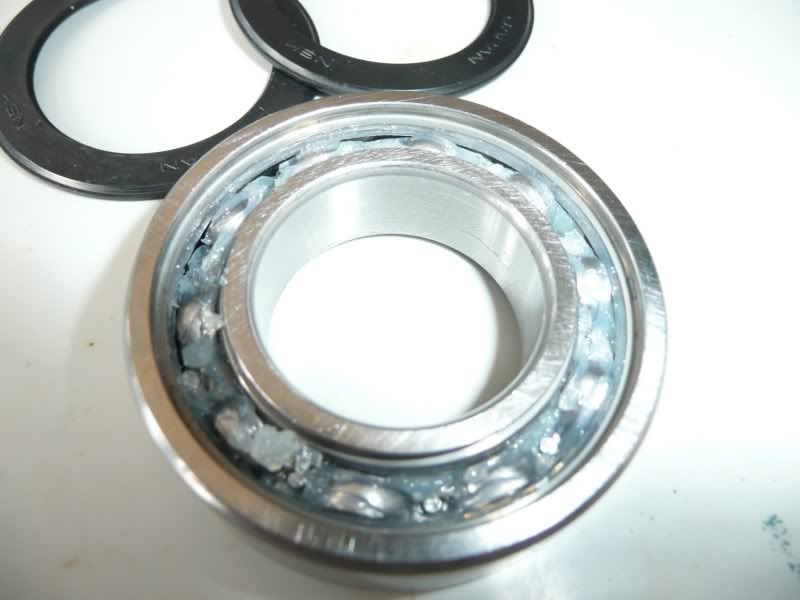
OK, lets get rid of that stuff by soaking the bearings in kerosene for 5 -10 minutes
Then gently brushing the remaining grease out using a small paint brush
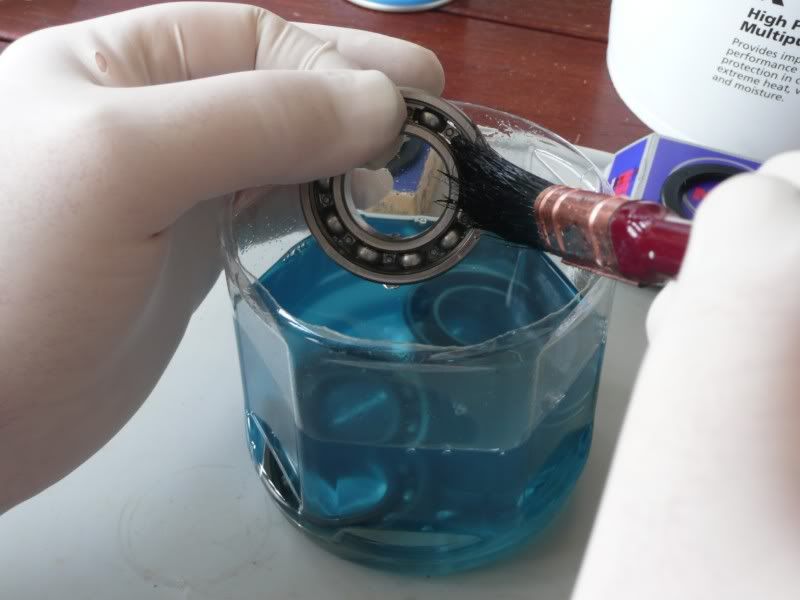
It is advisable not to use petrol for this process due to the fire risk and potential health implications from breathing the fumes.
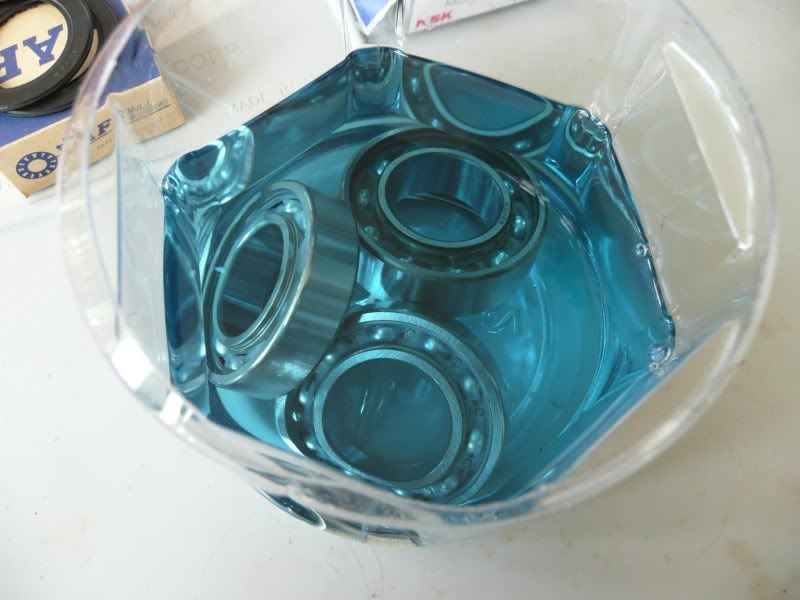
After making sure all of the grease has been removed, wipe off the excess kerosene and then completely flush the bearings by spraying liberally with "Contact Cleaner" or equivalent product.
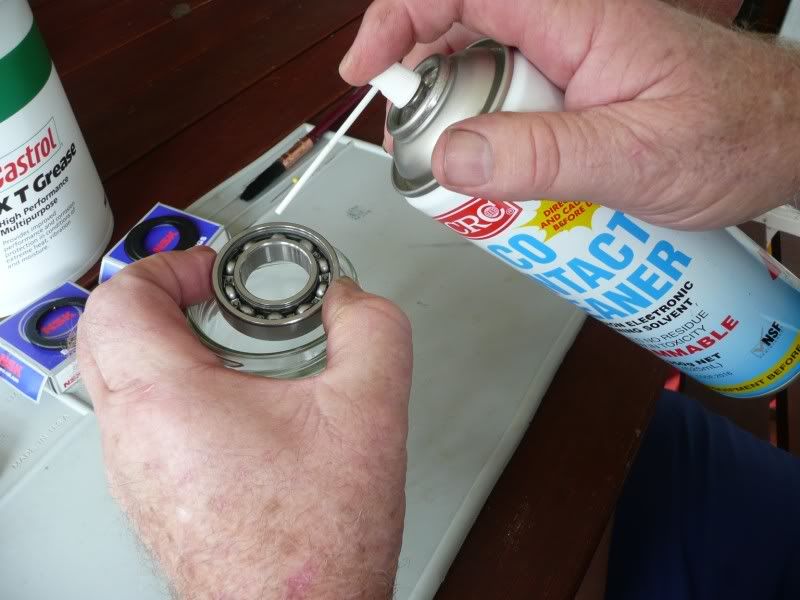
Allow the bearings to then "air" dry for 10 minutes. Do not use compressed air to blow dry the bearings as it is possible to spin the bearings up to very high revs and they have been known to self destruct with disasterous consequences using this method.
NOTE: Avoid the temptation to "spin" the bearing when it is dry. (This is the best way to destroy a new bearing...!!)
To avoid possible contamination to your expensive pot of grease, trowel the amount of grease required into a patty pan and then immediatley reseal the grease container. This also stops you from dunking a contaminated finger back into the grease pot..!!
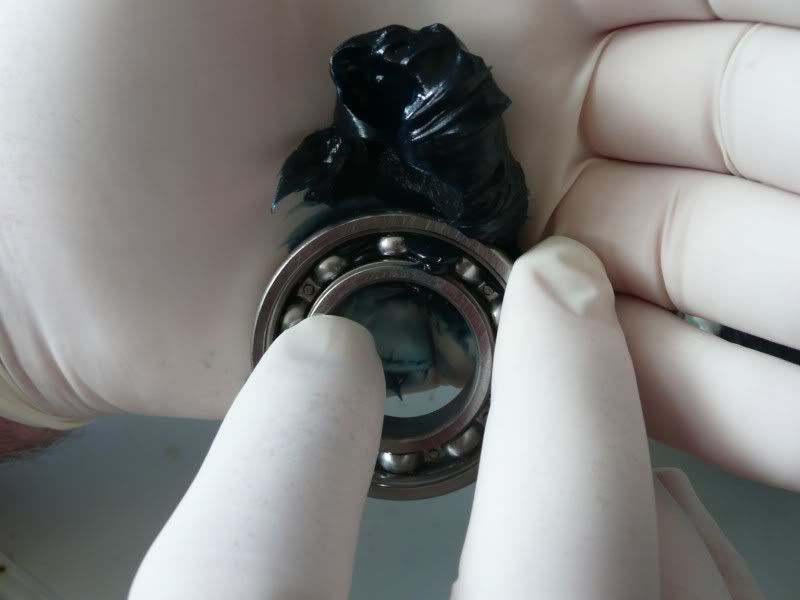
Now for the messy bit. Place a blob of grease into the palm of your left hand and then push the bearing into the grease, forcing it to fill the spaces between the inner and outer race. Slowly rotate the bearing till it is full then flip it over and repeat the process. When you are sure that the bearing is fully packed hold the outer race still and slowly rotate the inner race through one full turn. This will displace some of the grease which you can now press back into the cage and coat the balls. If you are happy with how it looks, you now use the tip of the index finger of your right hand to remove the excess grease so that you can see the cage. Repeat for the other side
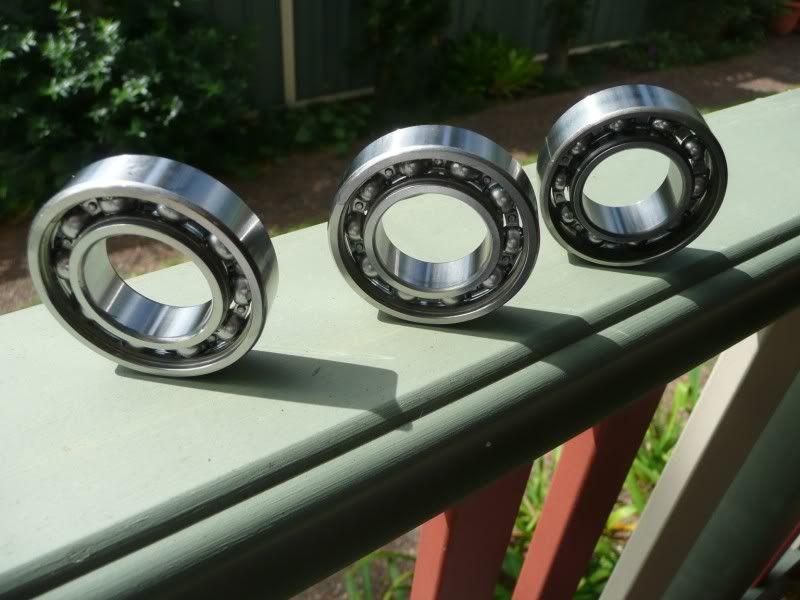
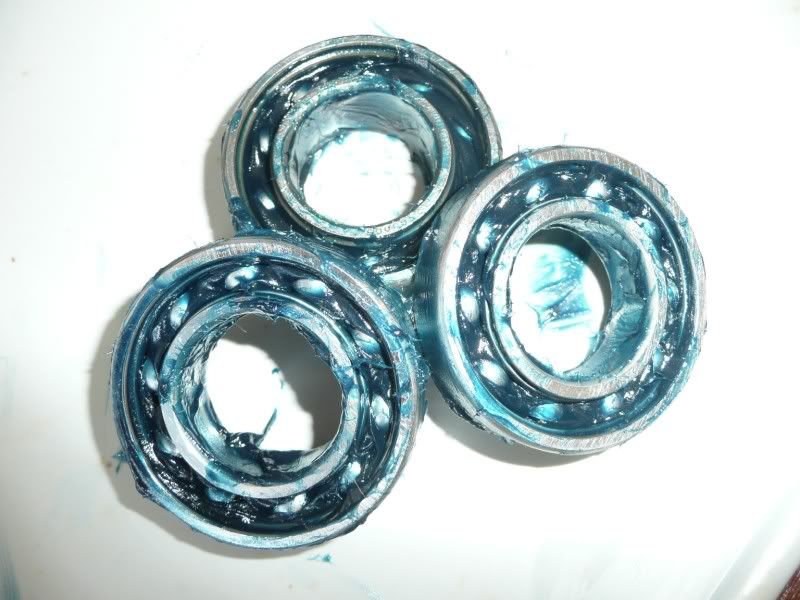
When you have finished your bearings should look something similar to the picture below.
Note: It is not advisable to pack the bearings 100% full. When the bearing spins up it needs space for any grease displaced by the balls rotating. This can result in the bearing running hot or possibly displacing the seals.
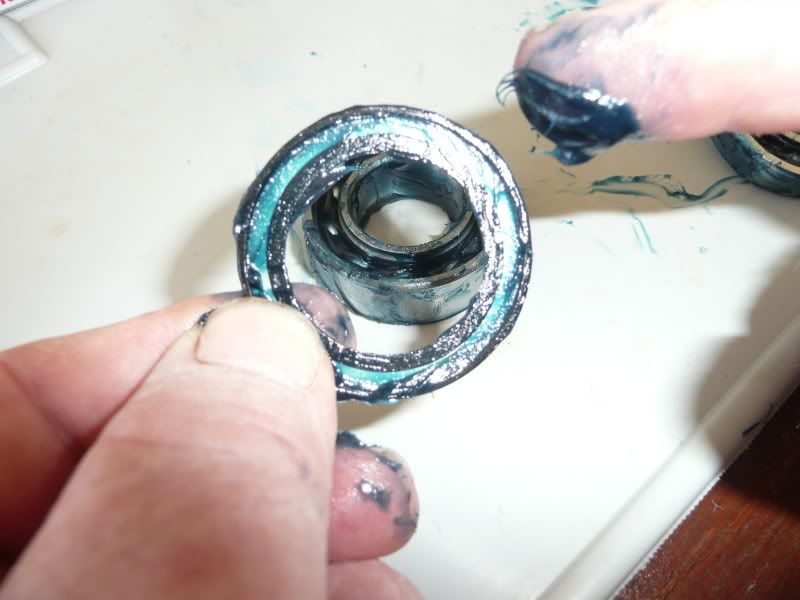
Now all that is left to do is to replace the seals. Before doing that, I like to coat the metal on the back of the seal and smear some grease over the sealing edges. It is then just a matter of simply pressing the seals back in place
Time to sit back and admire your handy work
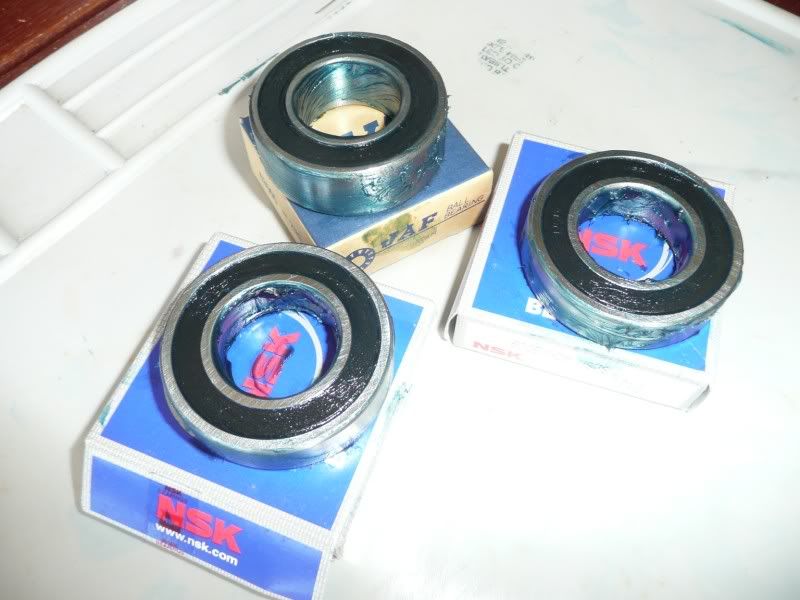
For the sake of half an hour of your time, you can be confident the bearings installed in your wheels are now going to be able to survive the worst you can throw at them.
http://www.cafehusky.com/forums/showthread.php?t=2499
Everyone has their own opinion on how to do this simple job. Or indeed whether in fact it is actually necessary to regrease new bearings before fitting them to our bikes.
Personally I feel it it worth the effort. From years of experience I have found that even reputable bearing manufacturers tend to skimp on the quality/quantity of the grease they add to new bearings.
My method follows................
Items required:
Good quality waterproof grease. I prefer to use Castrol APX T, others prefer Belray waterproof-grease. It is up to you
A needle/pin
Kerosene
Small brush
Contact Cleaner
Gloves
Clean rags (it is a messy job!!)
Find yourself a clean well ventilated area to work. Set out all the items you need
Gently prise out the seals from the bearing. I prefer to pick it out from the inner part of the race. (If you are using a variety of different brands of bearings make sure you do not mix up the seals as they may be slightly different sizes.)
Also, be very careful when you insert the needle/pin, that you do not damage the lip of the seal.
Place the seals in a safe place
The picture below shows the quantity and type of grease installed in this bearing. Looks like "petroleum jelly" to me..!!
OK, lets get rid of that stuff by soaking the bearings in kerosene for 5 -10 minutes
Then gently brushing the remaining grease out using a small paint brush
It is advisable not to use petrol for this process due to the fire risk and potential health implications from breathing the fumes.
After making sure all of the grease has been removed, wipe off the excess kerosene and then completely flush the bearings by spraying liberally with "Contact Cleaner" or equivalent product.
Allow the bearings to then "air" dry for 10 minutes. Do not use compressed air to blow dry the bearings as it is possible to spin the bearings up to very high revs and they have been known to self destruct with disasterous consequences using this method.
NOTE: Avoid the temptation to "spin" the bearing when it is dry. (This is the best way to destroy a new bearing...!!)
To avoid possible contamination to your expensive pot of grease, trowel the amount of grease required into a patty pan and then immediatley reseal the grease container. This also stops you from dunking a contaminated finger back into the grease pot..!!
Now for the messy bit. Place a blob of grease into the palm of your left hand and then push the bearing into the grease, forcing it to fill the spaces between the inner and outer race. Slowly rotate the bearing till it is full then flip it over and repeat the process. When you are sure that the bearing is fully packed hold the outer race still and slowly rotate the inner race through one full turn. This will displace some of the grease which you can now press back into the cage and coat the balls. If you are happy with how it looks, you now use the tip of the index finger of your right hand to remove the excess grease so that you can see the cage. Repeat for the other side
When you have finished your bearings should look something similar to the picture below.
Note: It is not advisable to pack the bearings 100% full. When the bearing spins up it needs space for any grease displaced by the balls rotating. This can result in the bearing running hot or possibly displacing the seals.
Now all that is left to do is to replace the seals. Before doing that, I like to coat the metal on the back of the seal and smear some grease over the sealing edges. It is then just a matter of simply pressing the seals back in place
Time to sit back and admire your handy work
For the sake of half an hour of your time, you can be confident the bearings installed in your wheels are now going to be able to survive the worst you can throw at them.